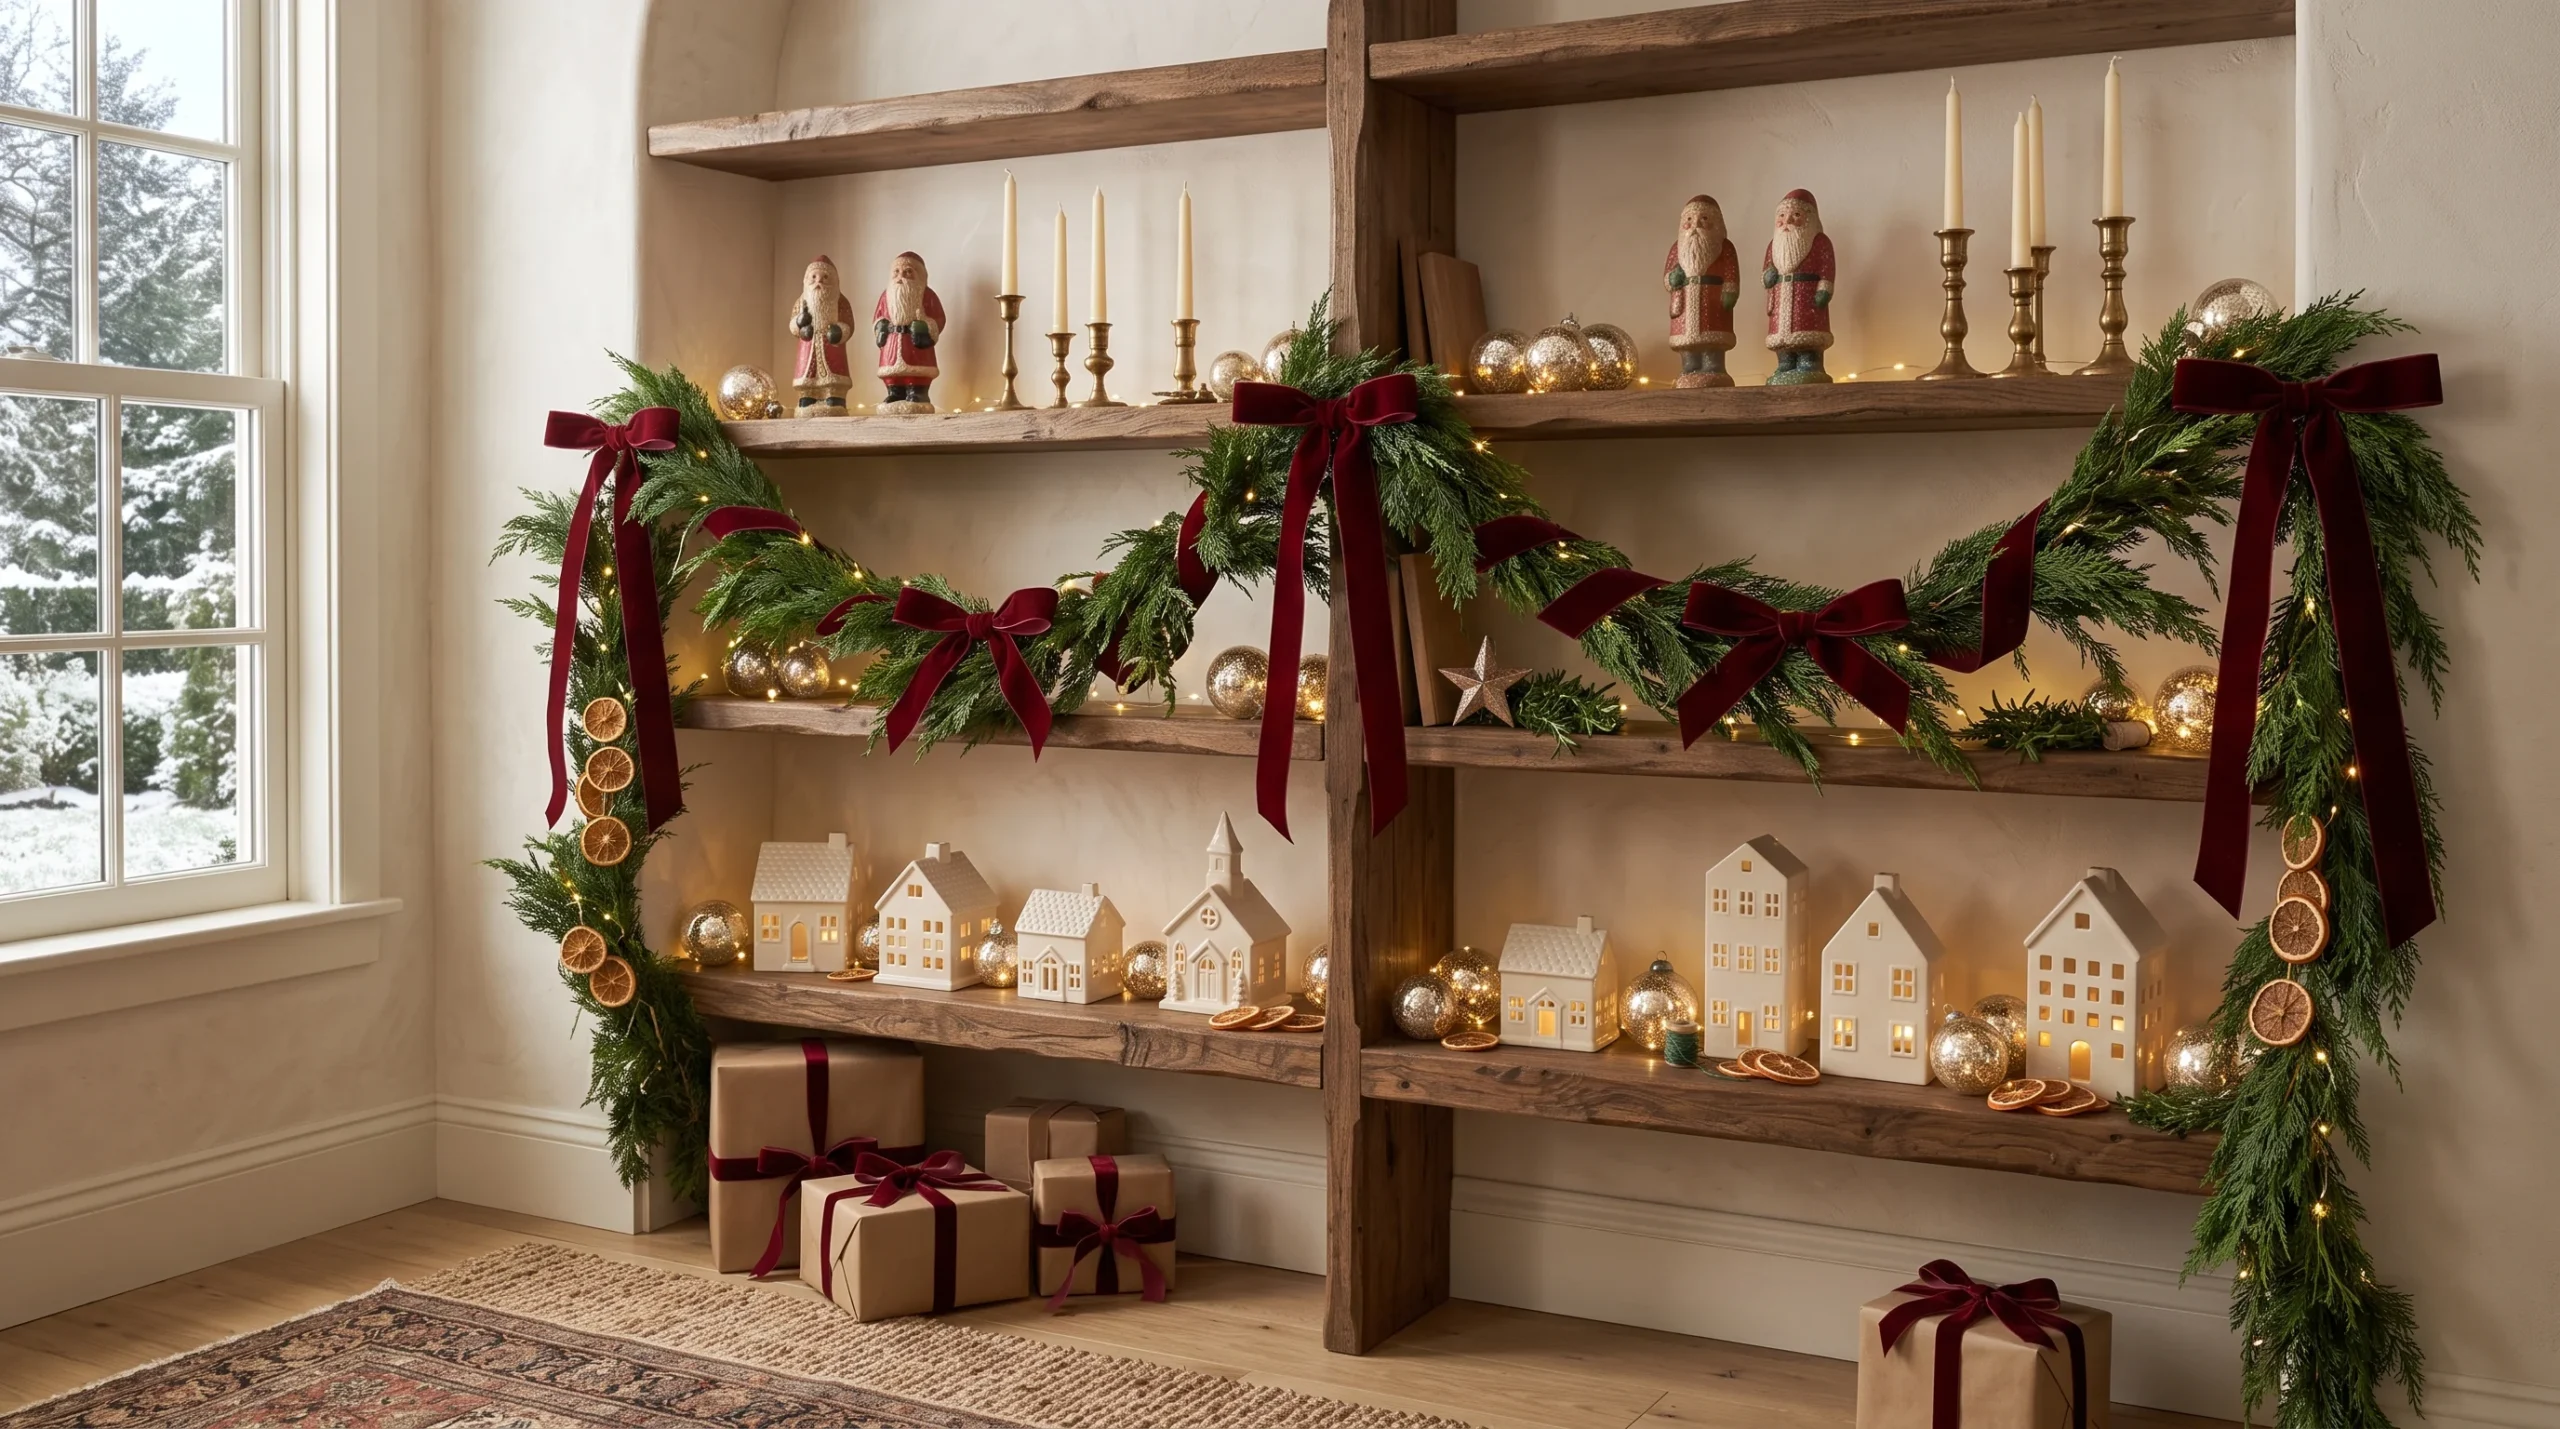
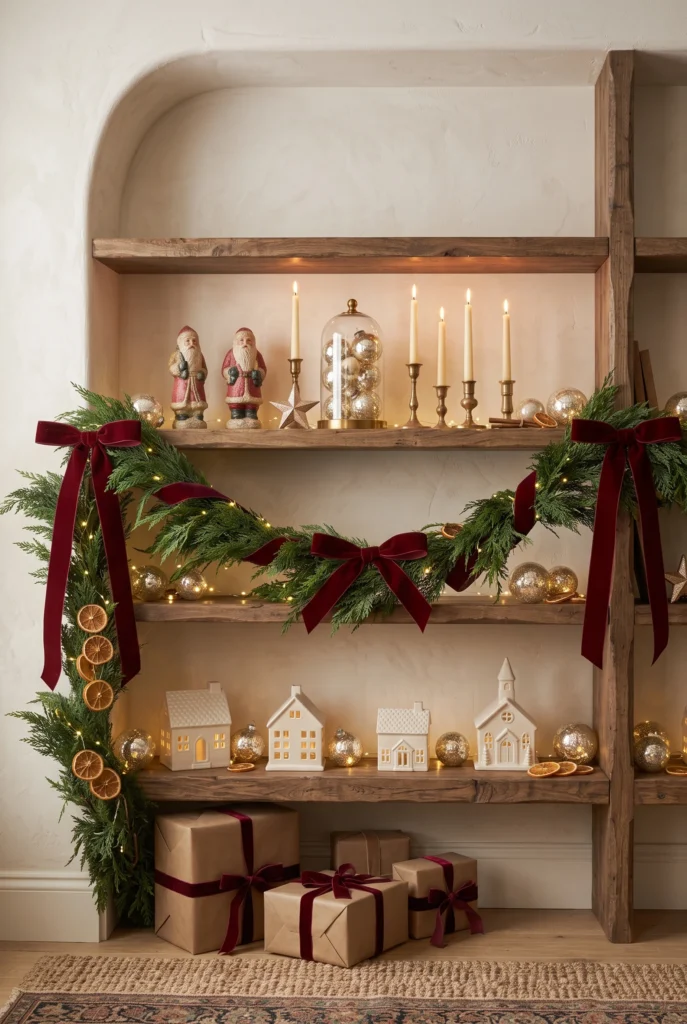
A bare shelf can make an otherwise cozy room feel strangely unfinished, especially during Christmas. The trick is not filling every inch with decorations. Vintage shelves look best when old-looking pieces, greenery, soft lighting, and a few red accents have room to breathe.
This guide shows you how to style vintage Christmas shelves with a finished, collected look in about 1.5 to 2 hours for roughly $45 to $75. You can use thrifted finds, pieces you already own, and a few inexpensive items from Target, Walmart, IKEA, or a local thrift store.
Time: 1.5–2 hours | Cost: around $60 | Difficulty: Easy | Best for: living rooms, dining rooms, entryways, and small apartments

Want the full Fall & Christmas Decorating Planner?
16 pages — color palettes, room-by-room checklists, DIY projects, shopping lists and more. Instant PDF download.
Get the Planner — $9What You’ll Need
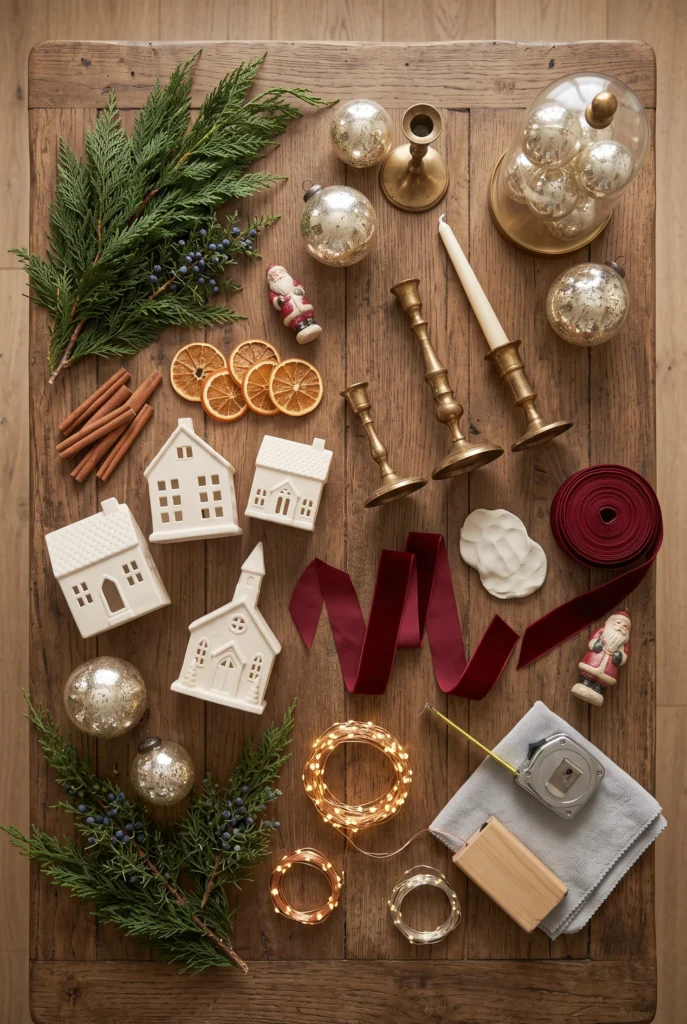
- Faux or fresh pine branches, 2 to 3 feet — around $8–$15
- Warm white LED string lights, 10 to 20 feet — around $8–$12
- Vintage ornaments or thrifted glass ornaments, 8–12 pieces — around $10–$20
- Brass candleholders, 2 or 3 — around $8–$15 at a thrift store
- Cream ceramic houses, 2–4 — around $10–$15
- Red velvet ribbon, 2-inch wide, 3 yards — around $6–$9
- Museum putty — around $5
- Microfiber cloth — around $2
- Measuring tape — around $5 if you don’t already have one
- Small scissors or floral snips — around $5
Clear the Shelves and Check the Spacing
Take everything off the shelves and wipe the wood with a dry microfiber cloth. Measure the width and height of each shelf so you know how much decorating space you’re working with. For a standard 36-inch shelf, plan on using one larger object around 10 to 12 inches tall, then several smaller pieces around it.
Leave about 20 percent of each shelf open. That empty space keeps vintage Christmas shelves from looking like a crowded holiday store display. Check the shelf brackets while you’re there, too. I once skipped this little check and discovered one bracket had loosened enough to make the whole shelf tilt.
Choose Three Main Colors
Pick three colors before putting anything back. A classic vintage Christmas palette is cream, deep red, and aged green, with brass or warm wood acting as the metallic accent. This keeps thrifted pieces from looking random when their finishes don’t match perfectly.
Place your largest cream or wood item on the lower shelf, then repeat one color on the shelf above it. Don’t spread red ornaments evenly across every level. Instead, group two or three red pieces together, then repeat that color farther away. The eye reads those repeated colors as one coordinated display.
Add the Greenery Along the Back
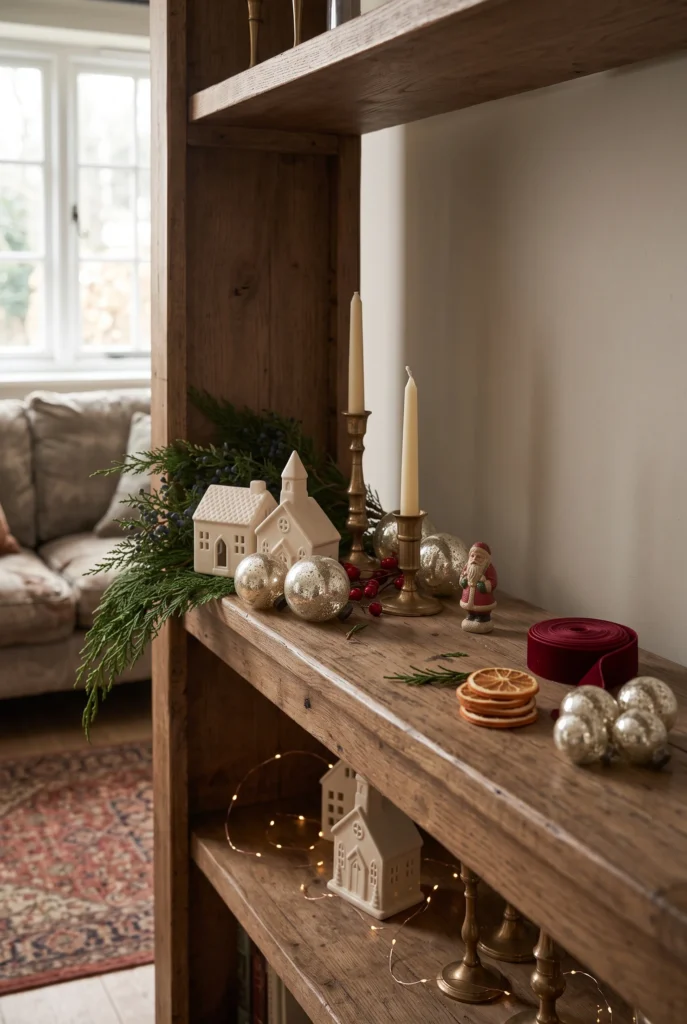
Lay two or three pine branches along the back edge of each shelf rather than placing greenery only in the center. Let about 6 to 8 inches of one branch hang slightly over the side for a relaxed old-fashioned look.
For a 36-inch shelf, use roughly 24 to 30 inches of greenery. If you’re using fresh pine, trim the stems with floral snips and keep the branches away from candles and heaters. Faux greenery works well for apartment shelves because it stays neat throughout December. Tuck a small branch behind a ceramic house or brass candlestick so the objects feel connected instead of sitting separately.
Anchor Each Shelf With One Large Piece
Every shelf should have one item that catches your eye from across the room. Try a 10-inch ceramic tree, an old wooden church, a vintage framed print, a large brass candlestick, or a small crock.
Place the anchor slightly off-center. On a 36-inch shelf, set a large object about 10 inches from one side, then fill the opposite side with two or three smaller pieces. This creates a simple visual triangle. Keep the tallest object at least 2 inches below the shelf above it so the display doesn’t feel squeezed.
Layer Small Vintage Pieces in Front
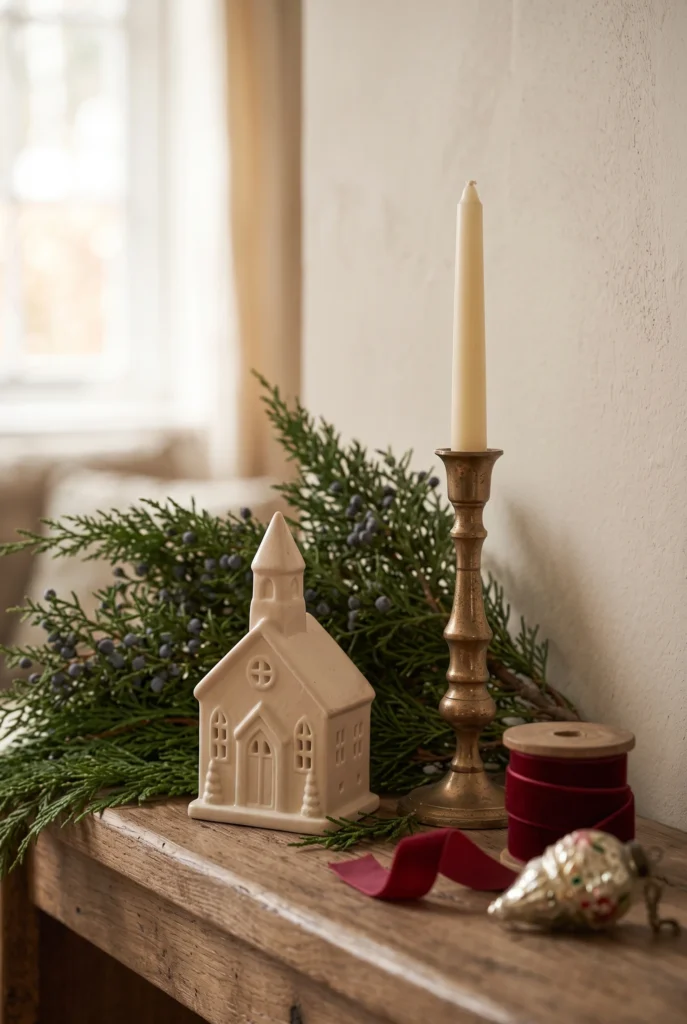
Now add the smaller decorations. Set a 4-inch ceramic tree in front of the greenery, place two vintage ornaments beside it, and lean a small framed picture against the wall. Vary the heights instead of lining everything up at the same level.
A useful rule is one tall item, one medium item, and one small item per grouping. For example, pair a 9-inch candlestick with a 5-inch ceramic house and a 3-inch ornament. Keep at least 3 inches between separate groupings so each collection reads clearly. If you use thrift-store pieces, don’t worry about matching them perfectly. Similar colors and materials matter more than identical shapes.
Hang Velvet Ribbon From the Shelf Edge
Cut three pieces of 2-inch-wide velvet ribbon, each about 18 to 24 inches long. Tie loose bows and let one tail hang lower than the other. Attach the ribbon to the edge of a shelf with a tiny piece of museum putty or tuck it securely around greenery.
Use ribbon on only one or two shelves. Too much red can make the display look like a gift-wrapping station. Deep burgundy, cranberry, or faded brick red works especially well with cream ceramics and aged wood. Leave 8 to 10 inches of ribbon hanging below the shelf edge for a relaxed vintage shape rather than a stiff, symmetrical bow.
Add Warm Lights Without Hiding the Decor
Thread warm white LED lights through the greenery, keeping the wire toward the back of the shelf. A 10-foot strand is usually enough for two 36-inch shelves if you don’t wrap every branch.
Battery-powered lights are handy if the shelves are far from an outlet. Choose warm white bulbs around 2700K to keep the display soft rather than bluish. Hide the battery box behind a ceramic house or on the back corner of the shelf. Leave about 4 inches of space around the battery box so it doesn’t get buried beneath decorations.
Balance the Shelves From Across the Room
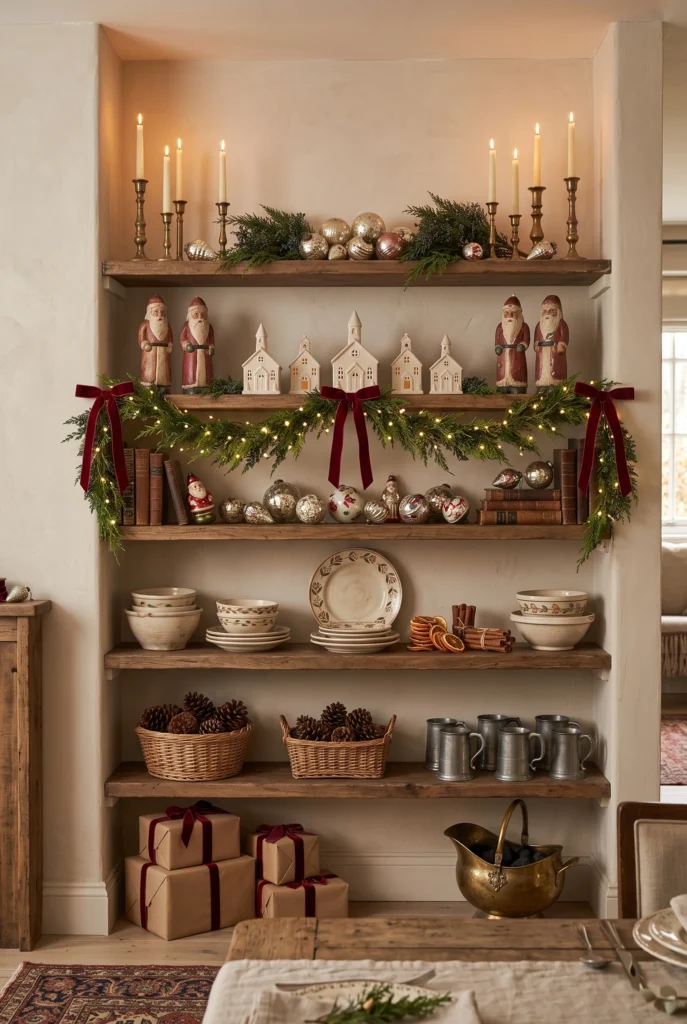
Step back about 6 feet and look at the shelves as one display. Check whether one side feels heavier than the other. If the left side has a large wooden church and two brass pieces, the right side can balance it with a taller ceramic tree and a small cluster of ornaments.
Don’t fix every uneven spot. Vintage decorating looks collected because the pieces aren’t perfectly matched. What matters is visual weight. If one shelf has three large objects and the shelf above has only tiny ornaments, move one larger piece upward and try again.
Secure Anything That Can Tip
Use small pieces of museum putty beneath ceramic houses, candleholders, and ornaments that sit close to the shelf edge. Press a pea-sized amount beneath each item, then gently twist the piece into place.
This matters most in homes with pets, children, or shelves near a busy walkway. Keep real candles away from pine branches, ribbon, and paper decorations. Battery candles are a safer choice for narrow shelves. Place fragile ornaments at least 4 inches from the front edge so a sleeve, pet tail, or passing hand is less likely to knock them down.
If you’re also decorating nearby furniture, use the same cream, red, brass, and greenery palette for a connected look. [INTERNAL LINK: article about vintage Christmas living room decor]
Mistakes That Ruin the Result
- Filling every inch: Leave roughly 20 percent of each shelf empty so the individual pieces remain visible.
- Using only small decorations: Add one anchor piece around 9 to 12 inches tall to give each shelf visual weight.
- Making everything symmetrical: Offset large pieces from shelf to shelf instead of lining them up vertically.
- Ignoring safety: Keep real flames away from greenery and ribbon, and secure fragile pieces with museum putty.
Frequently Asked Questions
Q: How do you style vintage Christmas shelves without making them look cluttered?
A: Start with one large anchor piece on each shelf, then add two or three smaller decorations. Leave about 20 percent of the shelf empty and repeat the same three main colors throughout the display.
Q: How do I style vintage Christmas shelves on a small budget?
A: Start at thrift stores for brass candlesticks, wooden pieces, old frames, and glass ornaments. Spend your money on greenery and ribbon, then reuse Christmas decorations you already own.
Q: What colors work best for vintage Christmas shelves?
A: Cream, deep red, aged green, brass, and natural wood create a classic vintage palette. Muted colors generally work better than bright primary red and shiny silver.
Q: How much greenery should I use on a Christmas shelf?
A: For a 36-inch shelf, start with 24 to 30 inches of greenery. Add more only if the shelf still looks bare after the main decorations are in place.
Q: Can I decorate floating shelves for Christmas?
A: Yes. Floating shelves work especially well with lightweight ceramic houses, ornaments, ribbon, and faux greenery. Check the shelf’s weight rating before adding heavy wooden or metal pieces.
Give Your Shelves a Collected Christmas Look
Vintage Christmas shelves don’t require a room full of expensive antiques. Start with a few thrifted pieces, add pine greenery, repeat three colors, and leave enough open space for the wood and wall to show. The whole project takes about two hours, and you can easily keep the cost near $60 by shopping your own Christmas boxes first. Set aside a Saturday afternoon this weekend, put on some holiday music, and rearrange the display until it feels like a collection gathered over several Christmases.
Want the full Fall & Christmas Decorating Planner?
16 pages — color palettes, room-by-room checklists, DIY projects, shopping lists and more. Instant PDF download.
Get the Planner — $9