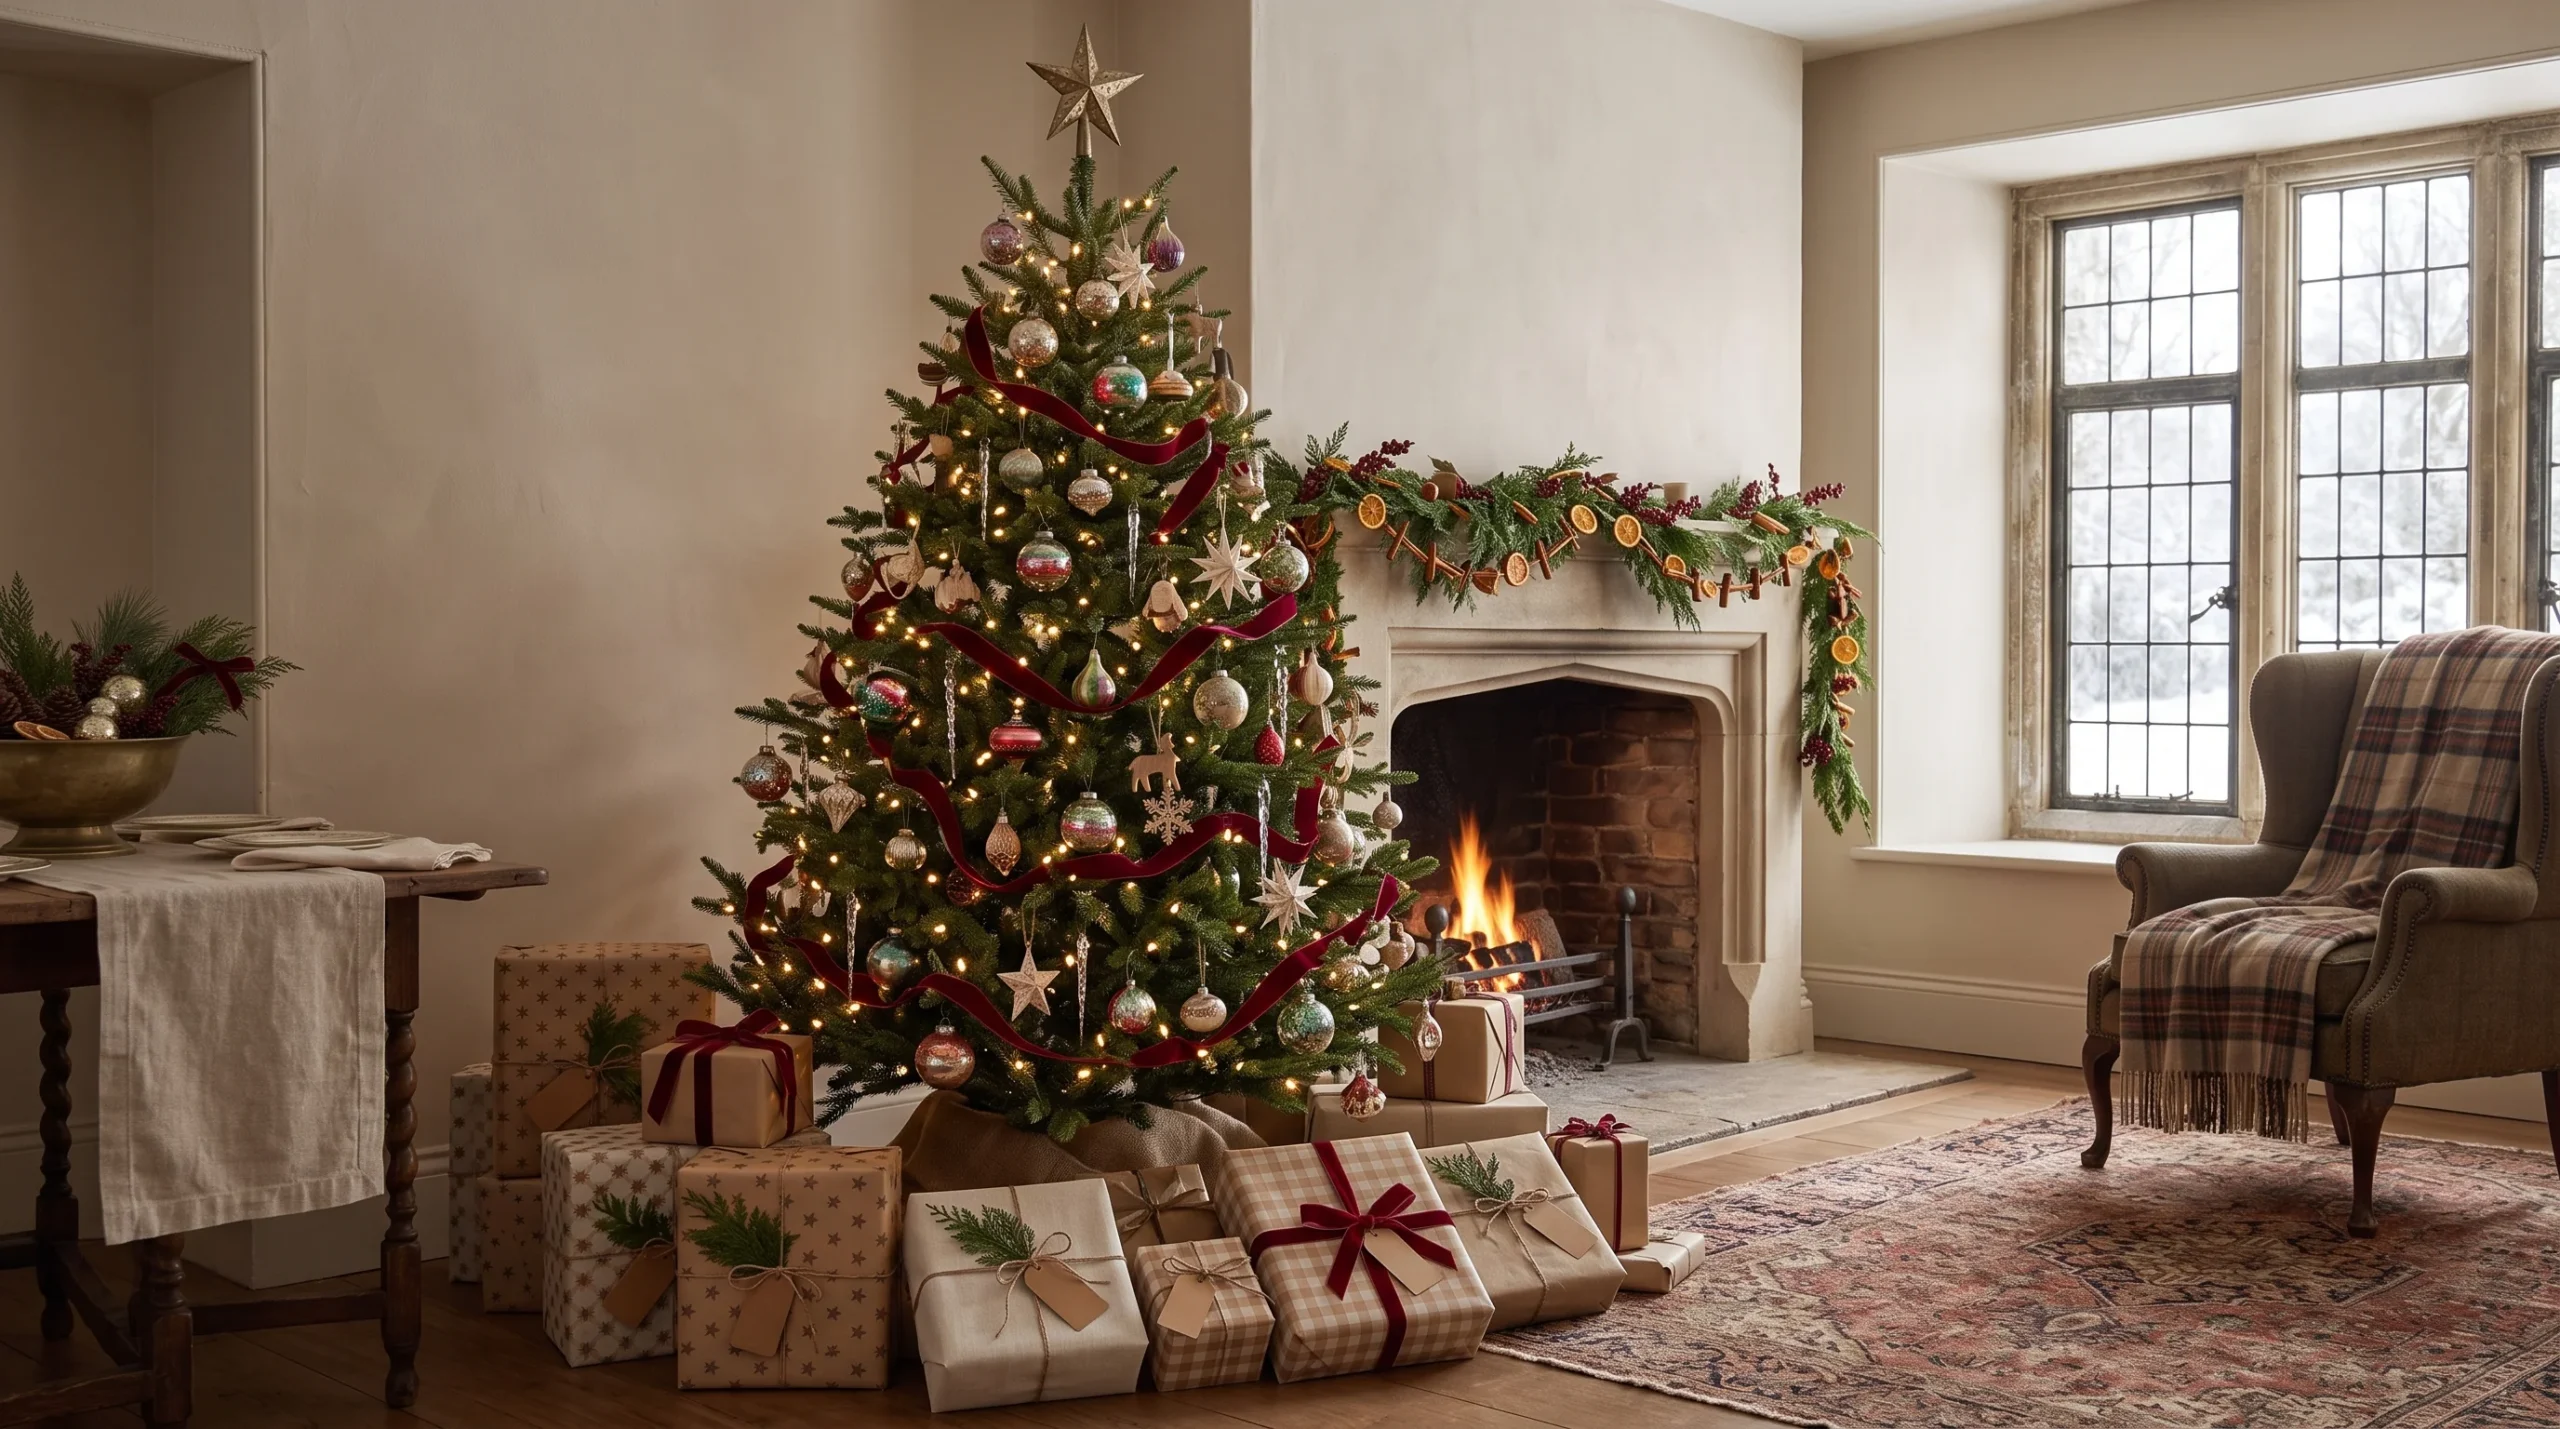
A Christmas tree can have plenty of ornaments and still feel a little flat. The usual problem is putting everything on the outer branches at the same height, then adding more decorations to fill the empty spots. The result looks busy instead of collected.
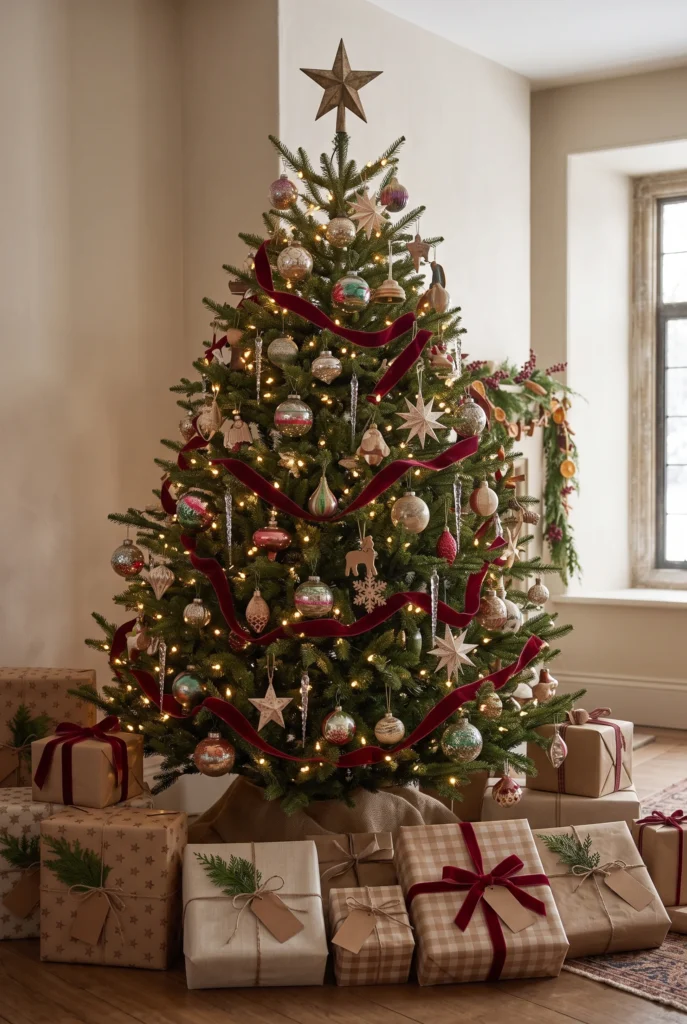
Learning how to decorate a vintage Christmas tree gives you a better plan. In about 2 hours and for roughly $50, you can create a 7-foot tree with warm lights, old-fashioned glass ornaments, velvet ribbon, wooden accents, and a few sentimental pieces that feel like they have been gathered over many Christmases.
Time: 2 hours | Cost: around $50 | Difficulty: Easy | Best for: living rooms, family rooms, and small holiday corners

Want the full Fall & Christmas Decorating Planner?
16 pages — color palettes, room-by-room checklists, DIY projects, shopping lists and more. Instant PDF download.
Get the Planner — $9What You’ll Need
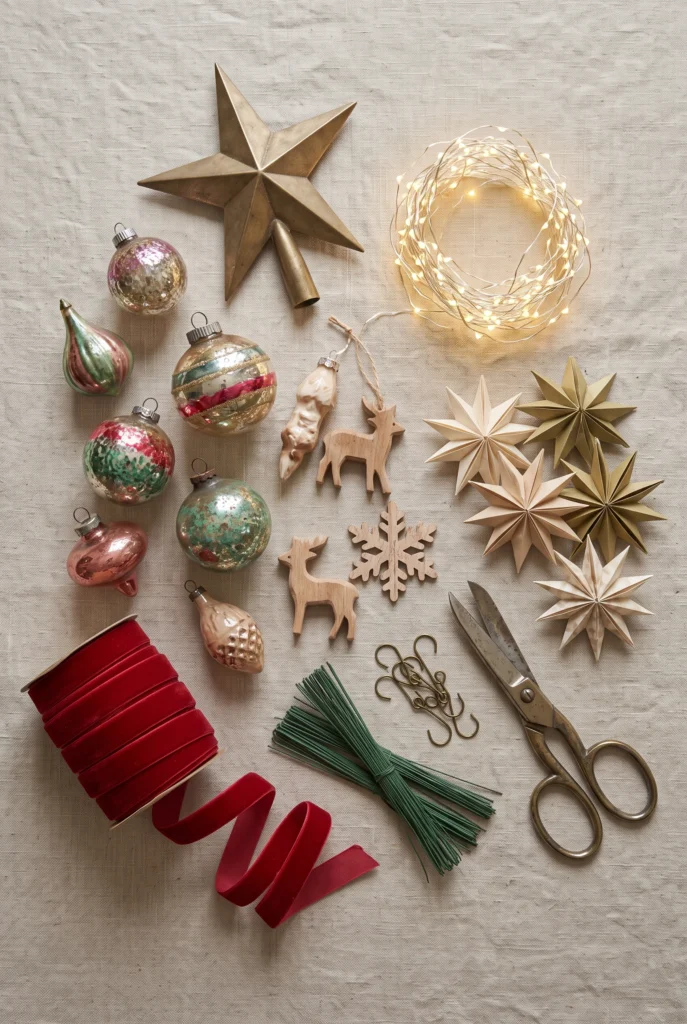
- Warm white LED string lights, 100–200 bulbs — around $15
- Vintage glass ornaments, 30–40 pieces — around $15–$30 at thrift stores
- 2-inch red velvet ribbon, 5 yards — around $8
- Wooden ornaments, 6–8 pieces — around $5
- Cream paper stars, 8–10 pieces — around $4
- Ornament hooks, 50-count — around $3
- Floral wire — around $4
- Small scissors — around $5
- Brass or wooden tree topper — around $8–$15
Thrift stores and estate sales are great places to hunt for old glass ornaments. Look for faded cranberry, forest green, cream, silver, amber, and antique gold. A little wear around the paint is fine. Cracked glass isn’t.
Choose a Simple Vintage Color Palette
Before hanging anything, spread your ornaments across a table and remove pieces that don’t fit the look. You don’t have to use every decoration in the storage bin. For a classic vintage tree, choose three or four main colors, such as cranberry red, forest green, cream, and antique gold.
Set aside the largest ornaments, medium balls, tiny ornaments, figurines, and unusual pieces into separate groups. Aim for 30–40 ornaments on a 7-foot tree for a comfortably decorated look. Keep sentimental pieces nearby but don’t hang them yet. This sorting takes about 10 minutes and saves a surprising amount of rearranging later.
String the Lights Deep Inside the Tree
Start at the bottom of the tree and work upward, pushing sections of the light strand slightly toward the trunk before bringing them back toward the branch tips. This puts lights behind the ornaments instead of making every bulb sit on the surface.
For a 7-foot tree, use 100–200 warm white LED bulbs, depending on how bright the room is. Test the lights before you begin and replace any damaged strand. Don’t wrap one continuous circle around the outside of the tree. Weave in and out through the branches so the light appears from several depths.
A common mistake is leaving the cord visible between branches. Tuck it toward the center as you go.
Add the Ribbon in Loose Vertical Sections
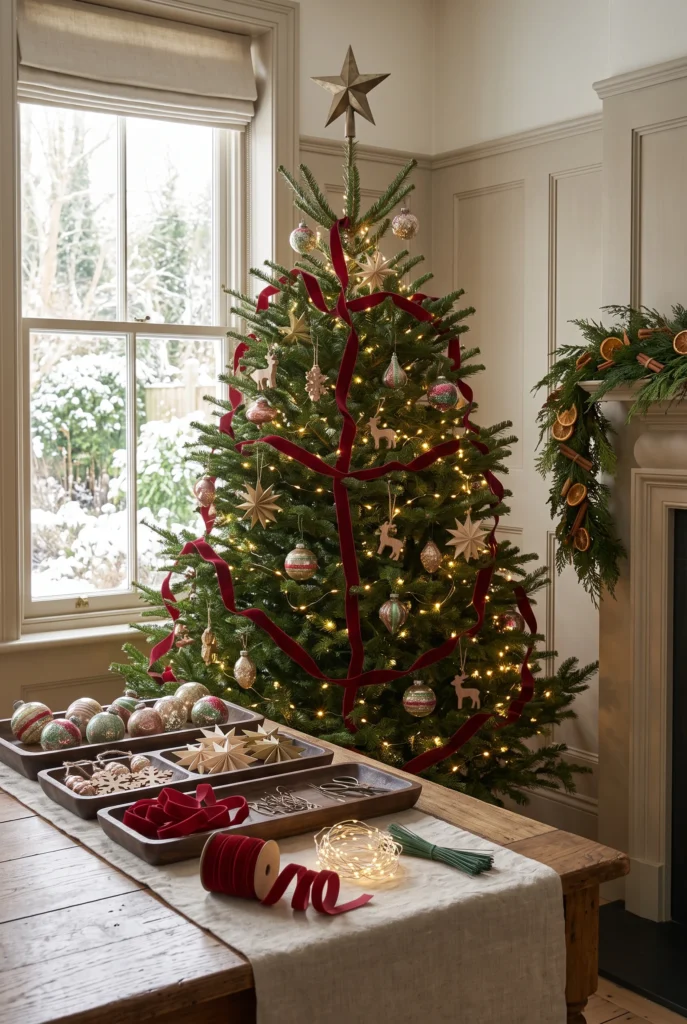
Cut your velvet ribbon into pieces about 24 to 30 inches long instead of wrapping one long strip around the entire tree. Tuck each section into the branches, letting it curve downward in a loose S shape.
Use 6 to 8 ribbon sections on a 7-foot tree, spaced around the front and sides. Secure each piece with a small piece of floral wire hidden behind the branch. Don’t pull the ribbon tight. Soft folds look much more like traditional Christmas decorating than stiff horizontal stripes.
If you’re using a second ribbon, choose a narrower cream or gold style. Two ribbon widths are plenty for a vintage tree.
Hang the Largest Vintage Ornaments Inside the Tree
Start with your largest glass ornaments and place them 4 to 6 inches inside the outer edge of the branches. Deeper placement gives the tree dimension because light shines through the ornaments from behind.
Use about 8 to 12 large pieces on a 7-foot tree. Spread them around the front, sides, and visible gaps rather than creating a row across the middle. Keep fragile glass at least 18 inches above the floor if children or pets are around.
Heavier ornaments belong on sturdy branches closer to the trunk. Give each hook a gentle tug after hanging it. If the branch bends sharply downward, move the ornament inward or choose a smaller piece.
Fill the Middle with Classic Glass Ornaments
Now use your medium-size round ornaments to connect the larger pieces. Hang red, green, gold, silver, and cream ornaments around the middle and outer branches, leaving enough space for each piece to show.
A simple pattern works well: place one red ornament, then a metallic ornament, then a neutral piece nearby. Don’t create a perfect repeating pattern. Leave about 3 to 5 inches between medium ornaments so the greenery remains visible.
Use new hooks on older ornaments if their original wires are rusty. I once trusted an old hook on a beautiful glass ball, and it fell before I finished the tree. Five minutes spent checking hardware is cheaper than replacing a favorite ornament.
Tuck Small Ornaments into the Outer Branches
Small ornaments give the tree that finished, detailed look. Use tiny bells, stars, glass balls, wooden figures, paper decorations, and miniature candy-cane shapes around the tips of the branches.
Hang them at different heights rather than creating a straight line. Keep small ornaments about 2 to 4 inches apart in fuller sections, while leaving larger gaps in areas already carrying big pieces.
Look at the tree from across the room after every 8 to 10 ornaments. This helps you spot sections that are becoming too heavy. If one area looks crowded, move two pieces before adding another.
Give Sentimental Ornaments the Best Spots
Your oldest or most meaningful decorations should be easy to see. Place hand-painted figures, old family ornaments, handmade stars, or unusual glass shapes between 42 and 60 inches from the floor on a 7-foot tree.
Choose 5 to 7 special ornaments for eye-level placement. Put them near warm lights so their colors and details are easy to see. Don’t bury sentimental pieces behind thick ribbon or greenery.
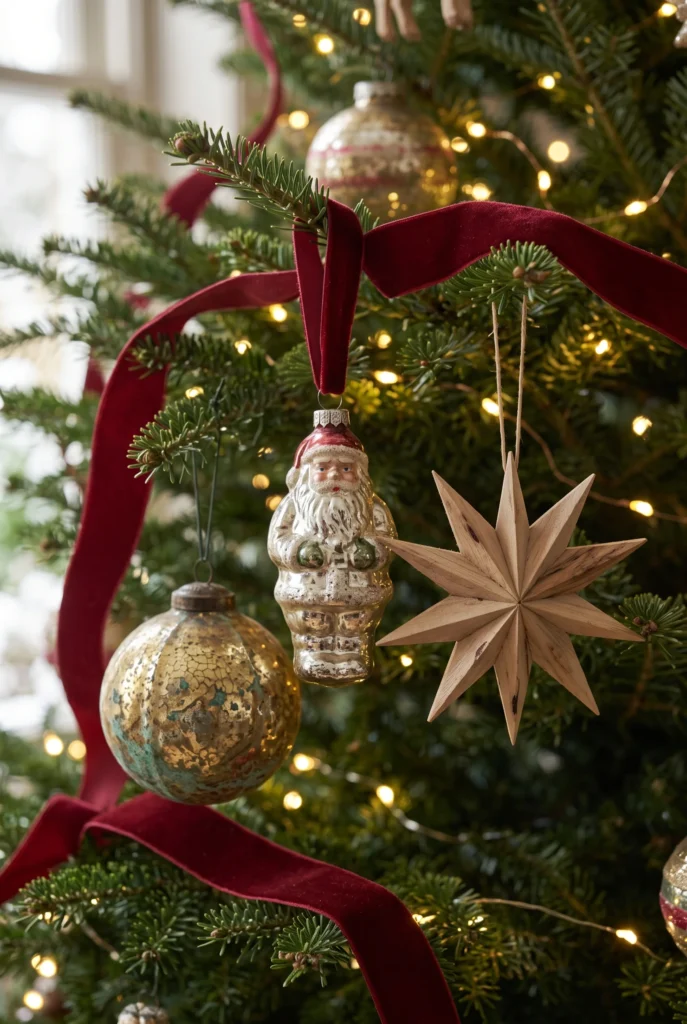
A vintage tree feels personal because of these little details. One worn wooden soldier or faded glass Santa often has more character than a dozen identical new ornaments.
Add Wooden and Handmade Details
Mix a few natural decorations into the glass ornaments. Wooden stars, paper snowflakes, dried orange slices, small pinecones, and cream felt ornaments soften the shine of old glass.
For a 7-foot tree, use 6 to 10 handmade or wooden pieces. Place them mostly in areas where the tree feels visually heavy. Natural materials also work well near the bottom because they balance the brighter glass decorations higher up.
Avoid adding several different handmade styles at once. Pick one or two materials and repeat them around the tree. For more old-fashioned holiday styling, try [INTERNAL LINK: article about vintage Christmas mantel decor ideas].
Finish with the Tree Topper and Check the Balance
Place the tree topper on last. A brass star, vintage-style angel, wooden finial, or simple bow works well. If the tree is 7 feet tall, keep the topper around 8 to 12 inches high so it doesn’t overpower the branches.
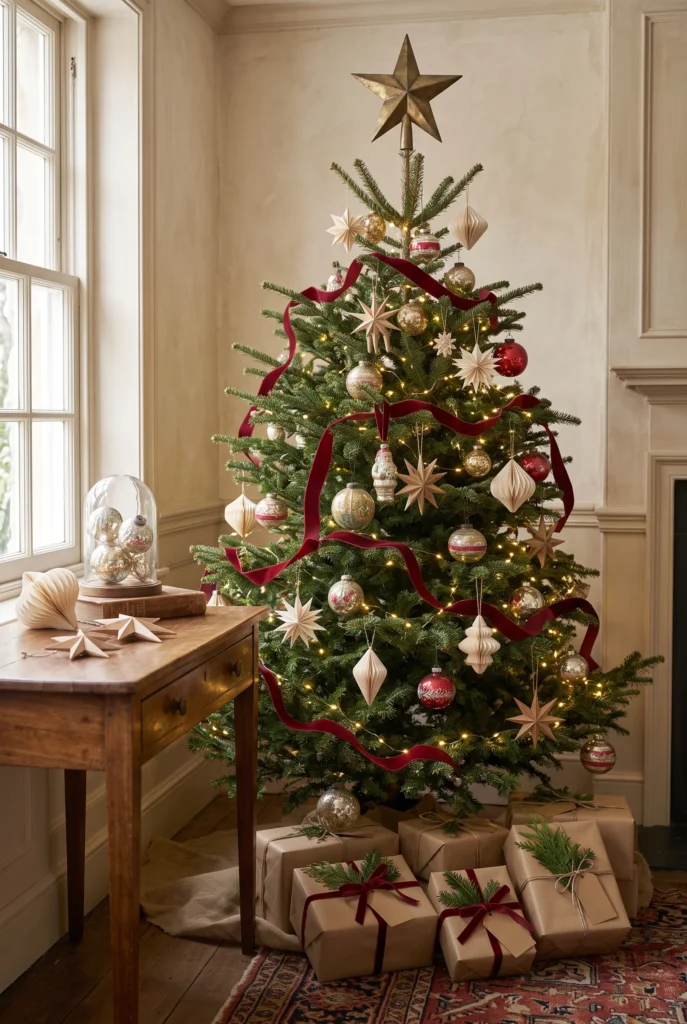
Step back at least 8 feet and look at the entire tree. Check the bottom, middle, top, left side, and right side separately. Move ornaments instead of automatically adding more. The final tree should have visible greenery, warm light, and a mix of large, medium, and small decorations.
Mistakes That Ruin the Result
- Putting every ornament on the outside: Hang large pieces 4 to 6 inches inside the branches to create depth.
- Using too many colors: Limit the main palette to three or four colors, such as red, green, cream, and gold.
- Wrapping ribbon in a tight spiral: Cut ribbon into loose 24 to 30-inch sections for a softer traditional look.
- Filling every empty branch: Leave visible greenery between decorations so the tree doesn’t look crowded.
Frequently Asked Questions
Q: How do I decorate a vintage Christmas tree so it looks authentic?
A: Use warm white lights, old-fashioned glass ornaments, velvet ribbon, wood, paper, and muted holiday colors. Vary the ornament sizes and place larger pieces deeper inside the tree.
Q: What colors work best for a vintage Christmas tree?
A: Cranberry red, forest green, cream, antique gold, silver, and faded blue are classic choices. Three or four main colors are enough for a cohesive tree.
Q: How many ornaments do I need for a 7-foot Christmas tree?
A: Start with about 30 to 40 ornaments for a balanced display. Add more only after you’ve checked the tree from several angles.
Q: How do I make a new Christmas tree look vintage?
A: Use warm white lights, velvet ribbon, wooden ornaments, paper decorations, and aged-looking glass pieces. Avoid highly glossy finishes and very bright colors.
Q: Where should I put fragile vintage glass ornaments?
A: Hang fragile pieces on sturdy inner branches, preferably 18 inches or more above the floor. Keep them away from areas where pets, children, or furniture can knock into the tree.
Give Your Tree That Collected Christmas Look
Learning how to decorate a vintage Christmas tree is less about buying a whole new collection and more about changing where each piece goes. Start with warm lights, add loose velvet ribbon, place large ornaments deep inside the branches, then work outward with smaller glass, wood, and handmade decorations. Set aside a couple of hours this weekend, pull out your favorite old ornaments, and give your tree the cozy character of a Christmas collection built over many years.
Want the full Fall & Christmas Decorating Planner?
16 pages — color palettes, room-by-room checklists, DIY projects, shopping lists and more. Instant PDF download.
Get the Planner — $9