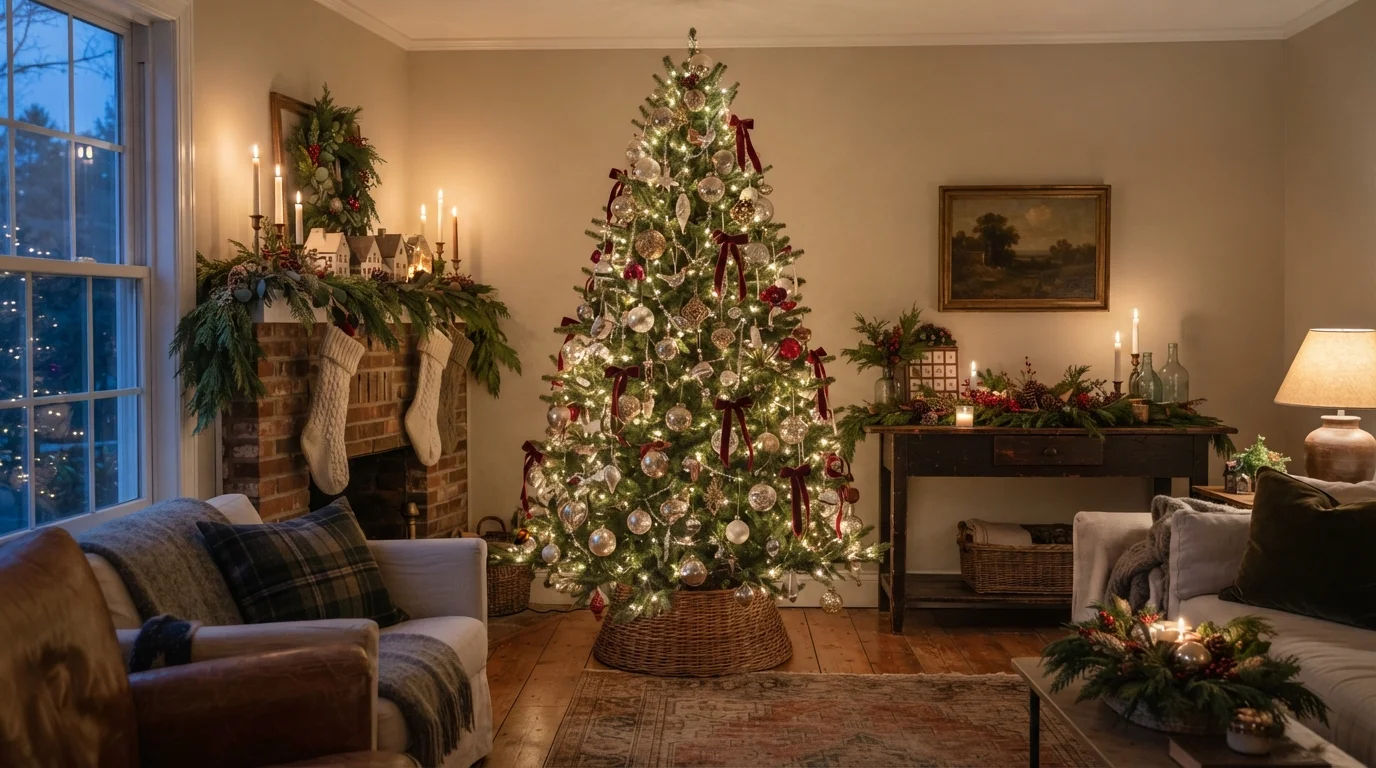
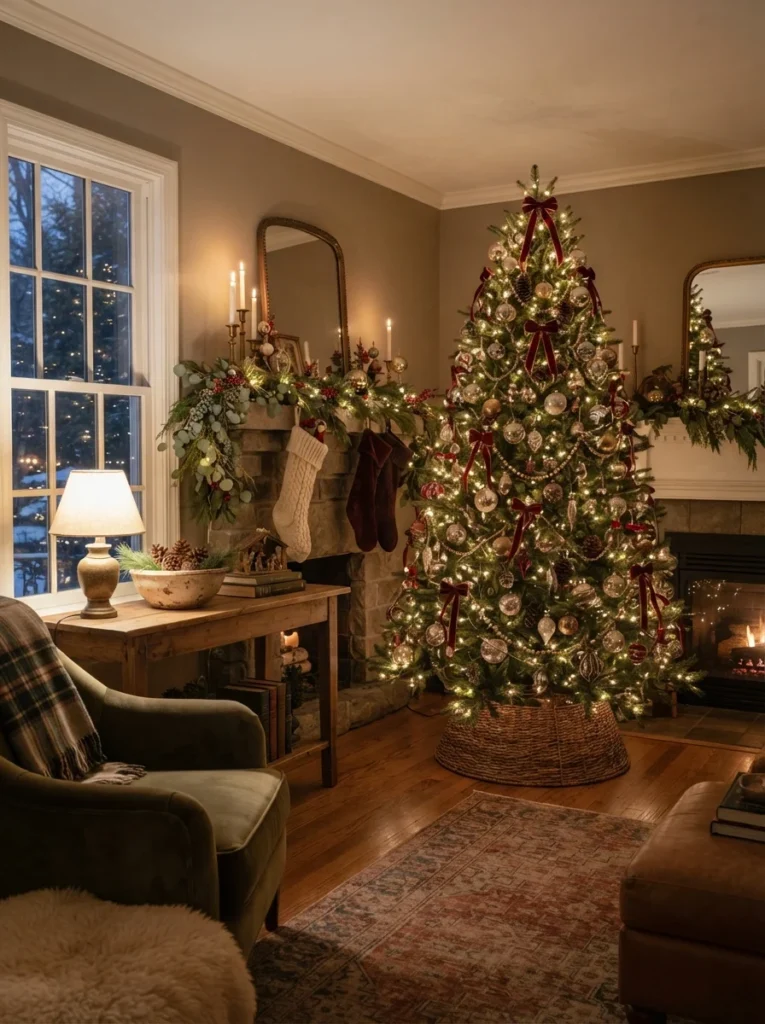
Vintage Christmas ornaments have a way of making a room feel collected instead of decorated all at once. The problem is that a box of old glass baubles, faded Santas, shiny icicles, and mismatched colors can quickly look crowded if everything goes on the tree at random.
Learning how to decorate with vintage Christmas ornaments gives those special pieces a clear place to shine. In about 2 hours and for roughly $30 to $60, you can create a warm, old-fashioned holiday display using ornaments you already own, thrift-store finds, ribbon, and a few inexpensive supplies.
Time: 2 hours | Cost: around $45 | Difficulty: Easy | Best for: living rooms, dining rooms, entryways, and small apartments

Want the full Fall & Christmas Decorating Planner?
16 pages — color palettes, room-by-room checklists, DIY projects, shopping lists and more. Instant PDF download.
Get the Planner — $9What You’ll Need
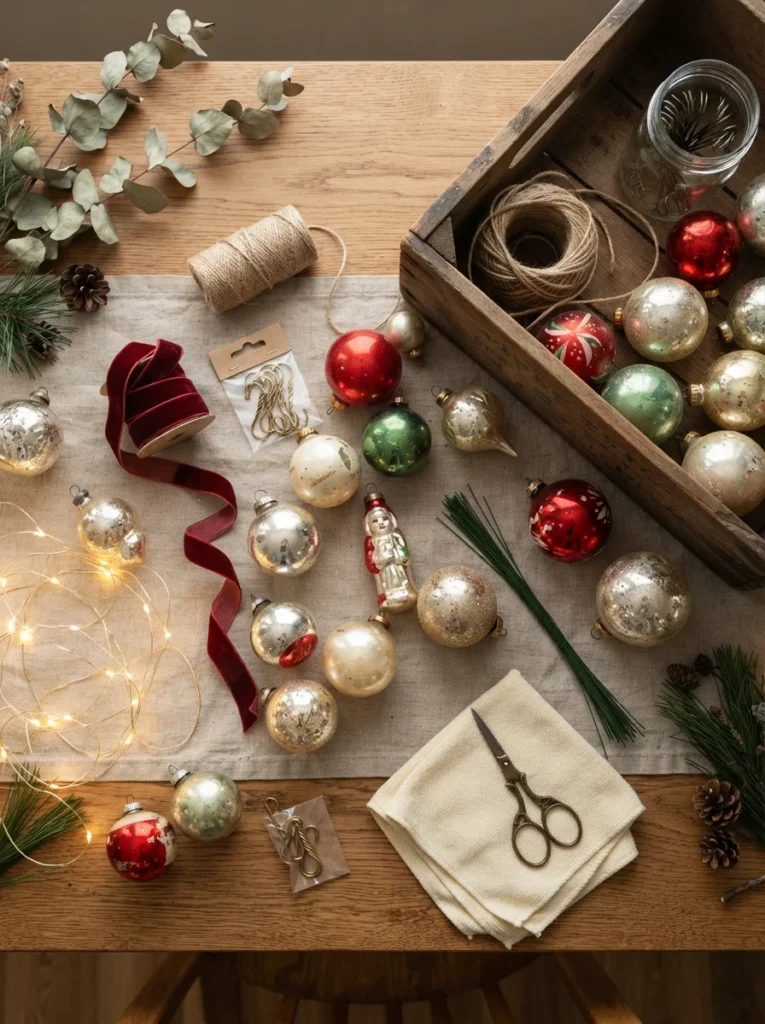
- Vintage Christmas ornaments, 30–50 pieces — around $10–$30 at thrift stores
- Velvet or grosgrain ribbon, 2-inch wide — around $7 at Walmart or Target
- Warm white LED string lights, 50–100 bulbs — around $10
- Ornament hooks, 50-count — around $3
- Floral wire — around $4
- Cotton twine — around $3
- Microfiber cloth — around $2
- Small scissors — around $5
- Small wooden crate or basket for storage — around $8
If you’re shopping for vintage pieces, check thrift stores, estate sales, flea markets, and Etsy. Look for glass ornaments with slightly imperfect paint, old-fashioned shapes, and colors such as cranberry red, forest green, cream, silver, and gold.
Sort the Vintage Ornaments by Color and Shape
Start by spreading your ornaments across a table or clean floor. Make five piles: red, green, metallic, neutral, and unusual statement pieces. Keep ornaments with similar shapes together too, such as round balls, teardrops, stars, bells, and figurines.
Don’t worry if the collection doesn’t match perfectly. A little variation is what gives a vintage display its character. Remove anything with a cracked glass body or loose metal cap. Keep at least 30 ornaments for a 6-foot tree so the arrangement doesn’t look sparse. I once skipped the sorting step and spent half the decorating time moving ornaments from one branch to another.
Clean the Ornaments Before Hanging Them
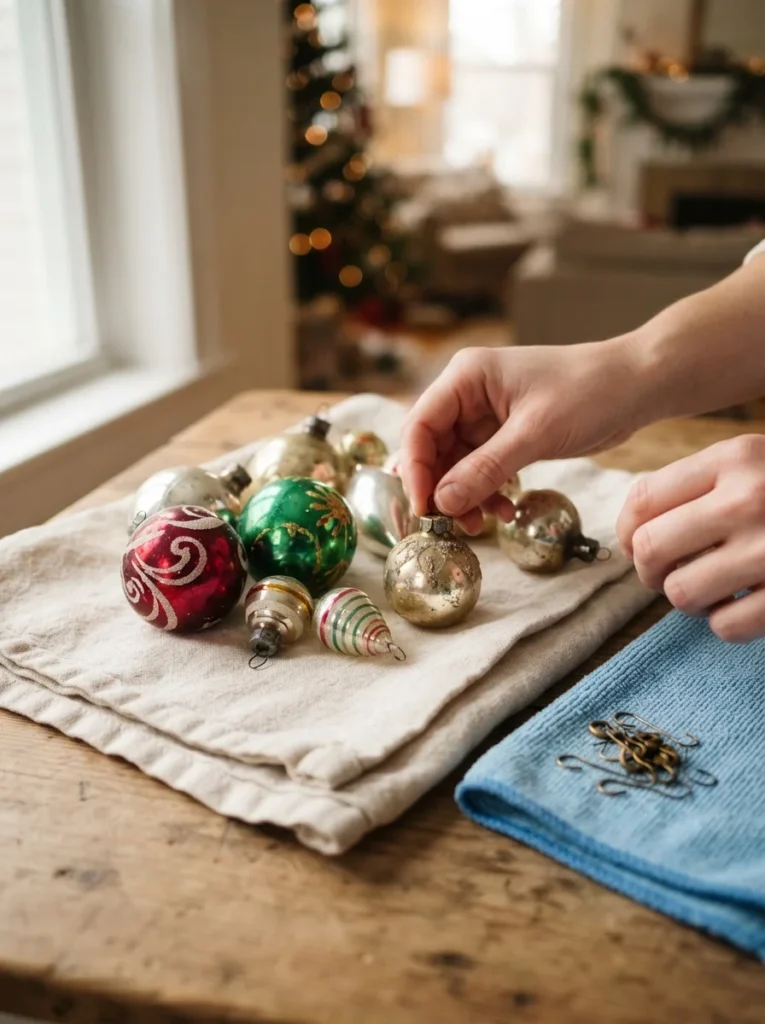
Vintage ornaments often collect years of dust, especially around the metal caps and grooves. Wipe each ornament gently with a dry microfiber cloth. For painted glass pieces, avoid soaking them or using household glass cleaner because old finishes can lift or become cloudy.
Set cleaned ornaments on a folded towel and give them about 10 minutes to air out before handling them again. Check the hooks while you’re working. Replace rusty or bent hooks with new ones instead of trusting old wire. Spend about 15 minutes cleaning 40 ornaments before you start decorating, and you’ll have a much cleaner-looking display.
Add the Lights Before the Ornaments
Place your Christmas lights on the tree before hanging any decorations. Start near the trunk at the bottom and work upward, weaving the strand toward the outer branches and then back toward the center. This creates more depth than simply wrapping lights around the outside.
For a 6-foot tree, use 50 to 100 warm white bulbs depending on how bright you like the display. Tuck the cord behind branches so it doesn’t become the first thing you notice. Turn the lights on while decorating. Dark ornaments disappear into an unlit tree, while glass ornaments catch the glow and look much richer.
Create a Ribbon Base with Vintage Christmas Colors
Cut ribbon into pieces about 18 to 24 inches long rather than wrapping one giant roll around the whole tree. Tuck each piece loosely into the branches, letting the ribbon curve downward instead of forming stiff horizontal stripes.
Use two or three colors, such as burgundy velvet with faded green grosgrain and narrow gold ribbon. Leave about 6 inches between ribbon sections so the tree still has visible greenery. Secure slippery ribbon with a short piece of floral wire hidden behind the branch. This approach also works beautifully on a mantel garland or staircase railing.
For more holiday styling ideas, see [INTERNAL LINK: article about classic Christmas mantel decor ideas].
Hang Large Ornaments Toward the Center
Now start with your largest vintage ornaments. Place them deeper inside the tree, about 4 to 6 inches from the branch tips. The branches support larger glass pieces better near the trunk, and the ornaments won’t stick out so far that they look like they’re floating around the tree.
Use roughly 8 to 12 large ornaments on a 6-foot tree. Space them around the front, sides, and visible gaps instead of putting all of them at eye level. Keep fragile glass ornaments at least 18 inches above the floor if you have pets or young children. This is also the right time to hang heavier metal ornaments where sturdy branches can carry them.
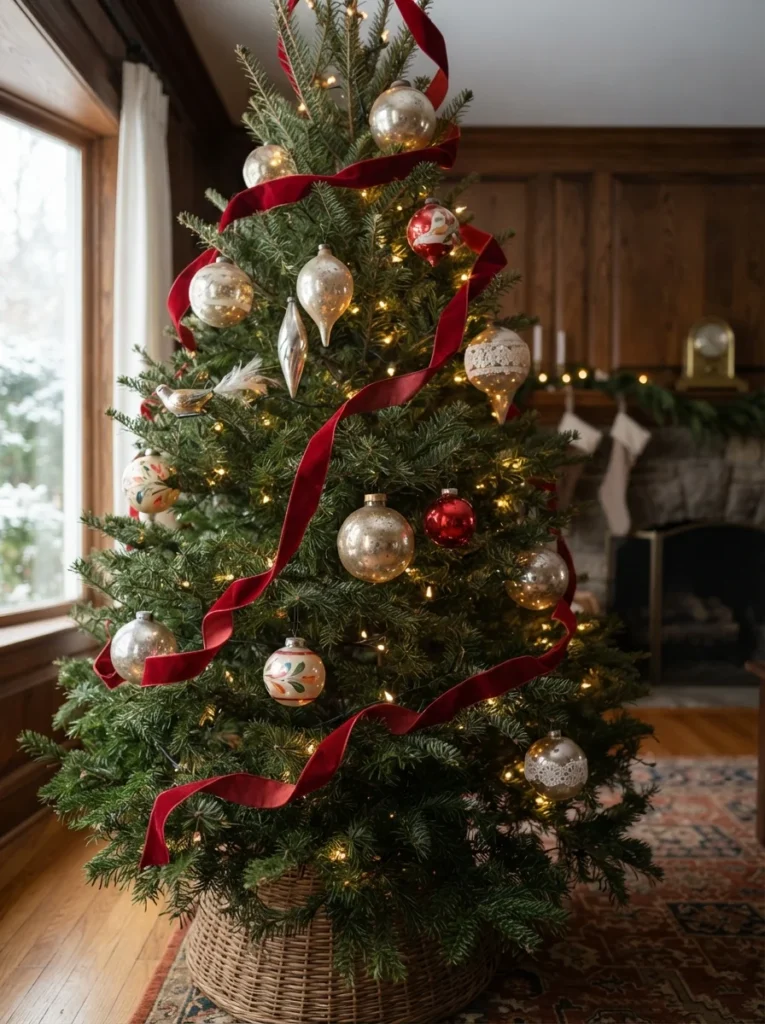
Fill the Outer Branches with Smaller Ornaments
Once the larger pieces are in place, hang your smaller ornaments toward the branch tips. Mix round baubles with stars, bells, icicles, and tiny figurines. Avoid placing identical shapes directly beside each other.
A simple pattern works well: hang one red ornament, then a metallic piece, then a neutral or green ornament nearby. Step back every few minutes and check the tree from the doorway. Leave roughly 3 to 5 inches between medium ornaments so individual pieces remain visible. If one side looks heavy, move two or three ornaments instead of adding more. Vintage decorating usually looks better with a little breathing room.
Add a Few Special Ornaments at Eye Level
Save your most interesting pieces for the places people naturally look first. A hand-painted Santa, tiny wooden angel, old-fashioned reflector ornament, or unusual glass shape deserves a spot around eye level rather than being buried behind greenery.
On a 6-foot tree, concentrate these pieces between 42 and 60 inches from the floor. Hang them where light falls across the glass without completely covering them with ribbon. If an ornament has a sentimental story, give it a visible branch. You don’t need dozens of statement pieces. Five to seven favorites are enough to give the tree a personal focal point.
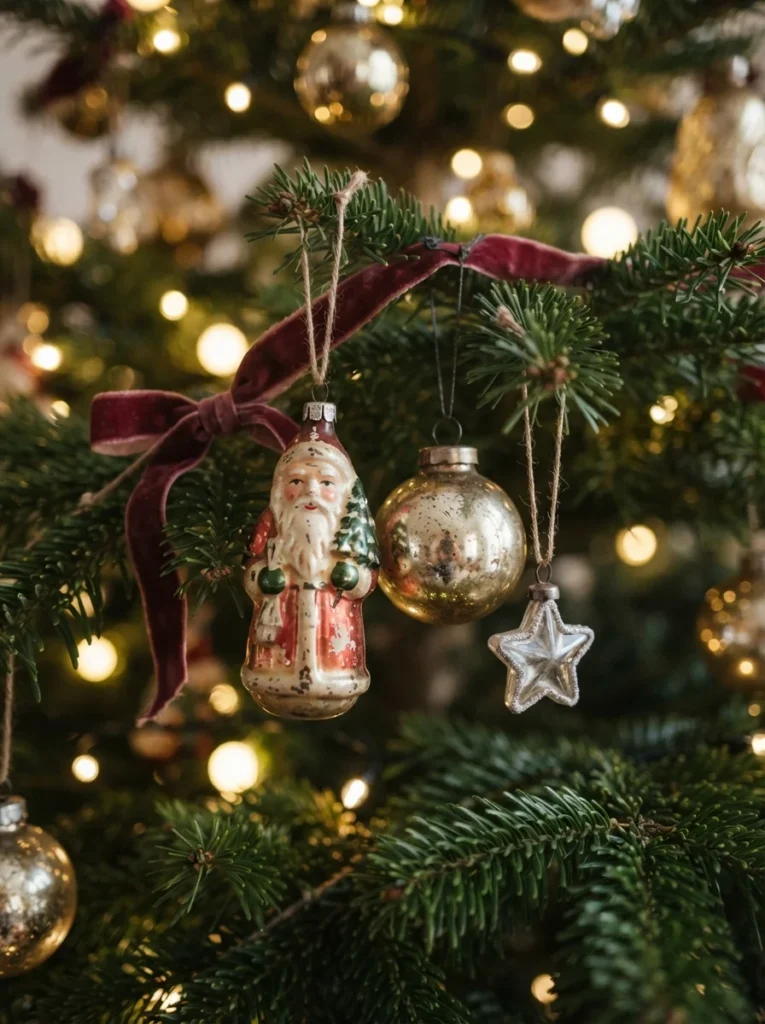
Finish the Display with Small Vintage Details
Walk around the room and look for empty spots that feel accidental rather than intentionally open. Add a few tiny ornaments, pinecones, or small pieces of faux greenery to those areas. Keep the extras limited so the vintage pieces remain the focus.
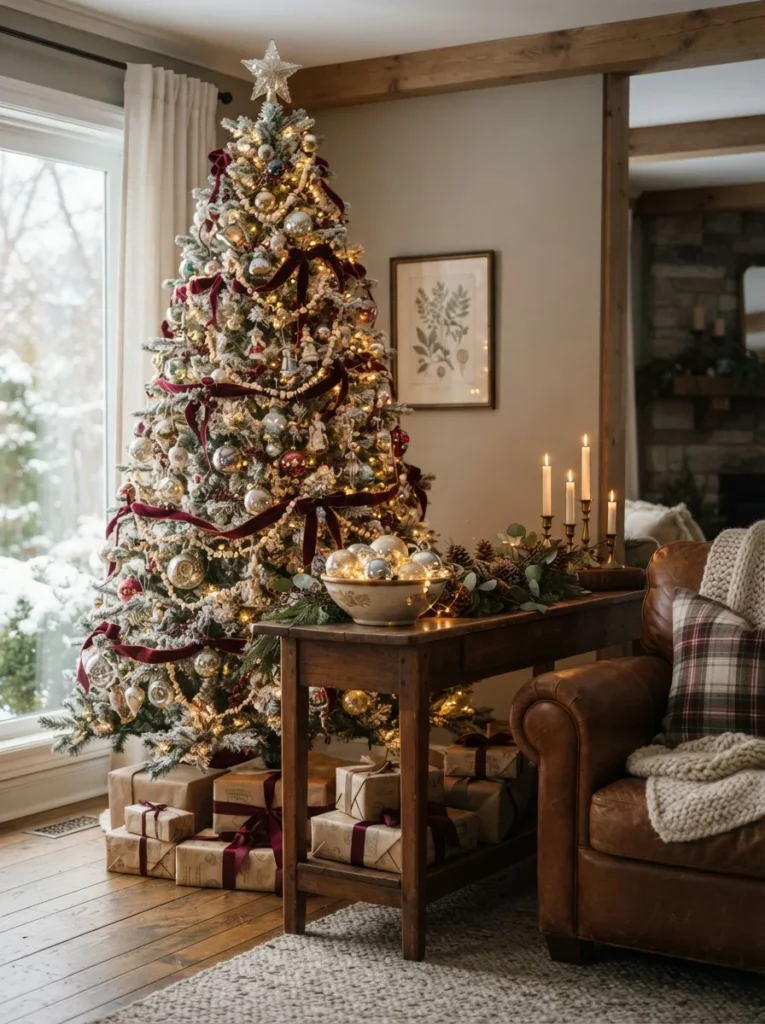
You can also carry the ornament collection beyond the tree. Place five or six baubles in a shallow ceramic bowl, hang three from a mantel garland, or fill a glass hurricane with ornaments for the dining table. Use no more than 6 to 8 loose ornaments in a tabletop bowl so the arrangement doesn’t become visually heavy. Keep fragile glass away from table edges.
Check the Tree from Every Angle
Before calling it finished, turn off the room lights and switch on the Christmas lights. Walk about 8 feet away from the tree and look at it from the front, side, and doorway. You’ll spot empty patches much faster from a distance.
Move ornaments rather than constantly adding more. The goal is a balanced mix of old glass, ribbon, greenery, and light. Give yourself 10 final minutes for rearranging instead of rushing to finish. Check that hooks are secure and that no heavy ornament is pulling a thin branch downward. Then put the ornament box away and enjoy the tree.
Mistakes That Ruin the Result
- Hanging everything at the branch tips: Place large ornaments 4 to 6 inches inside the tree for better depth and support.
- Using too many colors: Stick with three to five main colors, such as red, green, cream, gold, and silver.
- Ignoring ornament weight: Put heavy glass pieces on thick branches close to the trunk.
- Making every gap look filled: Leave some greenery visible so each vintage ornament has room to stand out.
Frequently Asked Questions
Q: How do I decorate with vintage Christmas ornaments without making the tree look old-fashioned in a bad way?
A: Limit the color palette and pair old ornaments with simple warm white lights and one good ribbon. The mix feels classic rather than cluttered.
Q: How many vintage Christmas ornaments do I need for a 6-foot tree?
A: Start with 30 to 50 ornaments for a comfortably decorated 6-foot tree. Use 50 to 70 if you prefer a fuller look.
Q: Can I mix vintage ornaments with new Christmas decorations?
A: Yes. Keep the newer pieces simple, such as plain velvet ribbon, matte baubles, or warm white lights. Let the older ornaments provide most of the character.
Q: How do I safely decorate with old glass Christmas ornaments?
A: Check every ornament for cracks, loose caps, and damaged hooks. Hang fragile pieces on sturdy inner branches and keep them away from pets, children, and busy walkways.
Q: What colors work best with vintage Christmas ornaments?
A: Cranberry red, forest green, antique gold, silver, cream, and dusty blue all work well. Choose three to five colors instead of using every shade in the ornament box.
Give Your Vintage Christmas Collection a Fresh Place to Shine
Learning how to decorate with vintage Christmas ornaments is really about giving old pieces enough space to be seen. Sort them by color, use larger ornaments inside the tree, keep special pieces at eye level, and let warm lights do some of the decorating work. Set aside a couple of hours this weekend, pull out that box of ornaments you’ve been saving, and build a display that feels collected, cozy, and personal.
Want the full Fall & Christmas Decorating Planner?
16 pages — color palettes, room-by-room checklists, DIY projects, shopping lists and more. Instant PDF download.
Get the Planner — $9