
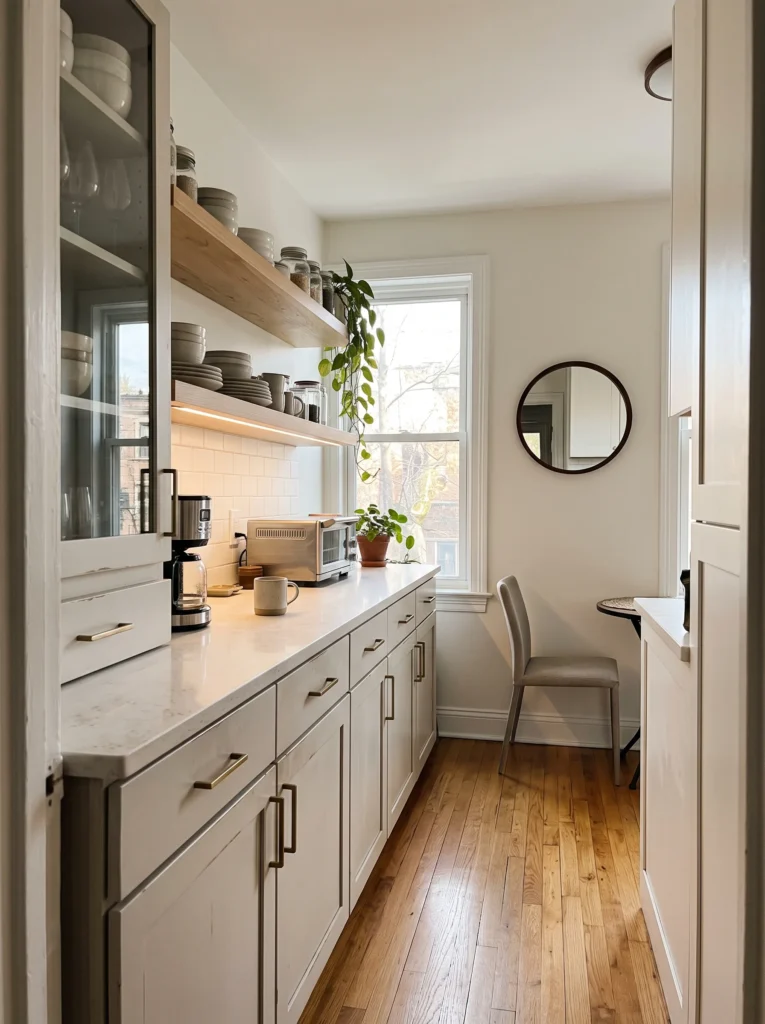
A tiny kitchen can feel cramped even when every cabinet and countertop is doing its job. Dark finishes, bulky furniture, crowded counters, and poor lighting can make a small room feel even tighter.
The good news is that you don’t need to knock down a wall. In this guide, you’ll learn how to make a tiny kitchen look bigger with lighter colors, better lighting, slimmer storage, and a few renter-friendly changes. Most of the work takes about 2–3 hours and costs around $40–$100, depending on what you already own.
Time: 2–3 hours | Cost: around $40–$100 | Difficulty: Easy | Best for: Tiny kitchens, apartments, rentals, and narrow galley kitchens
What You’ll Need
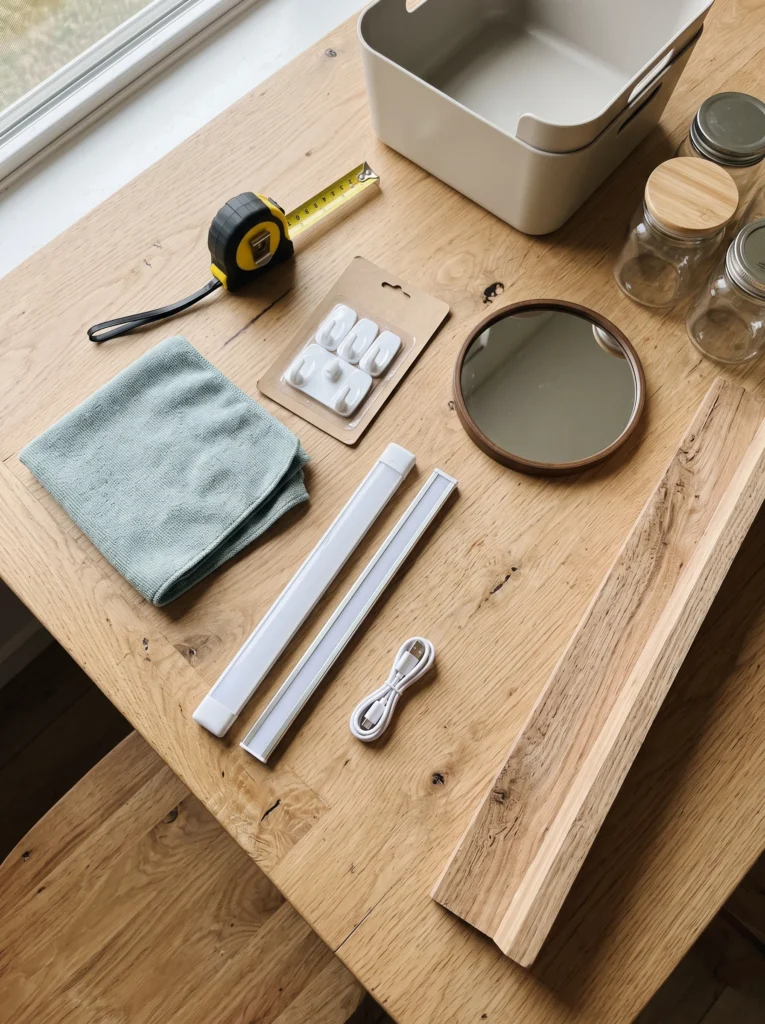
- 12-foot tape measure — around $8
- Microfiber cleaning cloths — around $6
- Rechargeable LED puck lights — around $15–$25
- Removable adhesive hooks — around $7–$10
- Small round mirror, 18–24 inches — around $15–$25
- Clear glass food jars — around $10–$15 for a set
- Slim shelf, about 6 inches deep — around $15–$25
- Light-colored storage bins — around $8–$12
- Painter’s tape — around $5
- Screwdriver or drill — around $25 if you don’t already have one
Clear the Counters Before You Change Anything
Start by taking everything off the kitchen counters. Put appliances, utensils, mail, food packages, and decorative items on the table or floor so you can see the actual workspace.
Clean the counters and backsplash with a damp microfiber cloth. Then measure how much counter space is hidden under everyday clutter. Aim to keep at least 60% of the visible countertop clear. Leave only the items you use daily, such as a coffee maker or toaster. Store the rest inside cabinets, on a shelf, or in a drawer. One mistake I made was keeping a pretty utensil crock beside the stove even though it swallowed almost a foot of counter space.
Paint the Walls in a Light Warm Color
If your walls are dark, repainting them is one of the simplest ways to make a tiny kitchen look bigger. Choose soft white, warm ivory, pale greige, or a very light beige instead of stark gray or saturated colors.
For a small kitchen, satin or eggshell paint works well because it reflects a little light and wipes clean more easily than flat paint. Test your color beside the cabinets before buying a full gallon. A standard 10-by-10-foot kitchen often takes about 1 gallon for two coats, though walls with strong existing color may take more. Let the first coat dry for the time listed on the paint can before applying the second.
Add Under-Cabinet Lighting
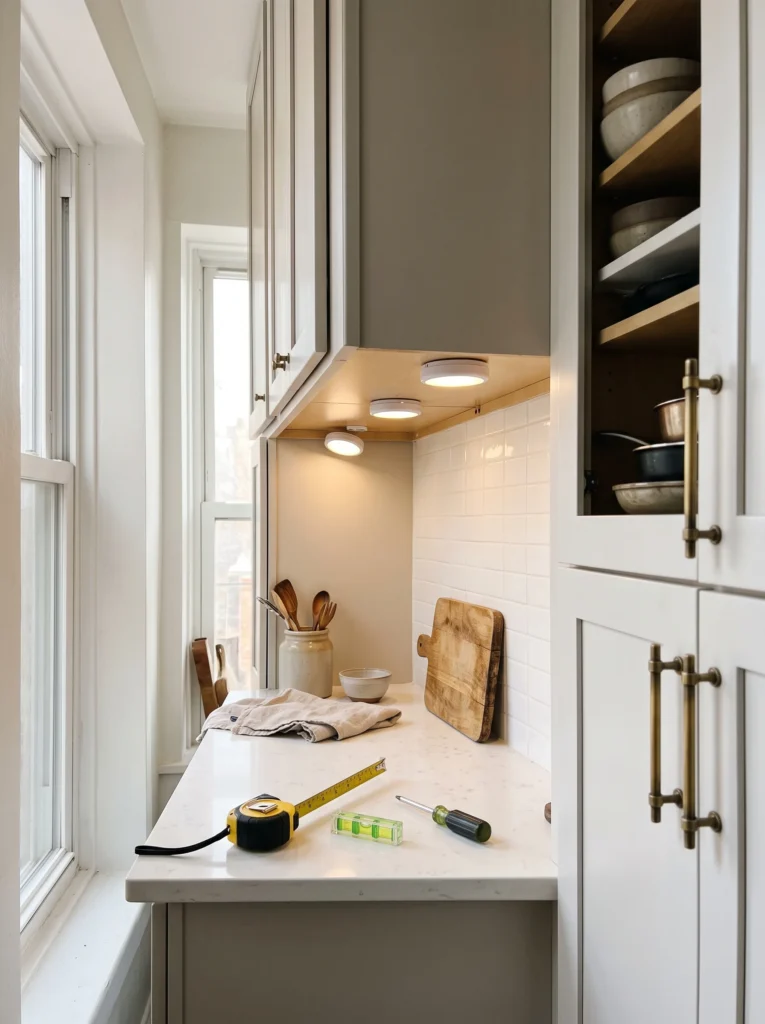
Dark shadows under upper cabinets make countertops visually disappear. Add rechargeable LED puck lights or a slim LED light bar beneath the cabinets to brighten that entire strip.
Place puck lights about 12–16 inches apart for even coverage. Warm white bulbs around 2700–3000K work well with cream, beige, and natural wood kitchens. Clean the underside of the cabinet before attaching adhesive-backed lights, and press each one firmly for about 30 seconds. If you’re using a wired fixture, turn off the circuit at the breaker before working. A $20 lighting upgrade can make a narrow counter look considerably more open at night.
Use One Large Mirror Instead of Several Small Decorations
A mirror can visually extend a small kitchen by reflecting light and showing more of the room. Choose a simple round or rectangular mirror that doesn’t compete with your cabinets.
For most kitchens, an 18–24-inch mirror works well on a blank wall or dining nook. Hang it opposite a window if possible so it reflects daylight rather than a cabinet door. Keep the frame slim, especially in a narrow galley kitchen. Don’t cover an entire wall with little mirrors or decorative pieces. That creates visual noise. If you rent, use an appropriate removable hanging system and check its weight rating before mounting the mirror.
Replace Bulky Storage With Slim Vertical Shelving
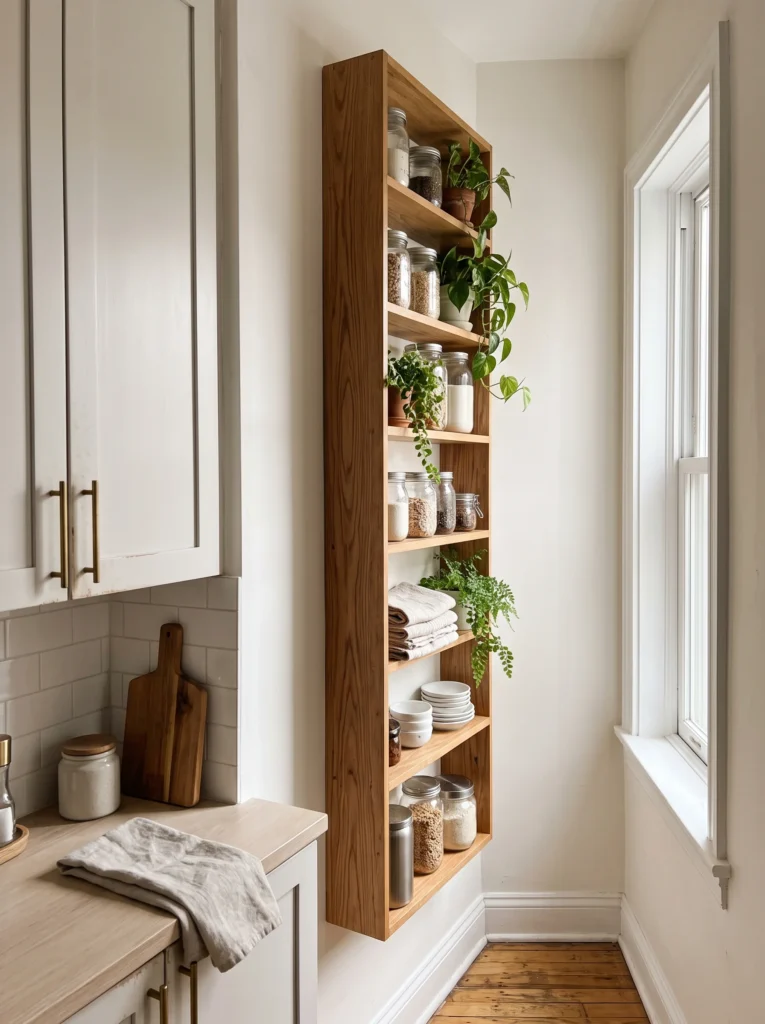
Small kitchens often lose valuable floor and counter space to chunky organizers. A narrow wall shelf gives you storage without making the room feel crowded.
Choose a shelf about 5–6 inches deep for lightweight dishes, jars, spices, or mugs. Mount it at least 16 inches above the countertop if it sits over a work area, giving you enough room to cook comfortably. Use a stud finder when possible, then mark the bracket positions with painter’s tape. If the shelf will hold dishes or canned food, use wall anchors rated for the full load. Keep the shelf lightly filled. Three useful items look cleaner than twelve crowded ones.
Switch to Clear Containers for Everyday Food
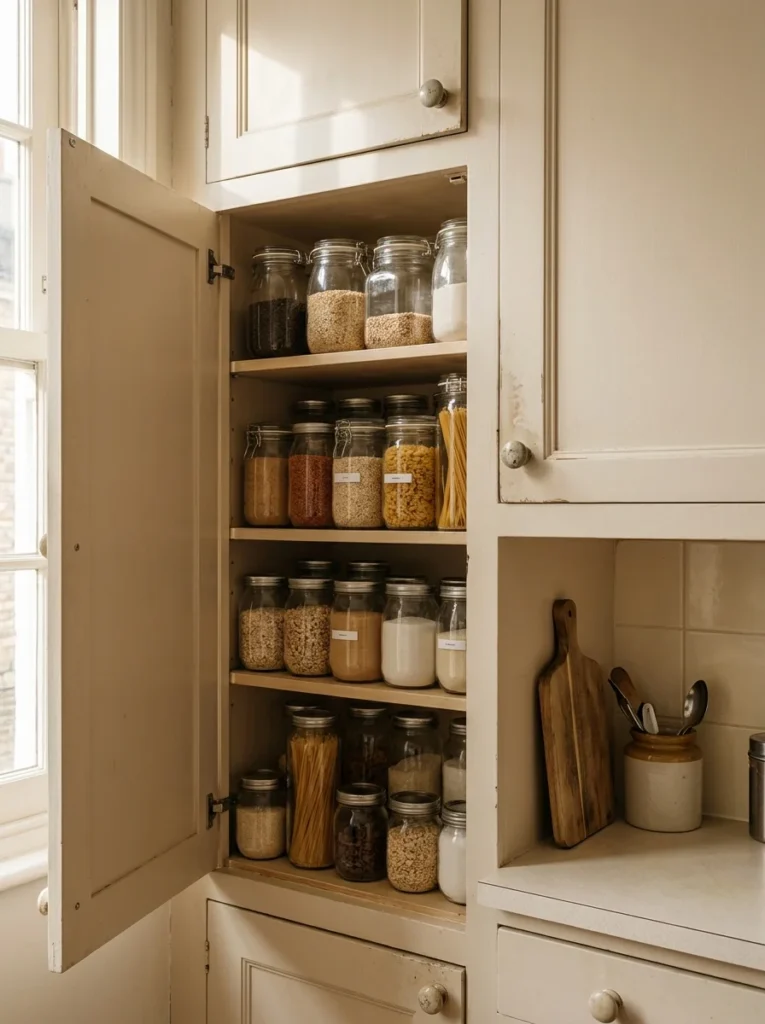
Clear containers help small kitchens look calmer because you can see what you have without stacking colorful boxes and bags everywhere. Transfer frequently used dry foods such as pasta, rice, oats, flour, and cereal into matching glass or clear plastic containers.
Measure your cabinet shelf before buying containers. A 10–12-inch-tall container fits many standard upper cabinets, but check your own shelves first. Group similar foods together and keep the tallest containers toward the back. Avoid buying a giant matching set before measuring. I once bought containers that were just half an inch too tall for one cabinet shelf, which turned a simple organizing project into a return trip.
Keep Cabinet Hardware Small and Simple
Large handles can look heavy on narrow cabinet doors, especially when there are many of them close together. Replacing oversized hardware with slim pulls or small round knobs gives the cabinets a cleaner visual line.
Measure your existing hardware before shopping. For common cabinet pulls, record the distance between the screw centers, not the overall length. A 3-inch center-to-center pull won’t fit holes drilled 4 inches apart. IKEA, Home Depot, Lowe’s, and Amazon carry inexpensive options, while thrift stores can be useful for vintage hardware. If you’re renting, don’t drill new holes unless your lease allows it. Use the existing holes whenever possible.
Choose One Small Rug With a Long Visual Line
A narrow runner can make a galley kitchen feel longer, but the wrong rug can do the opposite. Pick one simple runner rather than several small mats scattered around the room.
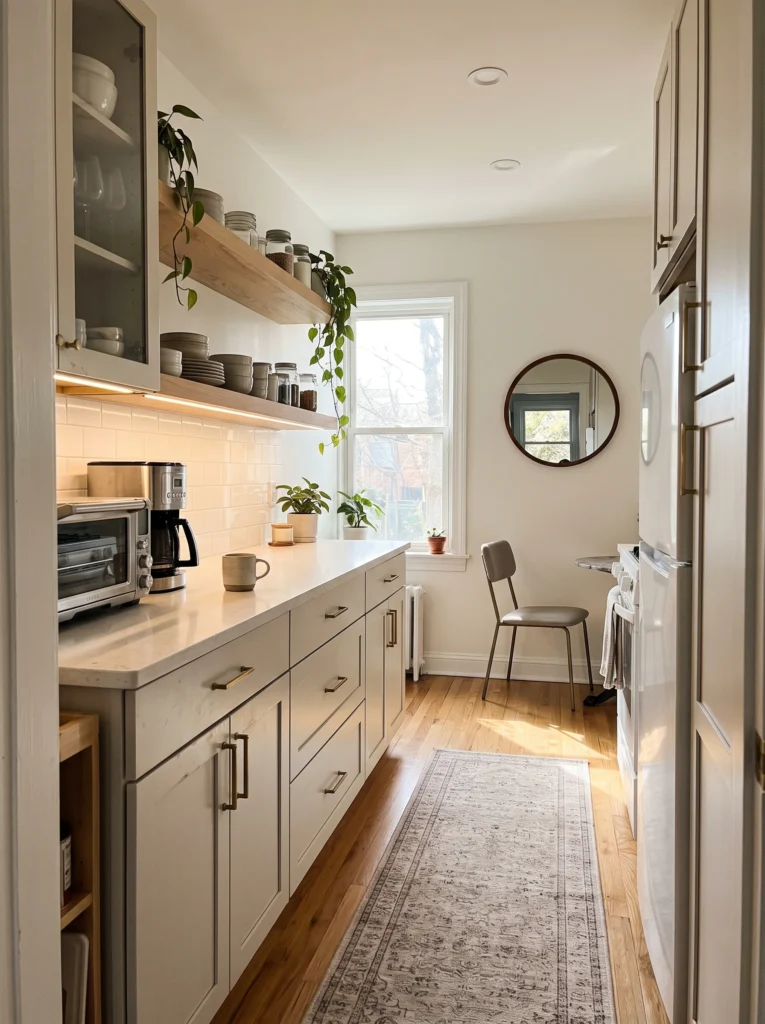
For a typical galley kitchen, a 2-by-6-foot runner is a good starting size. Leave roughly 3–6 inches of visible floor along each side when the space allows. Choose a low-pile washable rug so cabinet doors don’t catch on it. A subtle stripe, small geometric pattern, or solid neutral color works better than a busy design in a tight room. Add a non-slip pad underneath, especially on tile or laminate flooring.
Keep the Upper Half of the Kitchen Visually Quiet
Look at everything above your countertops. If you have crowded shelves, oversized signs, hanging baskets, and several colors competing for attention, remove half of them.
Leave the area above the upper cabinets mostly empty if the ceiling is low. For open shelving, keep about one-third of each shelf visibly empty. Use two or three related colors, such as white, pale wood, and soft green. This works especially well if you’re following [INTERNAL LINK: small kitchen storage ideas]. The goal isn’t to remove personality. Keep one favorite piece of artwork, a small plant, or a pretty bowl. Just give each item enough space around it.
Mistakes That Ruin the Result
- Using too many colors: Stick with two or three main finishes so the small room doesn’t look visually crowded.
- Choosing oversized furniture: Measure every cart, island, or shelf before buying it. Leave at least 36 inches for a comfortable walking path.
- Installing weak lighting: One ceiling fixture rarely lights every corner. Add under-cabinet LEDs where shadows collect.
- Filling every shelf: Leave roughly one-third of open shelving empty so the walls don’t feel packed.
Frequently Asked Questions
Q: How can I make a tiny kitchen look bigger without remodeling?
A: Start with clear counters, light wall colors, brighter under-cabinet lighting, and slim storage. Mirrors and clear containers can also reduce the visual weight of a small room.
Q: What color makes a tiny kitchen look bigger?
A: Soft white, warm ivory, pale greige, and light beige are reliable choices. Use the same or a closely related color on the walls and cabinets when possible to create a more continuous look.
Q: Does a mirror really make a small kitchen look bigger?
A: Yes, especially when it reflects a window or another bright part of the room. An 18–24-inch mirror is usually large enough to add depth without taking over a narrow wall.
Q: How much space should I leave between a kitchen counter and a shelf?
A: Keep at least 16 inches between the countertop and the bottom of a shelf for most light-duty storage. Increase the gap if you’ll use appliances or prep food underneath.
Q: What lighting is best for a tiny kitchen?
A: Use warm white lighting around 2700–3000K for a cozy kitchen. Under-cabinet LEDs are especially useful because they brighten the countertop and reduce dark shadows.
Q: Can renters make a tiny kitchen look bigger without painting?
A: Absolutely. Use removable lighting, a small mirror, clear containers, slim freestanding storage, and a simple runner. These changes can improve the room without permanent alterations.
Make the Kitchen Feel Bigger This Weekend
Learning how to make a tiny kitchen look bigger is mostly about removing visual clutter and making the available light work harder. Clear the counters, brighten the walls and work surfaces, use vertical storage, and leave a little breathing room around your favorite pieces. Pick two or three changes rather than trying to redo everything at once. You can finish the basic makeover this weekend for around $40 if you already have paint and tools, then add the pricier pieces later.