
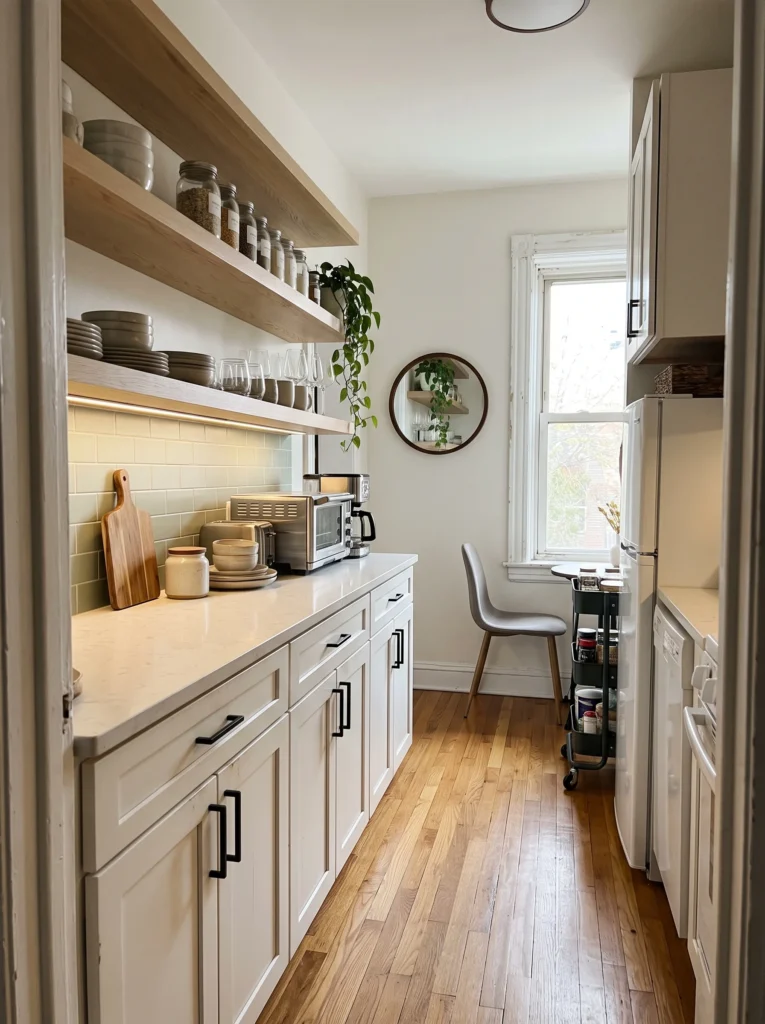
A tiny kitchen can feel crowded even when there aren’t many things in it. Narrow counters, bulky appliances, dark cabinets, and one awkward corner can make everyday cooking feel like a game of Tetris. The fix isn’t always a bigger kitchen. A smarter layout and a few carefully chosen finishes can make the same square footage work much harder.
If you’re wondering how to remodel a tiny kitchen, this project focuses on the changes that give you the most usable space without a full gut renovation. Plan on one weekend for a cosmetic remodel, or two to three weekends if you’re replacing cabinets and countertops. A simple renter-friendly version can run around $250, while a more complete DIY update often lands near $2,000 to $4,000.
Time: 12–20 hours | Cost: around $2,500 | Difficulty: Moderate | Best for: small kitchens, apartments, condos, and older kitchens with limited counter space
What You’ll Need
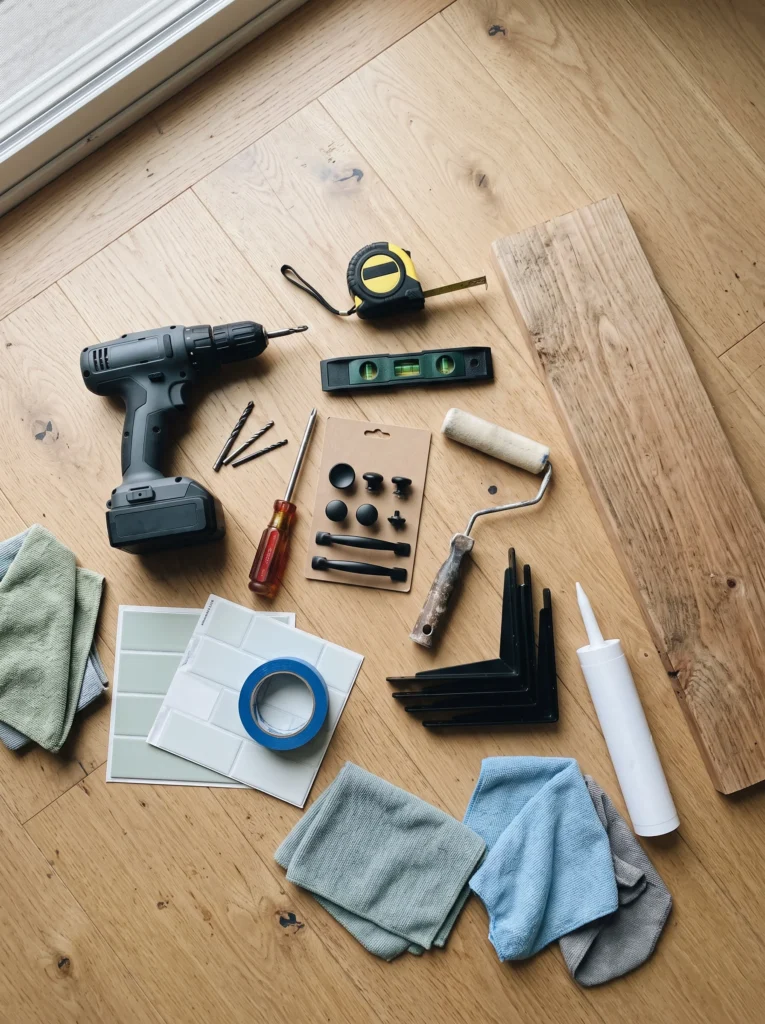
- Measuring tape, 16–25 feet — around $10
- 24-inch level — around $12
- Cordless drill and bits — around $50 if you don’t own one
- Screwdriver set — around $15
- Painter’s tape — around $7
- Cabinet paint and primer — around $55
- Cabinet pulls or knobs — around $25 for a 10-pack
- 8-foot wood shelf — around $25
- Shelf brackets — around $15
- Peel-and-stick backsplash — around $40
- Paint roller and angled brush — around $15
- Silicone kitchen caulk — around $9
- LED under-cabinet light kit — around $30
- Wood filler and sandpaper — around $12
- Microfiber cloths and cleaning supplies — around $10
Before buying anything, measure the walls, cabinet openings, appliance widths, and walking paths. For ideas on making a small room feel more open, see [INTERNAL LINK: article about small kitchen design ideas].
Measure the Tiny Kitchen Before You Remodel
Start by drawing the kitchen on graph paper or in a simple notes app. Measure every wall, doorway, window, cabinet run, appliance opening, and countertop depth. Write each measurement down twice. A half-inch mistake can turn a perfectly good cabinet order into an expensive return.
Keep at least 36 inches of clear walking space through the main work area. If two people regularly cook together, aim closer to 42 inches. Mark the refrigerator door swing and dishwasher door on the floor with painter’s tape. This quickly shows whether your proposed changes will create a traffic jam. Take photos of plumbing, outlets, and switches before removing anything.
Remove Clutter Before Remodeling a Tiny Kitchen
Empty every cabinet and drawer before making design decisions. Put duplicate utensils, rarely used appliances, and mismatched containers in three piles: keep, donate, and store elsewhere. Don’t design storage around items you barely use.
For a tiny kitchen, reserve the easiest-to-reach cabinets for everyday plates, pans, glasses, and cooking tools. Store holiday dishes and specialty appliances higher up. If you find three spatulas but use one, keep the one you actually reach for. I once skipped this sorting step and designed around a bulky appliance that hadn’t been used in six months.
A five-minute measurement can save a surprising amount of cabinet space.
Paint the Cabinets a Light, Durable Color
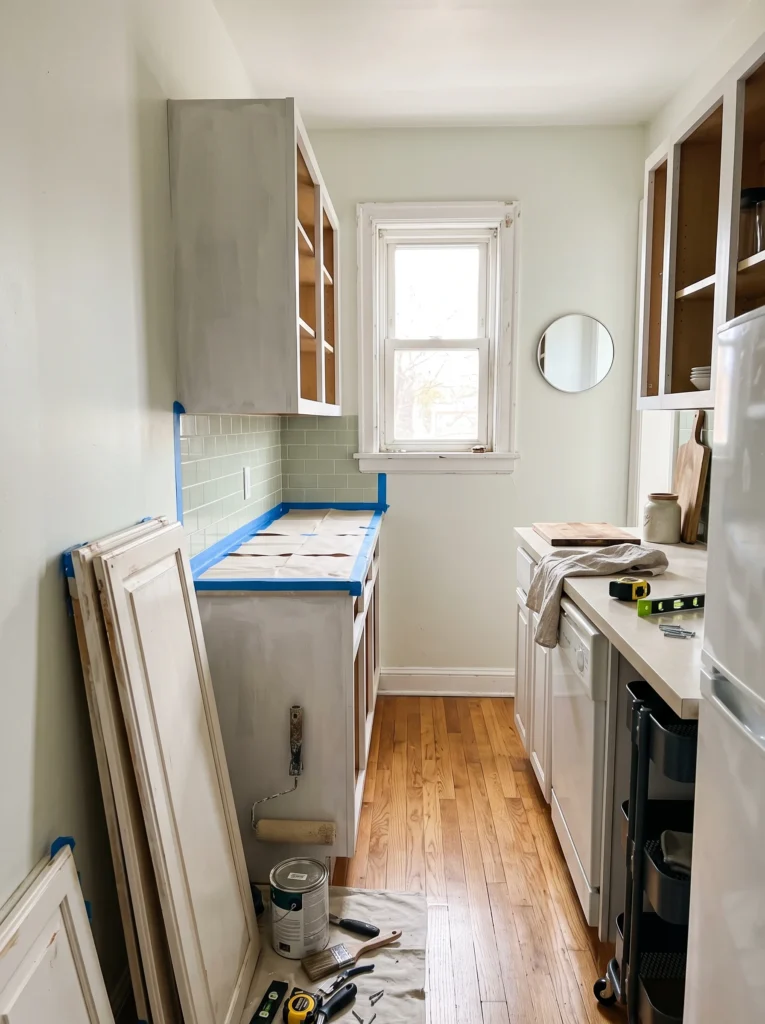
If your existing cabinet boxes are solid, painting them is usually much cheaper than replacing them. Remove doors and hardware, label each door with painter’s tape, then wash everything with a degreasing cleaner. Sand glossy surfaces lightly with 120-grit paper and wipe away all dust.
Apply a bonding primer, followed by two thin coats of cabinet paint. Allow 24 hours of curing time before reinstalling doors. Warm white, soft greige, pale sage, and muted blue work especially well in compact kitchens because they keep the room visually calm without making every surface stark white.
Don’t rush thick coats. Heavy paint around hinges and door edges can make cabinets stick.
Replace Bulky Hardware With Slim Cabinet Pulls
New hardware is one of the fastest ways to make older cabinets look custom. For upper cabinets, use 3-inch center-to-center pulls or small knobs. For wide drawers, use 5-inch to 6-inch pulls so your hand doesn’t have to reach awkwardly.
Install each pull at the same height and distance from the cabinet edge. Make a cardboard template with two holes before drilling the actual doors. This takes about ten minutes and prevents a row of crooked handles.
Plan on $25 to $40 for a basic 10-pack of hardware from Home Depot, Lowe’s, Target, or Amazon. Matte black works well with white cabinets, while brushed brass adds warmth. If your kitchen is very small, keep all hardware in one finish.
Add Storage to Empty Wall Space
Look above counters and beside cabinets for vertical space you’re not using. A shallow wood shelf that’s 8 to 10 inches deep can hold mugs, spices, oils, or everyday dishes without taking over the counter.
Mount brackets into wall studs whenever possible. If a stud isn’t available, use wall anchors rated for the shelf load. Position the shelf 16 to 18 inches above the countertop so appliances and food prep still have room underneath.
For a narrow wall beside the refrigerator, a 5-inch-wide spice shelf can hold jars without blocking the walkway. IKEA, Walmart, and Target have inexpensive shelf options, or you can cut an 8-foot pine board at Home Depot.
Improve Counter Space With a Smarter Work Zone
Don’t spread every appliance across the countertop. Group the coffee maker, toaster, and kettle together in one zone, then leave the largest uninterrupted section beside the sink for food prep.
A useful prep area should have about 24 to 30 inches of clear counter width if your layout allows it. Store knives in a drawer insert, mount paper towels beneath an upper cabinet, and use a narrow utensil crock instead of several separate containers.
If you rarely use the microwave, move it onto a sturdy shelf or microwave stand rather than sacrificing prime counter space. Keep the area directly beside the refrigerator relatively clear so groceries can be unloaded quickly.
Install Under-Cabinet Lighting
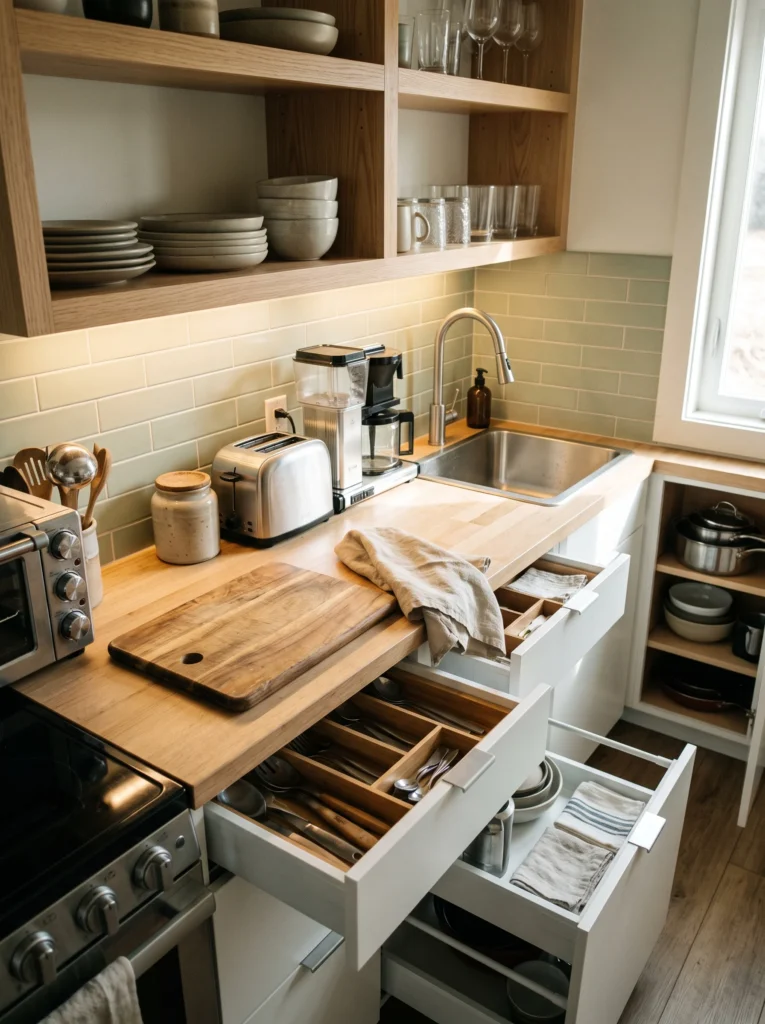
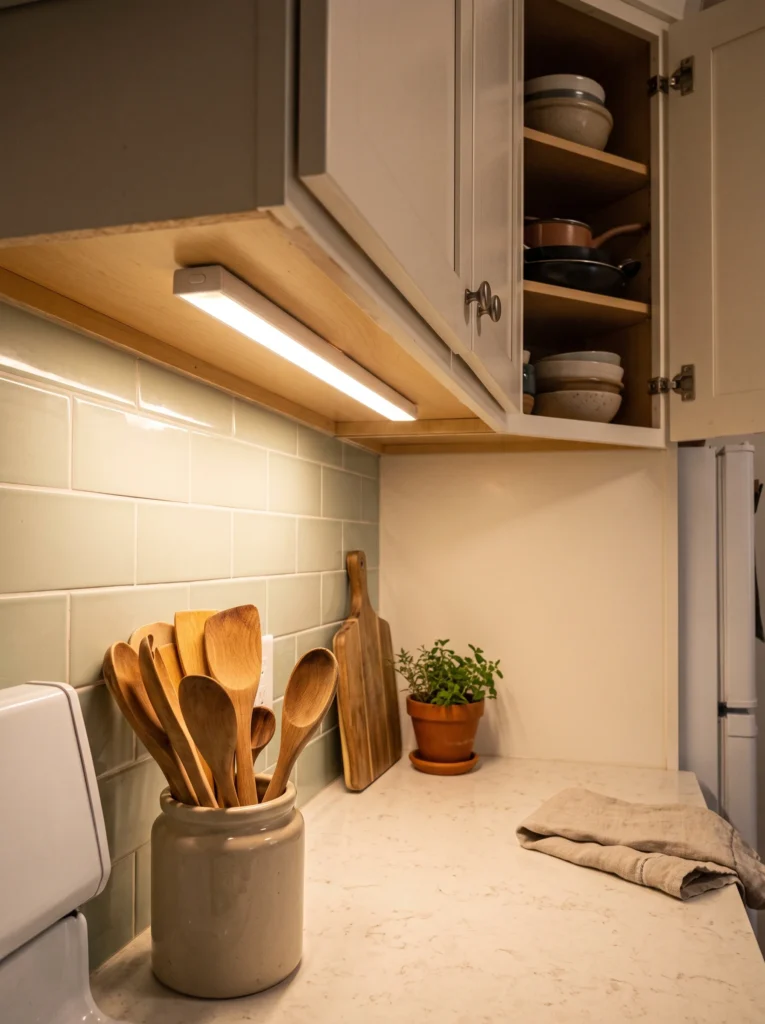
Dark countertops can make a small kitchen feel even tighter, especially at night. Add LED light strips beneath upper cabinets to brighten the work surface without taking up any counter space.
Clean the underside of the cabinet with rubbing alcohol before attaching adhesive-backed lights. Place the strip toward the front edge, rather than pushed against the backsplash, so light reaches the cutting area. For plug-in kits, hide the cable along the cabinet underside with small cable clips.
Choose a warm white setting around 2700K to 3000K for a comfortable kitchen glow. If your kit has a dimmer, mount the control where you can reach it without stretching across the counter.
Update the Backsplash Without Losing Counter Space
A backsplash gives you a chance to add color and texture without taking up any floor or counter area. For a budget remodel, peel-and-stick tile is easy to install and works well on a clean, smooth wall.
Measure the backsplash area and buy about 10 percent extra material for cuts and mistakes. Start at the most visible corner and work outward. Press each panel firmly, especially around outlets and cabinet edges. Use a sharp utility knife for straight cuts and a small metal ruler as your guide.
For a permanent remodel, ceramic subway tile is a solid choice. A soft green, creamy white, or warm beige tile pairs nicely with natural wood shelves and light cabinets.
Finish With Small Details That Earn Their Space
Once the large work is finished, look for small areas that still aren’t working. Add a magnetic knife strip, a narrow pull-out organizer, hooks beneath a shelf, or a slim rolling cart if there is a 10- to 12-inch gap.
Keep countertop accessories limited to items you use daily. One wooden cutting board can look intentional. Six appliances scattered around the room simply eat into your work surface.
Add one washable runner, a small framed print, or a ceramic vase with greenery if you have room. The goal is a kitchen that feels personal without filling every empty spot. Give the caulk at least 24 hours to cure before washing the surrounding surfaces.
Mistakes That Ruin the Result
- Buying cabinets before measuring: Draw the entire wall and appliance layout first, including door swings.
- Using too many finishes: Stick with two or three main finishes, such as white cabinets, wood shelves, and matte black hardware.
- Ignoring counter depth: Check that shelves, carts, and appliances don’t reduce the main walking path below 36 inches.
- Skipping the curing time: Let cabinet paint and caulk cure according to the product instructions before heavy daily use.
Frequently Asked Questions
Q: How to remodel a tiny kitchen without spending a fortune?
A: Keep the existing cabinet boxes and focus on paint, hardware, lighting, shelving, and a backsplash. A cosmetic remodel can often stay below $500 if you already own basic tools.
Q: What is the best color for a tiny kitchen?
A: Warm white, pale sage, soft blue, and light greige are reliable choices. Pair lighter cabinets with natural wood or a medium-tone countertop so the room doesn’t look flat.
Q: How much does a tiny kitchen remodel cost?
A: A small cosmetic update can cost $250 to $1,000. Cabinet replacement, countertops, electrical work, and plumbing can push a remodel into the $2,000 to $10,000-plus range.
Q: How can I add storage without making a tiny kitchen feel crowded?
A: Use vertical storage first. Shallow shelves, cabinet-door organizers, hooks, and narrow pull-outs use wall and cabinet space without taking much floor area.
Q: Should I use open shelving in a small kitchen?
A: Yes, but keep shelves shallow and limit what sits on them. One or two shelves with matching dishes and a few everyday items are easier to keep tidy than a wall packed with storage.
Q: How long does it take to remodel a tiny kitchen?
A: A cosmetic update usually takes one weekend to several days of work. Cabinet replacement or changes involving plumbing and electrical work can take two to three weeks depending on the project.
Give Your Tiny Kitchen a Better Weekend Layout
You don’t have to tear everything out to get a kitchen that works better. Start with measurements, remove the clutter, improve the storage, brighten the work surfaces, and spend your money on the changes you touch every day. If you’re learning how to remodel a tiny kitchen, choose one wall or work zone and start there this weekend. A few smart changes can give the same small footprint more usable counter space, better storage, and a much cleaner look.