
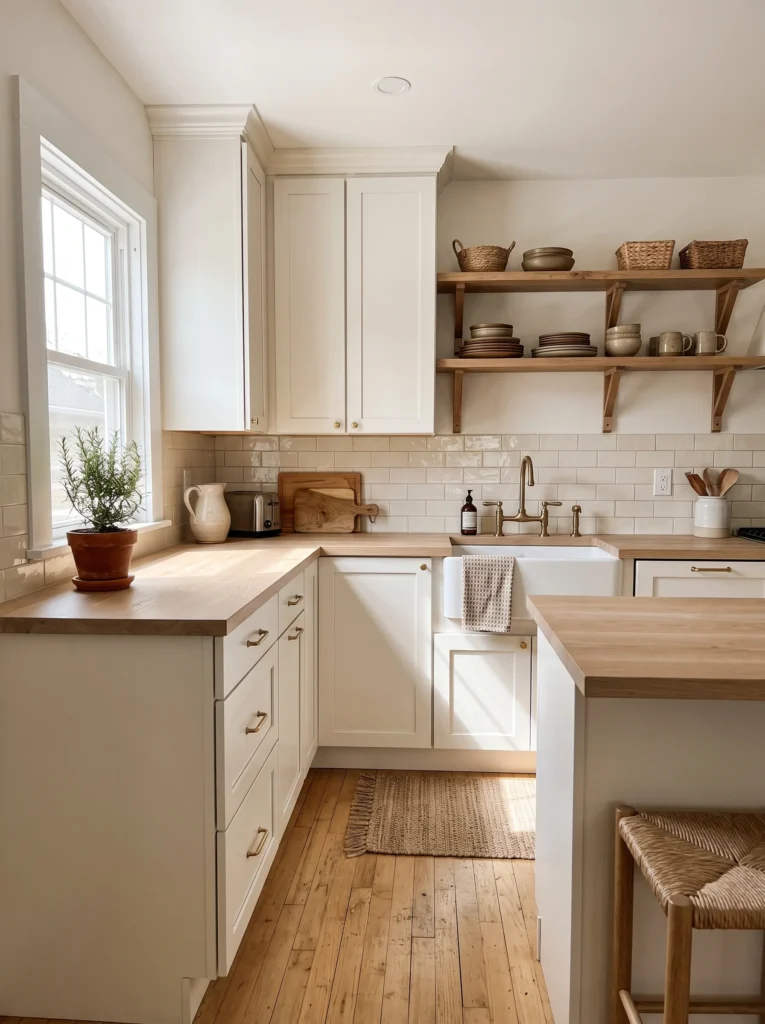
A tiny kitchen can be frustrating in ways that have nothing to do with cooking. The countertops fill up after one grocery trip, the cabinets never seem to hold enough, and that awkward corner collects things you don’t know where else to put. The good news? You don’t have to knock down walls to make a small kitchen feel completely different.
The best tiny kitchen makeover ideas combine smart storage, brighter finishes, practical lighting, and a few carefully chosen details. You can repaint cabinets for $50 to $150, add a peel-and-stick backsplash for $30 to $100, or replace dated hardware for less than $40. Bigger changes, like new countertops or cabinets, cost more, but a thoughtful mix of small upgrades can make your kitchen feel brighter, easier to use, and much more like home.
1. Paint Dark Cabinets a Warm, Creamy White

Dark cabinets can make a narrow kitchen feel heavier than it actually is, especially when the room has only one small window. Painting them a creamy white gives the space a lighter appearance without the cost of replacing every door and drawer. Look for shades with a warm undertone rather than a stark blue-white, particularly if your flooring is beige or your counters have golden wood tones. A gallon of quality cabinet paint generally costs around $40 to $80, while primer, brushes, and sanding supplies can bring the total to $80 to $180 for a DIY project, depending on the number of cabinets. Remove the doors, label the hinges, clean away cooking grease, and lightly sand glossy surfaces before painting. Allow each coat to dry according to the manufacturer’s instructions. Finish with simple brushed nickel or brass pulls, usually $2 to $6 each. The result feels more cohesive because the cabinet color reflects available light instead of absorbing it.
2. Install a Peel-and-Stick Backsplash Over a Plain Wall
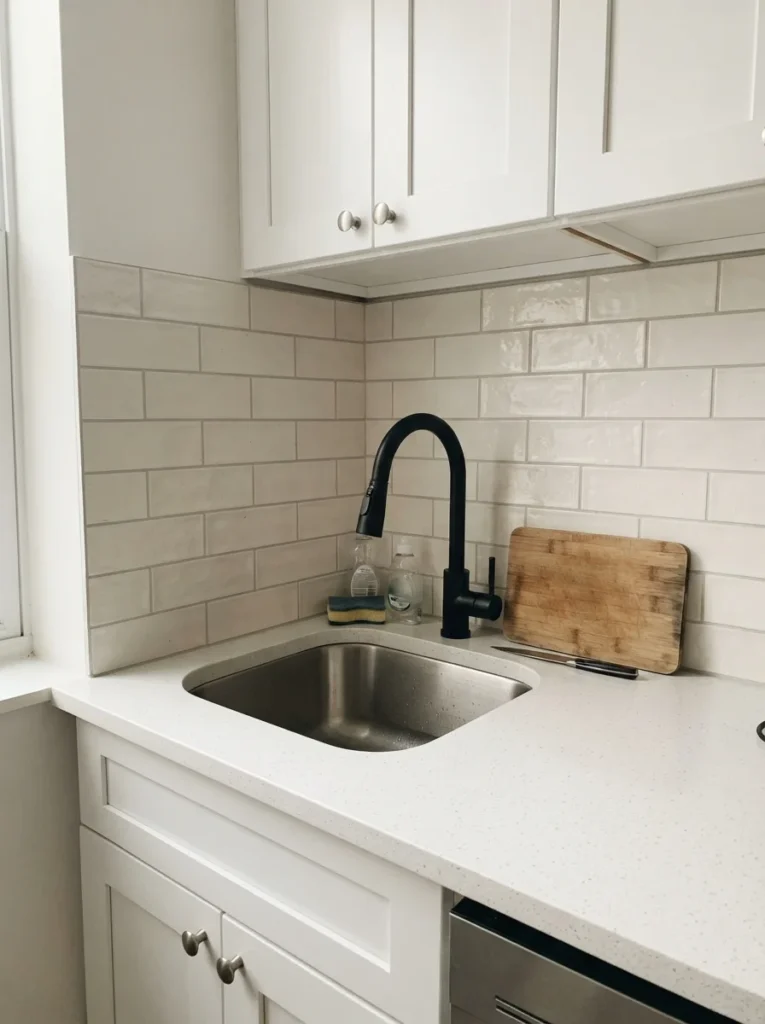
A plain wall behind the stove or sink can make an otherwise tidy kitchen feel unfinished. Peel-and-stick backsplash tiles offer a simple way to add texture without hiring a tile installer. White subway patterns work well in traditional kitchens, while pale gray stone designs suit modern apartments. A package covering roughly 10 square feet often costs $25 to $60, although thicker, more realistic designs can cost more. Measure the wall carefully, then calculate the coverage before ordering. Clean the surface thoroughly and let it dry completely because grease and moisture prevent adhesive from holding properly. Start along a straight reference line, use a sharp utility knife for outlet cutouts, and press each section firmly into place. Check the manufacturer’s heat and moisture restrictions before installing tiles near a range or sink. For a renter, removable products can be useful, but test a sample on an inconspicuous area first. The visual payoff comes from giving the cooking area a defined finish without adding bulky materials or taking up counter space.
3. Swap Bulky Ceiling Lights for Slim Fixtures
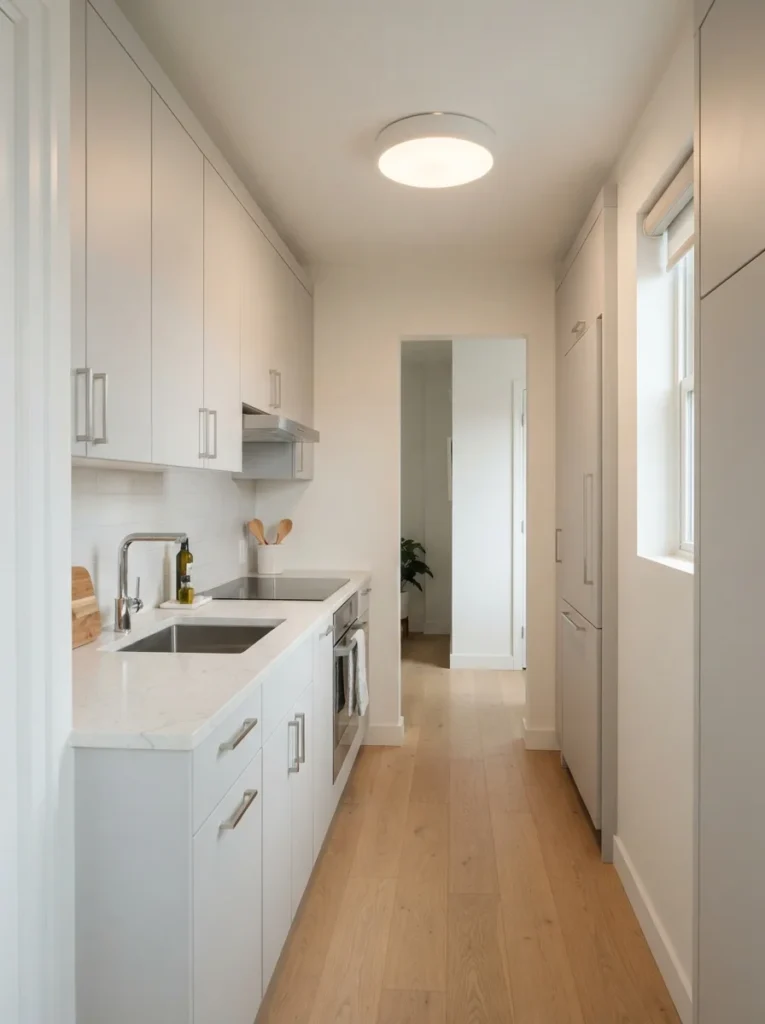
A large, dated ceiling fixture can visually crowd a small kitchen, particularly one with an eight-foot ceiling. Replace it with a slim flush-mount light that sits close to the ceiling and spreads illumination across the room. Basic fixtures at Home Depot or Lowe’s often cost $25 to $70, while decorative models with integrated LEDs can cost $60 to $150. Choose a fixture that distributes light evenly rather than creating one bright spot in the middle of the room. A 3000K color temperature usually gives kitchens a comfortable warm-white glow without making white cabinets look yellow. Check the fixture’s brightness rating and room size before buying. If you have a long galley kitchen, two modest fixtures may work better than one oversized light. Keep the design simple, especially if your backsplash or cabinet hardware already has a strong finish. Have an electrician handle new wiring or changes to the electrical box. Better overhead lighting helps you see ingredients clearly and makes the room feel less shadowy during evening meal preparation.
4. Add a Butcher-Block Countertop for Natural Warmth
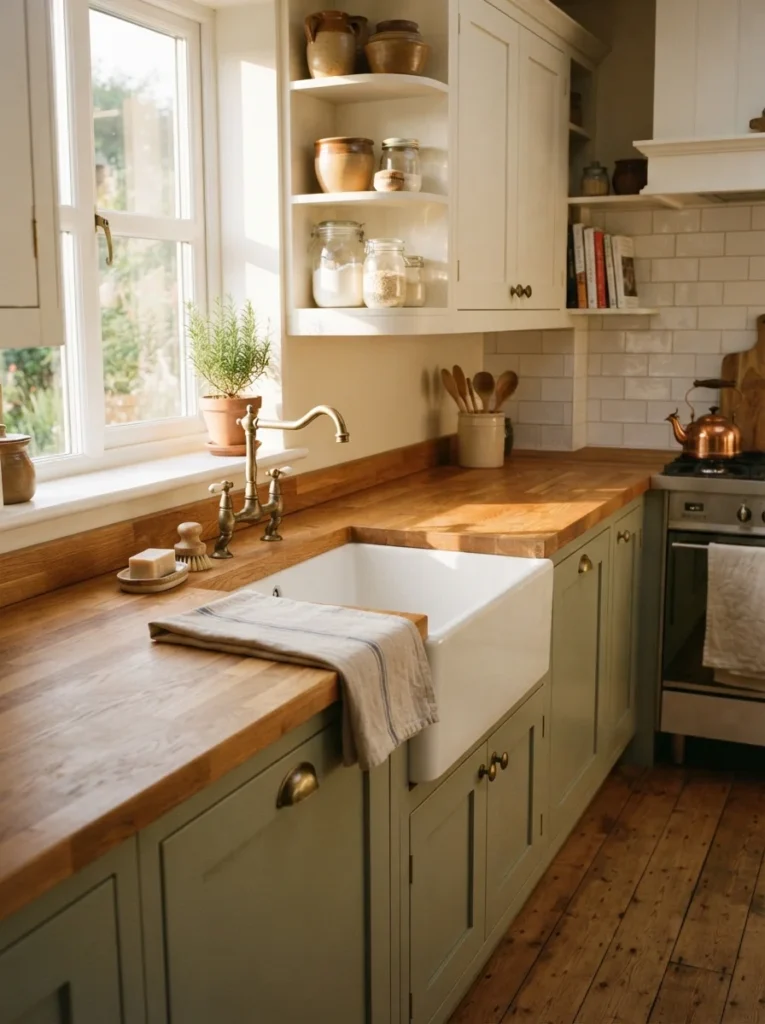
If your existing laminate counter looks worn or dated, butcher block can give the kitchen a warmer, more finished appearance. The wood grain breaks up large expanses of white cabinetry and pairs especially well with sage green, cream, and charcoal accents. Basic butcher-block countertop sections at home improvement stores often cost around $150 to $350 for a small kitchen’s material allowance, although custom cuts and premium wood cost more. Before purchasing, measure every counter run and account for sink cutouts, overhangs, and seams. A 1.5-inch-thick countertop gives a substantial appearance without looking oversized in a compact room. Seal the wood with a food-safe product suited to your intended use, and follow its maintenance instructions. Wipe spills promptly, particularly near the sink, because standing water can damage the surface. If you use the counter for food preparation, follow the manufacturer’s guidance on suitable finishes and cleaning. This project requires careful cutting and fitting, so professional installation is sensible if you’re not comfortable working around plumbing or uneven walls.
5. Take Cabinets All the Way to the Ceiling

The gap above standard upper cabinets often becomes a dusty parking spot for rarely used appliances and mismatched baskets. Extending the cabinetry upward creates a cleaner line and gives you room for seasonal dishes, serving platters, and baking equipment. If your cabinets stop 12 inches below the ceiling, a carpenter may be able to add matching upper boxes or build a finished extension. Budget around $200 to $800 or more for a modest DIY extension or contractor-assisted update, depending on cabinet construction and finish matching. Store infrequently used items on the highest shelves and keep everyday plates within easy reach. Matching cabinet doors and trim help the extension look intentional rather than like an afterthought. If replacement cabinets are out of budget, install a simple painted panel or crown molding to close the visual gap, provided the construction allows it. Never store heavy cookware where reaching it requires an unstable step stool. A clean upper line makes the kitchen appear taller, while the extra enclosed space prevents clutter from collecting overhead.
6. Give the Cabinets a Sage Green Makeover

White isn’t the only way to brighten a small kitchen. Muted sage adds personality while remaining soft enough for a compact room. Painting just the lower cabinets sage and leaving the uppers white creates contrast without making the entire kitchen feel dark. A quart of suitable cabinet paint generally costs $20 to $40, and a gallon is often around $40 to $80. For a 10- to 15-square-foot cabinet section, buy enough paint for the required coats rather than stretching a nearly empty can across the last doors. Test the color on a sample board and view it in morning and evening light before committing. Pair sage with cream tile, brushed brass pulls, and medium-toned wood for a relaxed cottage look. Avoid adding several other strong colors because the cabinets already provide the main accent. Clean painted doors with a soft cloth and mild soap, not abrasive scrubbers that can dull the finish. This approach changes the mood of the kitchen while leaving the existing cabinet boxes, layout, and plumbing in place.
7. Replace Old Cabinet Handles With Matching Hardware
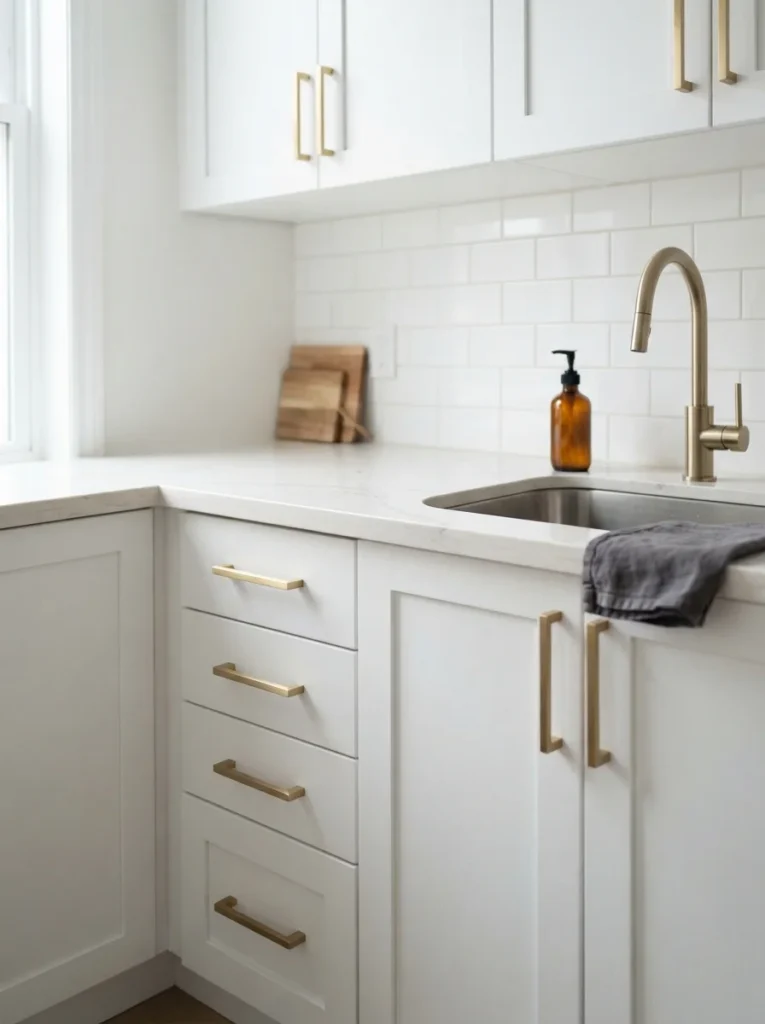
Sometimes the cabinets themselves are fine. The handles are what make the room feel dated. Swapping worn knobs for matching pulls gives the entire kitchen a more deliberate appearance, and it’s one of the easiest upgrades to complete in an afternoon. Basic hardware at IKEA, Target, or Amazon often costs $2 to $8 per piece, so a kitchen with 20 handles may cost $40 to $160 before tax. Choose one finish and repeat it across the doors and drawers. Brushed brass works beautifully with warm white cabinets, while matte black looks crisp against pale gray or oak. Measure the distance between existing screw holes before ordering, especially if you’re replacing pulls rather than knobs. A small cardboard drilling template helps keep new holes aligned when the old hardware uses different measurements. If the original holes line up, the job is usually straightforward with a screwdriver. Wipe fingerprints off metal finishes with a soft cloth and follow the manufacturer’s cleaning advice. Consistency is what makes this inexpensive change look polished rather than piecemeal.
8. Use Open Shelves for the Dishes You Actually Reach For

Replacing one section of upper cabinets with open shelves can make a crowded kitchen feel less boxed in. It works best when you display items you use daily, such as dinner plates, mugs, and water glasses, instead of turning every shelf into a collection of decorative objects. A sturdy 24- to 36-inch wood shelf often costs $25 to $70, depending on its depth, thickness, and bracket style. Before drilling, locate wall studs and select anchors or mounting hardware rated for the intended load. Keep frequently used dishes on the lower shelf, roughly 18 inches above the counter if the layout allows, and reserve higher shelves for lighter pieces. Choose a consistent palette, perhaps white ceramics, clear glass, and one natural wood tone. Shelves near the stove collect grease more quickly, so position them away from heavy splatter and wash exposed dishes regularly. If you love the look but dislike dusting, start with one short shelf rather than removing a whole row of cabinets. You’ll get the visual openness without sacrificing too much hidden storage.
9. Create a Coffee Station on a Narrow Counter

Coffee supplies have a habit of spreading across the kitchen, especially when the sugar, filters, mugs, and machine all live in different places. Give them a dedicated home on one small section of counter. A wooden or washable tray measuring around 12 by 16 inches can hold a compact coffee maker, a sugar jar, and a mug without swallowing the entire work surface. Similar trays at Target or Walmart often cost $12 to $30, and a couple of matching containers may add another $10 to $20. Put spare filters and unopened coffee bags in a nearby drawer or cabinet so the station stays tidy. Choose a tray with raised edges to catch stray grounds, and wipe it down each week. If you don’t have spare counter space, use a small rolling cart beside the refrigerator or dining nook. Keep the machine away from water splashes and follow its electrical clearance instructions. The trick is limiting the station to what you use every morning, rather than filling it with decorative jars that look pretty but serve no purpose.
10. Install Under-Cabinet Lighting for Better Prep Space

A kitchen can have white cabinets and still feel dim if the overhead light leaves shadows on the counters. Under-cabinet lighting directs illumination exactly where you chop vegetables, read recipes, and wash dishes. Plug-in LED strips usually cost $15 to $40 per set, while rechargeable puck lights can be found for around $10 to $30. Measure the underside of each cabinet and buy strips that cover the main work areas without hanging visibly over the edges. Choose warm-white or neutral-white lighting that matches the rest of the room, and use a diffuser to reduce the appearance of individual LED dots. Mount the lights toward the front of the cabinet underside for better counter coverage, keeping cords tucked away from heat and water. Clean the surface before applying adhesive, since dust and cooking residue can make the strip fall. If you want a permanent, hidden installation, an electrician can connect hardwired fixtures. This is one of the most useful small-kitchen upgrades because it improves daily tasks while adding a soft glow in the evening.
11. Replace a Busy Backsplash With Simple White Tile
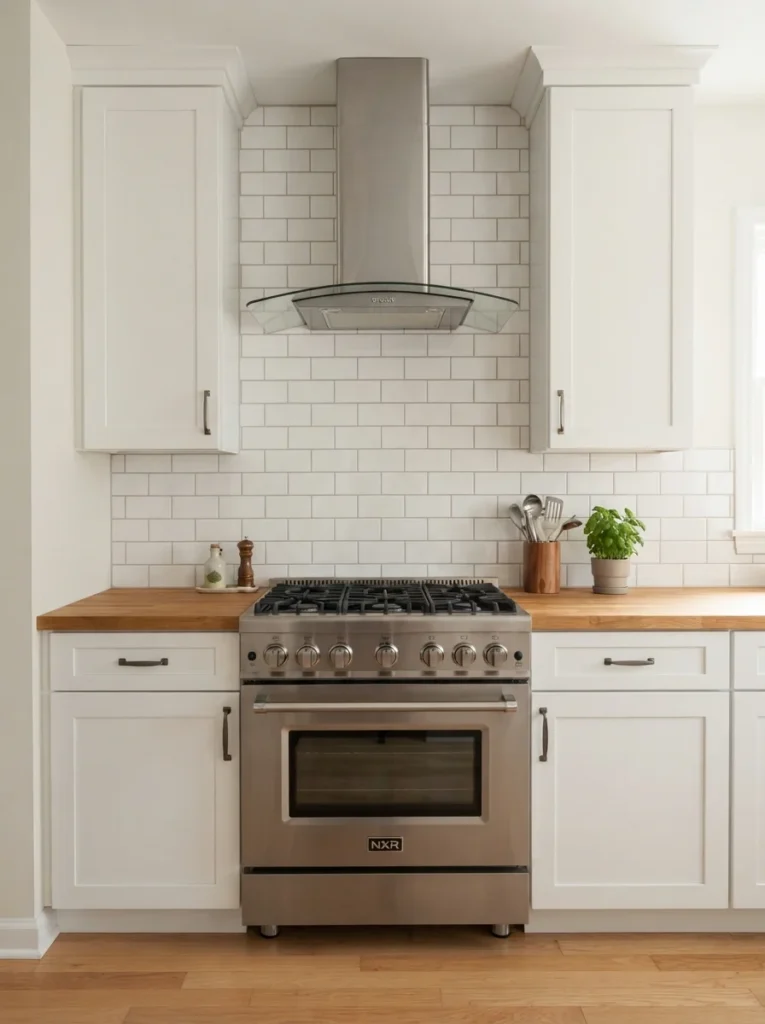
If patterned tile competes with your countertops, cabinets, and floor, a simpler backsplash can calm the entire room. Classic white subway tile is affordable, easy to pair with different cabinet colors, and widely available at Home Depot and Lowe’s. Basic ceramic tile often costs $1 to $4 per square foot, before mortar, grout, tools, and labor. For a small backsplash covering 25 square feet, allow extra for cuts and breakage when calculating materials. Pale gray grout helps define the tile pattern without creating strong dark lines across the wall. If you prefer a handmade appearance, choose slightly irregular edges or a soft off-white glaze. Keep the installation pattern simple, such as a traditional running bond, and line up the tile carefully around outlets and cabinet edges. Sealed grout is easier to maintain in areas prone to splashes, although the specific maintenance depends on the grout type. Wipe cooking splatter promptly and avoid harsh cleaners that can damage the finish. The quieter surface lets wood counters, colorful dishes, or attractive hardware stand out without making the small room visually busy.
12. Bring in a Narrow Rolling Kitchen Cart
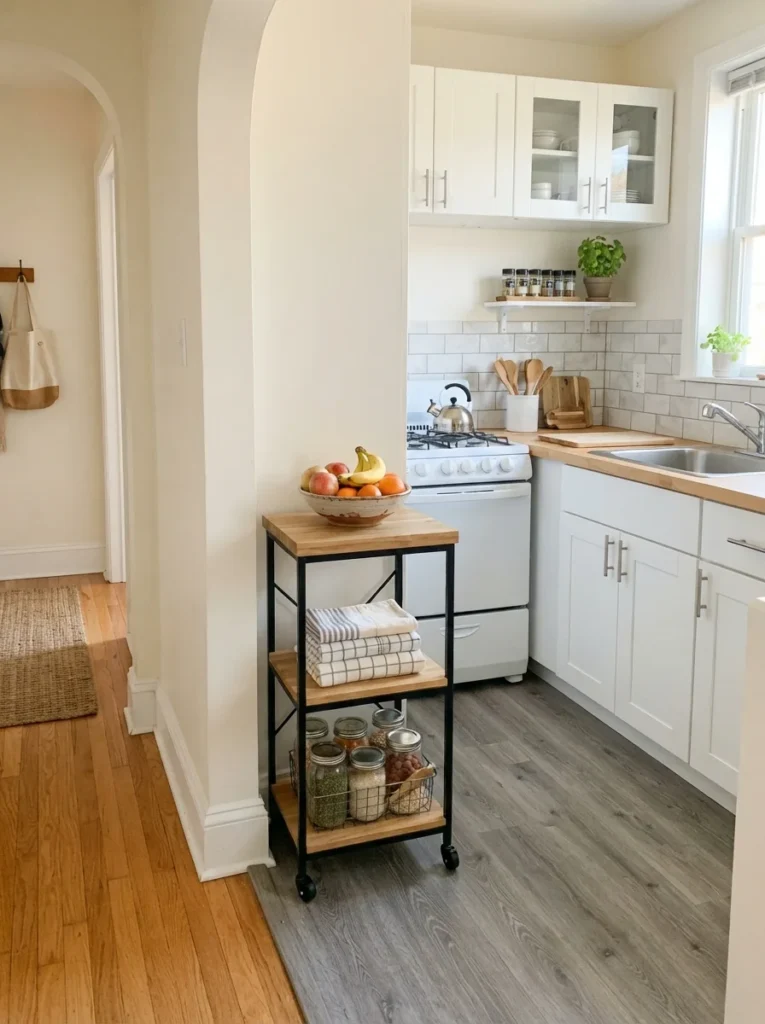
When your kitchen lacks a proper island, a narrow rolling cart can supply extra storage without requiring a renovation. Look for a model around 12 to 18 inches wide if your walkway is tight, and measure the clearance between the cart and opposite cabinets before buying. Budget $40 to $120 for a basic cart at IKEA, Walmart, or Amazon, with larger butcher-block models costing more. Use the top for temporary food prep, the middle shelf for mixing bowls, and the bottom basket for onions or potatoes in a well-ventilated spot. Locking wheels keep the cart from rolling while you work. Avoid parking it where it blocks the oven door, dishwasher, or refrigerator. In a kitchen with a very narrow aisle, roll the cart out of the room during cooking instead of leaving it permanently in the walkway. A washable wood or metal surface is easier to maintain than woven storage that traps crumbs. This idea gives you a flexible work area and lets you move supplies closer to wherever you’re preparing a meal.
13. Lay Down a Washable Runner to Add Color

A long, bare kitchen floor can make the room feel cold, particularly when the cabinets and appliances are all white or stainless steel. A washable runner adds color, softens the visual lines, and makes the sink area more comfortable underfoot. For most compact kitchens, a 2-by-6-foot runner is a useful starting size, although you should measure the walkway and leave floor visible along the edges. Expect to spend $25 to $70 at Target, Walmart, or online retailers for a basic washable design. Choose a low-pile rug that won’t catch under doors or create a tripping hazard. Terracotta, faded blue, and subtle vintage patterns hide small marks better than solid cream. A nonslip backing or compatible rug pad helps keep the runner in place, especially on tile. Check the care label before washing, and let the rug dry fully before returning it to the floor. Keep the runner away from open flames and hot cooking surfaces. It’s a simple finishing touch that introduces color without requiring paint, new cabinets, or any permanent changes.
14. Make a Tiny Kitchen Feel Bigger With Reflective Finishes

A small kitchen often feels cramped because light gets absorbed by dark finishes and crowded surfaces. Reflective materials help distribute available light, especially when paired with pale colors and an uncluttered counter. You don’t have to install a mirrored wall. Glossy ceramic backsplash tiles, satin nickel hardware, and a pale quartz-look countertop can do the job more subtly. Budget $30 to $100 for a small backsplash refresh or around $10 to $40 for a few coordinated hardware changes. If you already have light cabinets, start by removing unnecessary countertop appliances and adding a glossy finish only where it makes sense. Choose polished surfaces that are easy to wipe, but remember that high-gloss black finishes show fingerprints quickly. Avoid using reflective materials on every surface, since the room can start to feel cold or overly shiny. A combination of matte cabinet fronts, a light counter, and a modest amount of gloss usually feels more balanced. The biggest difference comes from allowing window light to travel across clear surfaces rather than being interrupted by dark, bulky objects.
15. Turn an Awkward Corner Into a Useful Pantry
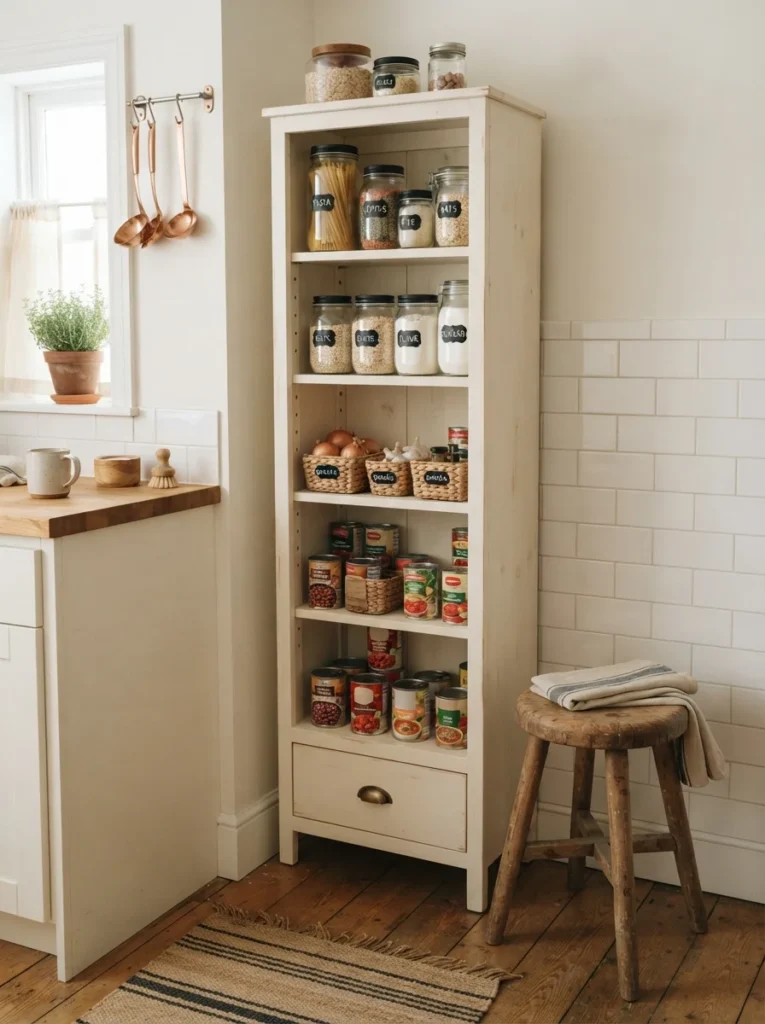
That awkward gap beside the refrigerator or at the end of a cabinet run can become valuable food storage. A slim pantry cabinet with adjustable shelves works well for dry goods, lunch supplies, and backup ingredients that otherwise crowd the counters. Freestanding pantry units often cost $80 to $250 at IKEA, Walmart, or home improvement stores, depending on their height and finish. Measure the full width, depth, and door swing before ordering, and check that the cabinet won’t interfere with a refrigerator vent or electrical outlet. A unit around 12 to 18 inches deep is often easier to fit into a small kitchen than a standard full-depth pantry. Keep heavy cans on lower shelves, group similar ingredients in bins, and place everyday breakfast items around waist height. Use clear, airtight containers for flour, rice, and cereal, but keep original packaging or labels for expiration dates and allergen information. Secure tall cabinets to the wall according to the manufacturer’s instructions. A properly planned corner pantry makes groceries easier to find and keeps the main cabinets available for dishes and cookware.
16. Replace a Solid Door With a Glass-Front Cabinet

If a wall of solid upper cabinets feels heavy, replacing just one door with a glass-front version can break up the visual mass. This works particularly well near the sink or at the end of a cabinet run, where a single display cabinet adds depth without exposing every dish in the kitchen. A replacement glass-front door may cost $50 to $150 or more, depending on the cabinet dimensions, frame style, and glass type. If you have standard cabinets, check the manufacturer’s replacement options before ordering a custom door. Display matching glasses, white plates, or a small collection of bowls rather than a jumble of cookware and packaging. Add a small battery-powered cabinet light if the manufacturer allows safe use in the space, and clean the glass with a soft microfiber cloth. Keep fragile items away from doors that slam, and use sturdy shelves with the correct load rating. One glass cabinet is usually enough to make a difference. Too many can leave the kitchen looking cluttered unless the dishes inside are arranged neatly.
17. Use the Space Above the Sink for Everyday Storage

The wall above the sink is often wasted, even though it’s one of the most convenient places to keep a few everyday items. A shallow shelf can hold lightweight herb pots, a small soap container, or a ceramic cup for dish brushes. Choose a shelf around 4 to 6 inches deep so it doesn’t protrude too far into the workspace. A simple wood shelf and mounting hardware generally cost $20 to $50, depending on the length and finish. Before drilling, check for plumbing and electrical lines in the wall, and use hardware suited to the wall material. Keep the shelf high enough that it doesn’t interfere with the faucet or your view out the window. Avoid storing glass bottles, heavy dishes, or items that could fall into the sink. If your kitchen has a window directly above the basin, a narrow shelf on an adjacent wall may work better. For another practical storage project, see [INTERNAL LINK: small kitchen storage ideas]. Wipe the shelf regularly because airborne grease and sink splashes can leave residue. Used thoughtfully, this small strip of wall helps keep the counter clear without adding another freestanding organizer.
18. Update the Floor With a Light, Durable Finish
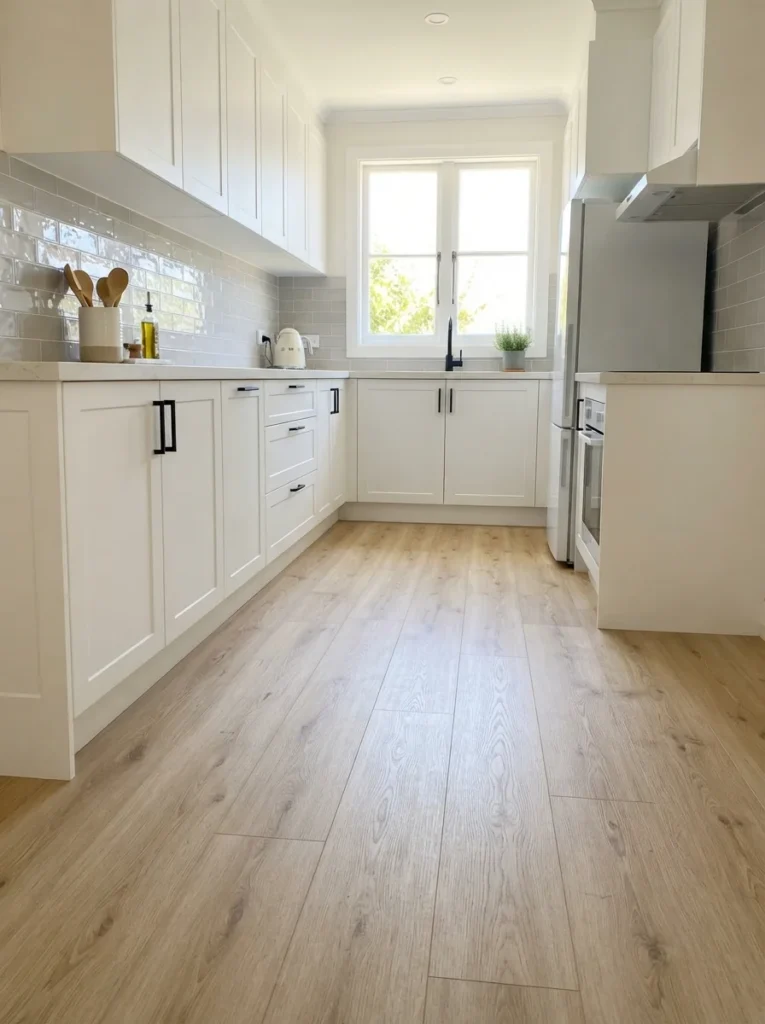
Worn or heavily patterned flooring can dominate a small kitchen, especially when the cabinets and counters are already busy. Light oak-look luxury vinyl plank or neutral porcelain tile gives the room a quieter foundation that works with many cabinet colors. Basic luxury vinyl plank often costs around $2 to $5 per square foot, so a 60-square-foot kitchen may require $120 to $300 in flooring material, plus underlayment, trim, and tools if needed. Measure the room carefully and add extra material for cuts and mistakes. Check the manufacturer’s instructions for installation over your existing floor, since not every product can go over every substrate. A pale natural wood pattern adds warmth without the maintenance associated with unfinished wood near water. Choose a matte or low-sheen surface to keep scuffs and glare less noticeable. Before installation, address loose boards, uneven surfaces, and moisture problems rather than covering them up. If you rent, a removable floor covering or washable runner is usually a safer option than permanently changing the flooring. A consistent floor color can help the kitchen feel less fragmented, particularly when it continues into an adjoining dining area.
19. Add a Compact Pendant Over a Breakfast Nook
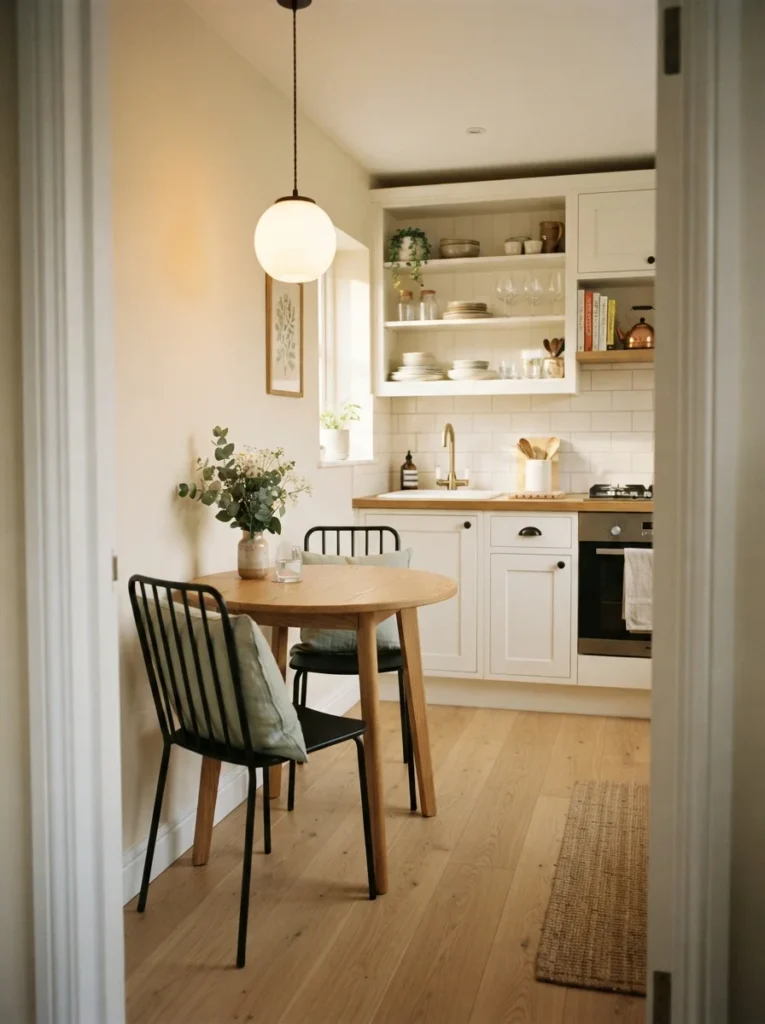
A tiny kitchen with an eat-in corner can feel more inviting when the dining spot has its own light source. A small pendant creates a visual focal point without requiring a large chandelier or a bulky table. Basic opal-glass or metal pendants generally cost $40 to $120, excluding professional electrical work. Choose a fixture about 8 to 12 inches wide for a very small table, then check the ceiling height and manufacturer’s hanging guidance. The pendant should illuminate the table without blocking sightlines across the room. If you’re fitting a new fixture, use an electrician when the installation involves new wiring or moving an electrical box. Renters can get a similar effect with a floor lamp positioned beside the nook, provided cords stay out of the walking path and away from heat and water. Pair the light with a small round table and chairs that tuck underneath when not in use. The defined dining area feels intentional, while the compact furniture preserves space for opening drawers and moving between appliances.
20. Install a Magnetic Knife Strip to Free Drawer Space
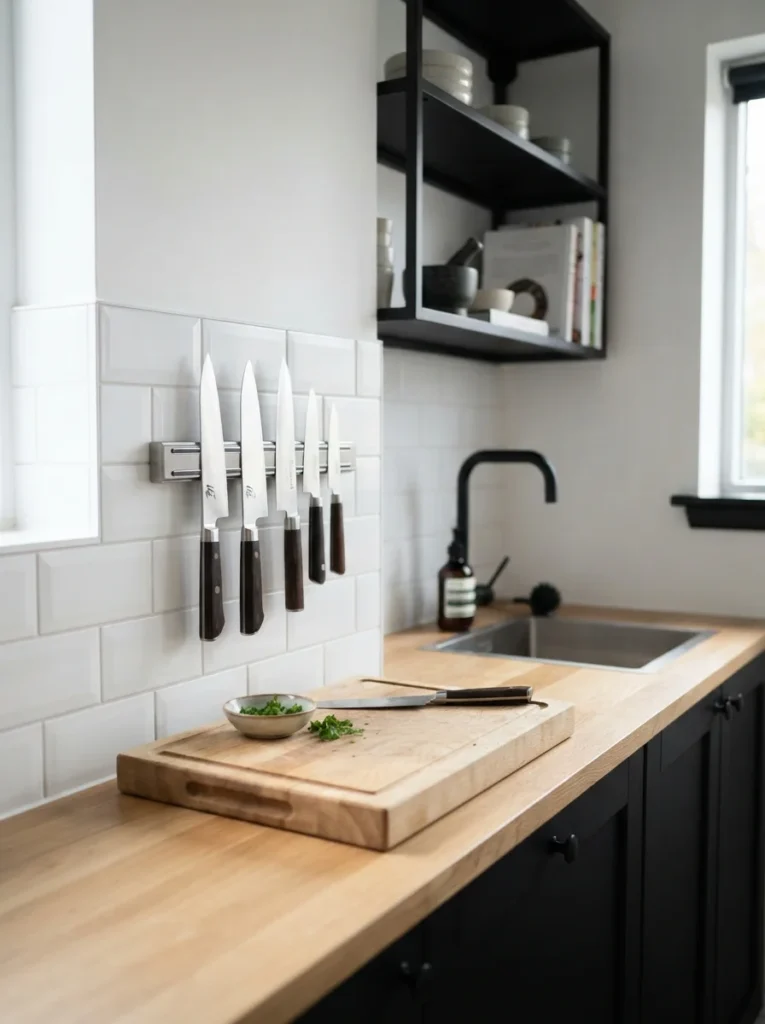
Knife blocks occupy more counter space than most people realize. A magnetic knife strip moves knives onto the wall, freeing a patch of counter for chopping and meal preparation. Basic magnetic strips generally cost $15 to $35, while longer or premium wood models may cost $40 to $70. A 12- to 18-inch strip is often enough for the knives used in a small household. Install it at a comfortable height away from children’s reach, and secure it to studs or suitable wall anchors according to the manufacturer’s instructions. The blade should sit firmly against the magnet, with the sharp edge positioned safely and consistently. Place the strip away from direct heat and heavy water splashes. To clean it, remove the knives carefully and wipe the surface with a damp cloth before drying it. If you rent or don’t want to drill into tile, a secure in-drawer knife organizer is a good alternative. This change improves counter space without adding another storage bin or organizer to an already crowded kitchen.
21. Give the Window a Simple, Light-Filtering Treatment

A bare kitchen window can feel unfinished, but thick curtains can block precious daylight and make a small room appear darker. A short cafe curtain or simple linen-look shade gives the window a softer appearance while keeping the upper glass clear. Basic cafe curtain panels often cost $15 to $40, and an adjustable tension rod may add $8 to $15. Measure the window width and the desired curtain length before buying, leaving enough room for the fabric to gather without covering too much glass. White, oatmeal, and pale striped fabrics work with most kitchen palettes. Choose a washable material because curtains near a cooking area can collect dust and grease. Keep fabric away from stovetops, open flames, and hot appliances, and use a different window treatment if the sink or counter leaves too little clearance. A simple curtain adds texture without filling the wall with decor. If privacy isn’t an issue, leaving the window uncovered and placing one small plant on the sill can achieve a similarly relaxed look for even less money.
22. Make the Refrigerator Look Less Bulky

In a tiny kitchen, the refrigerator can dominate the room simply because it occupies so much visual space. You may not need a new appliance. Start by clearing magnets, old notes, and oversized decorative pieces from the front, then organize the area around it so the appliance feels integrated into the layout. A narrow side panel or a simple matching cabinet above the refrigerator can create a more finished appearance. A small DIY trim or storage update may cost $30 to $150, depending on materials and whether you already have suitable cabinetry. Measure the appliance and follow the manufacturer’s required ventilation clearances before adding panels or cabinets. Never block cooling vents or squeeze a refrigerator into an opening that is too narrow. Store rarely used serving platters above the unit only when the cabinet or shelf is properly secured and easy to access. If the refrigerator is genuinely too large for the room, compare compact models only after checking capacity, energy use, and door clearance. A tidy surround makes the existing appliance less visually distracting without the expense of replacing it.
23. Use Drawer Dividers to Make Small Cabinets Work Harder

A cluttered drawer can waste more space than a small cabinet. Adjustable dividers separate cooking tools, measuring spoons, and cutlery so you can find what you need without rummaging through a pile of utensils. Basic bamboo or plastic divider sets cost around $10 to $25, while larger expandable organizers may cost $25 to $40. Measure the inside of the drawer, including its height and any uneven corners, before ordering. A 2- to 3-inch-high divider usually works well for standard utensil drawers, provided it doesn’t interfere with the drawer closing. Group items by task rather than spreading similar tools across several drawers. Keep the spatulas near the stove and measuring tools near the baking supplies, but avoid storing plastic handles directly beside hot burners. Wash removable dividers periodically and dry them fully before returning them to the drawer. If your drawers are unusually narrow, use small adjustable trays rather than one oversized organizer. This is a practical weekend project because it improves the storage you already own without altering a single cabinet or buying additional furniture.
24. Try a Two-Tone Cabinet Design for More Character

Two-tone cabinetry gives a compact kitchen more character without covering every surface in a dark color. White or cream upper cabinets keep the room visually open, while navy, charcoal, or muted green lowers anchor the design. If you’re painting existing cabinets, expect to spend $100 to $250 on paint and supplies for a small kitchen, depending on the cabinet count and product quality. Pick the lower color first, then compare several upper-cabinet whites against it under the actual kitchen lighting. A warm white generally pairs nicely with navy and natural wood, while a cooler white can suit charcoal and stainless steel. Keep the backsplash and countertops fairly simple so the cabinet colors remain the main feature. Paint doors and drawer fronts separately when practical, label every piece, and let the finish cure according to the product instructions before reinstalling hardware. Avoid splitting the cabinets into too many colors or finishes. Two coordinated shades create enough contrast without making the small room feel chopped into separate sections.
25. Add a Slim Dining Bar Instead of a Full Table
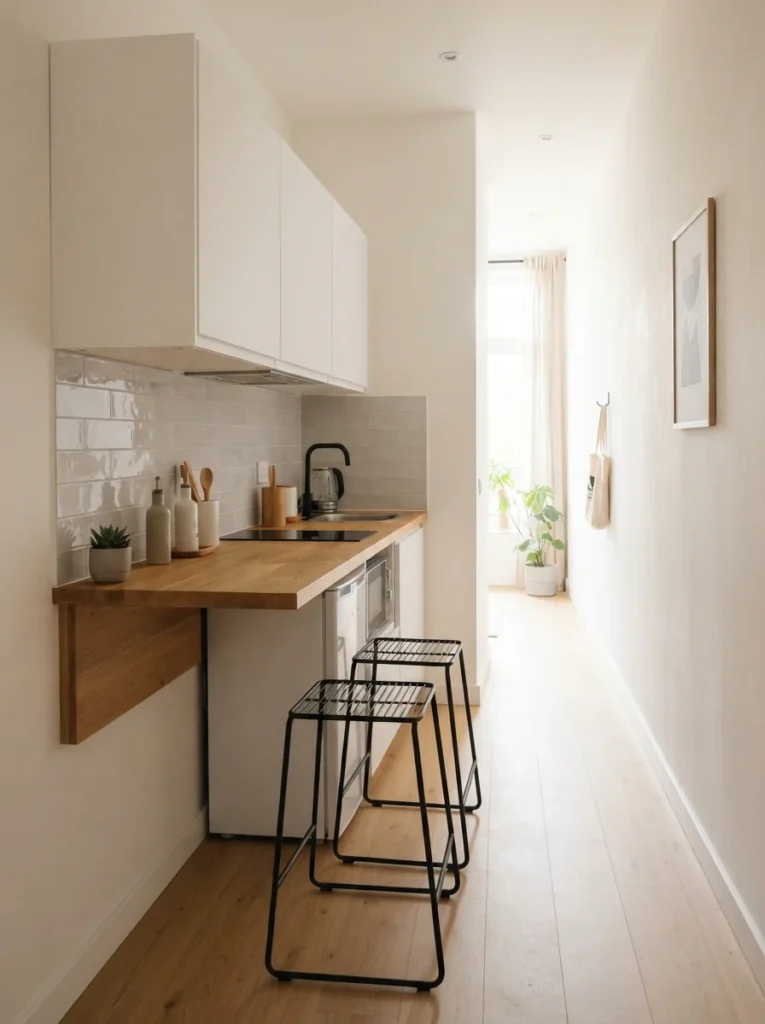
If you rarely have room for a full dining table, a narrow breakfast bar can give you a place to eat, work, or set down grocery bags. A wall-mounted wood counter around 12 to 16 inches deep is often sufficient for two place settings, provided the brackets and wall structure can safely support it. Budget roughly $80 to $250 for a basic DIY setup, including a countertop section, brackets, and simple stools. Measure the wall and leave comfortable clearance for anyone walking behind the seats. Check local building requirements and the mounting hardware’s load rating before installation, particularly if the wall is drywall over metal studs. Choose stools that slide completely underneath the bar so the walkway stays clear when you’re not using it. A fold-down wall table is another good option if the kitchen is exceptionally narrow. Use a wipeable finish on the surface and avoid placing the bar near a hot range or in a path that blocks appliance doors. The result is a dedicated dining spot that takes up much less floor space than a traditional table.
26. Refresh the Sink Area With a Coordinated Faucet and Accessories

The sink is one of the busiest spots in a kitchen, so dated hardware and mismatched bottles can make the entire counter look messy. A new faucet, if compatible with the sink and plumbing, can give the area a cleaner appearance while improving everyday use. Basic kitchen faucets often cost $60 to $180, with installation adding to the price if you hire a plumber. Check the number of mounting holes, faucet height, and clearance around the window or upper cabinets before buying. If a faucet replacement isn’t in the budget, spend $15 to $35 on a matching soap dispenser, a compact sponge holder, and a small drying mat. Choose materials that tolerate frequent moisture, such as stainless steel, glazed ceramic, or silicone. Wipe standing water from the counter and clean the faucet base regularly, since mineral deposits collect there quickly. Keep only the items you use daily beside the sink, and store extra dish soap under the cabinet. A coordinated sink area feels more finished because it replaces several scattered visual details with one consistent set.
27. Finish the Makeover With a Small Herb Garden
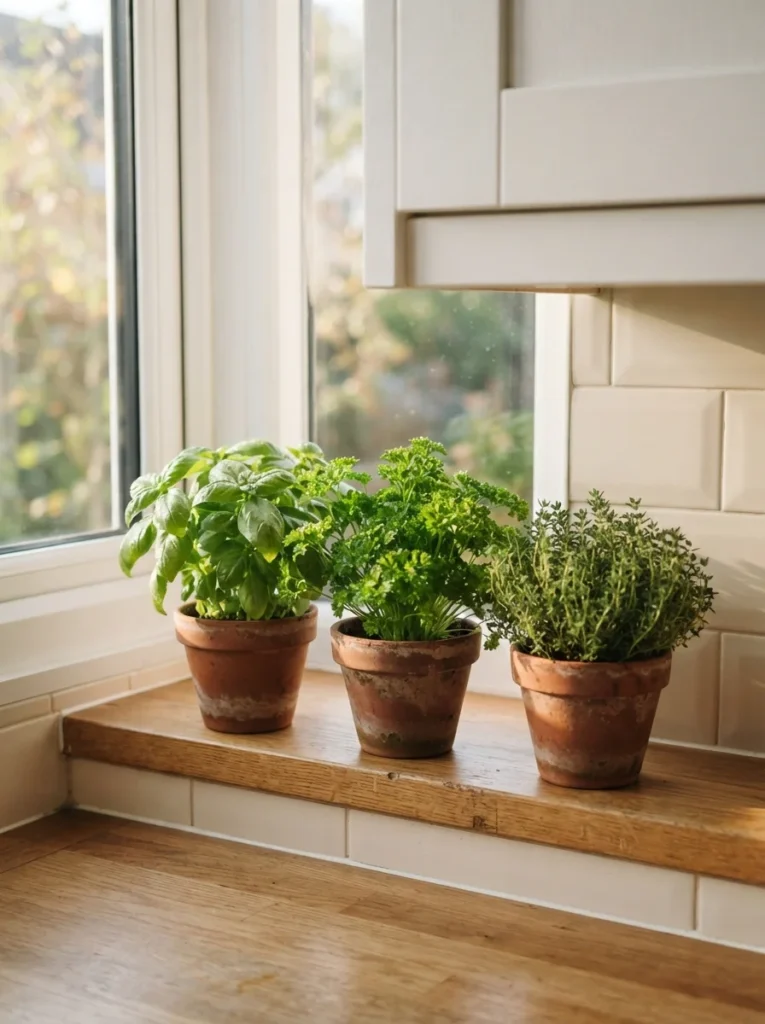
A little greenery makes a kitchen feel lived-in without taking up much space. Three small herb pots on a bright windowsill can supply basil for pasta, parsley for soups, and thyme for roasted vegetables. Budget $15 to $35 for three starter plants, basic terracotta pots, and saucers from a garden center or home improvement store. Choose herbs suited to the amount of sunlight your window receives, since many culinary herbs prefer several hours of bright light each day. Keep the pots small enough that you can still open the window and wipe the sill. Place saucers beneath them to catch water, and empty excess water after watering to prevent damage to the wood or paint. If your window doesn’t receive much sun, use a compact grow light positioned according to its instructions. Avoid putting plants where they interfere with food preparation or attractively arranged countertop space. For a related styling project, see [INTERNAL LINK: kitchen windowsill decor ideas]. A small herb garden adds natural color, provides ingredients close at hand, and gives the finished kitchen a welcoming touch without another major purchase.
Mistakes That Ruin the Look
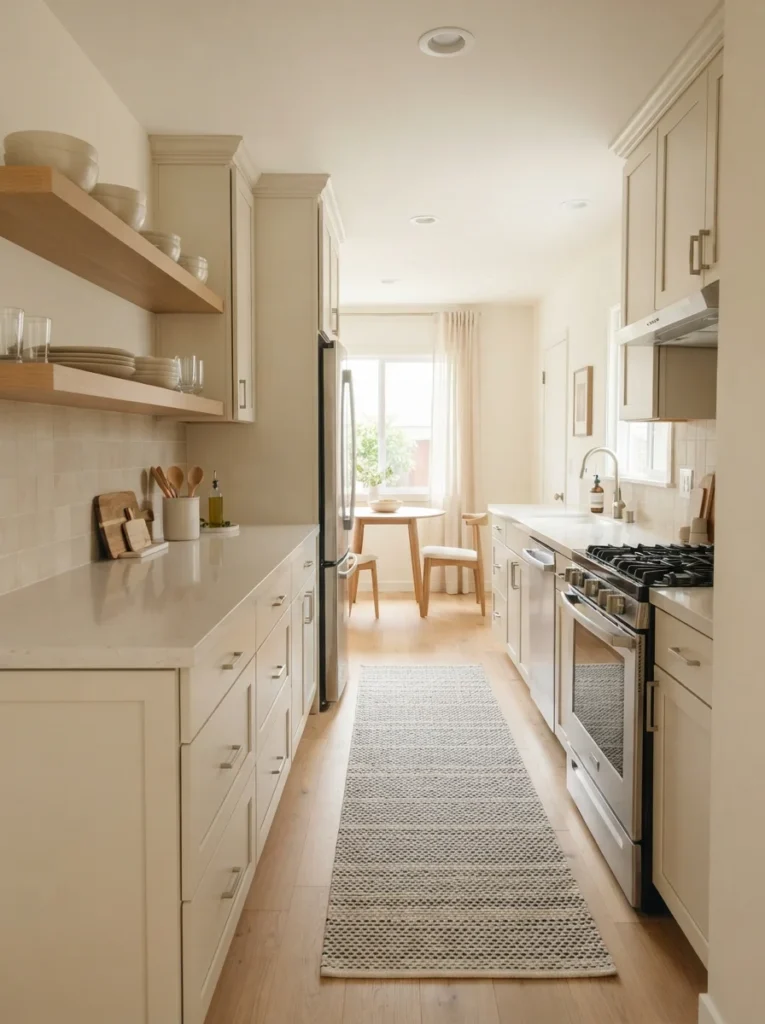
Even a carefully planned kitchen makeover can feel disappointing if a few small details are overlooked. Avoid these common mistakes before spending more money.
- Choosing too many competing colors. Pick two main cabinet or wall colors, then add one or two accent finishes. A restrained palette helps the room feel more connected.
- Filling every empty counter space. Keep daily appliances accessible, but move rarely used gadgets into cabinets. Leaving one clear prep area makes cooking much easier.
- Buying storage before measuring. Check the width of drawers, the depth of shelves, and the clearance around doors. An organizer that sticks out or blocks an appliance wastes more space than it saves.
- Ignoring task lighting and ventilation. Decorative lights won’t help much if the sink and cutting board remain dark. Add targeted lighting and keep ventilation paths clear when cooking.
Frequently Asked Questions
[Image Prompt: A bright, compact kitchen with white cabinets, pale oak counters, sage accents, a simple backsplash, and organized open shelving. Eye-level view with natural morning light, realistic home styling, no people, no text.]
[Alt Text: Tiny kitchen makeover ideas in a bright, organized kitchen with practical finishes and compact storage.]
Q: What are the best tiny kitchen makeover ideas on a budget?
The most affordable tiny kitchen makeover ideas include painting cabinets, changing hardware, adding under-cabinet lighting, and organizing drawers. Start with one or two upgrades that solve your biggest daily frustration, then add decorative touches after the practical work is done.
Q: How much does it cost to makeover a tiny kitchen?
A small cosmetic makeover can cost around $200 to $1,000 if you keep existing cabinets, appliances, and countertops. Larger projects involving new cabinets, flooring, plumbing, or electrical work can cost several thousand dollars or more.
Q: What colors make a tiny kitchen look bigger?
Warm white, soft cream, pale gray, and light sage can make a small kitchen feel more open. Pair lighter upper cabinets with natural wood or a deeper color on the lower cabinets if you want more contrast.
Q: Can I makeover a tiny kitchen without replacing the cabinets?
Yes. Painting the doors, replacing the hardware, installing a backsplash, and improving the lighting can change the room’s appearance without replacing the cabinet boxes. Drawer organizers and slim shelving can also make existing storage more useful.
Q: How can I add storage to a tiny kitchen without remodeling?
Use adjustable drawer dividers, a narrow rolling cart, a slim pantry cabinet, and properly mounted wall shelves. Measure everything first, and keep heavy items low and everyday supplies within easy reach.
Q: What should I update first in a small kitchen?
Start with the problem that affects you most, whether that’s dark cabinets, cluttered counters, or poor lighting. Clearing the counters and adding better task lighting are good first steps because they improve the kitchen before you spend money on larger finishes.
Start With One Change This Weekend
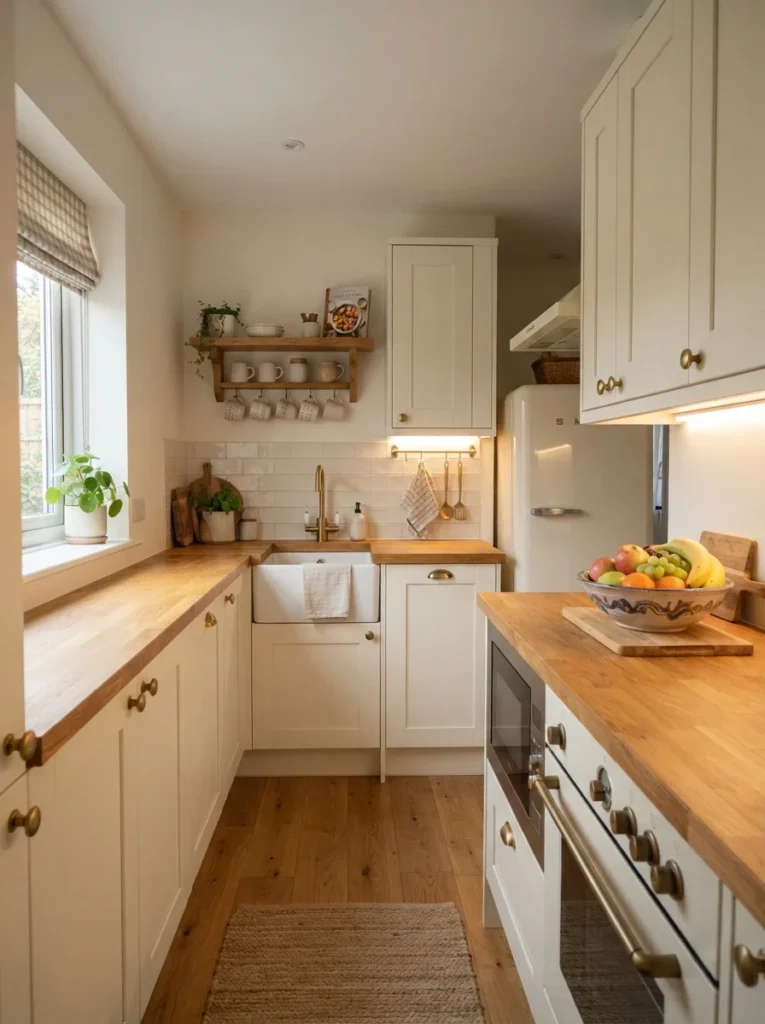
You don’t have to tackle all 27 ideas at once to make your kitchen feel different. Start by clearing the counters, choosing a cabinet color, or replacing the hardware that’s been bothering you for years. Those small changes give you a better sense of what the room needs before you spend money on tile, flooring, or new countertops. If you’re working with a tight budget, I’d start with cabinet paint and matching handles, then add under-cabinet lighting when you can. These tiny kitchen makeover ideas work best when every update has a purpose, whether it’s adding storage, improving the light, or making daily cooking more comfortable. Pick one project this weekend, measure before you shop, and build the rest of the makeover around what works for your home.