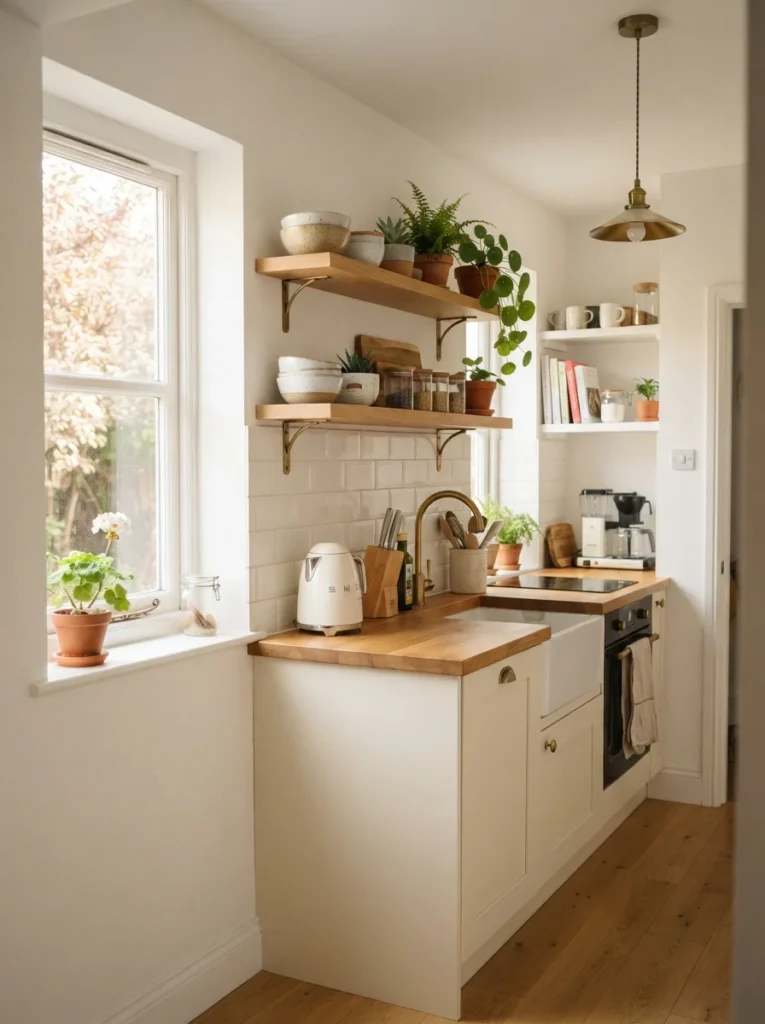
A tiny kitchen can feel crowded before you even put dinner on the stove. One mug left on the counter, a few spice jars near the cooktop, and suddenly there is barely room to chop anything. The good news is that the walls are often sitting there completely unused.
Tiny kitchen shelving ideas turn blank walls, awkward corners, cabinet sides, and narrow gaps into useful storage. The best setups use shallow shelves, wall-mounted racks, slim ledges, or small corner units to keep everyday dishes and cooking supplies within reach without taking over the room.
The trick is choosing shelves that match the space you actually have. A 6-inch-deep shelf can be far more useful than a bulky bookcase, especially above a counter or beside a refrigerator. Here are simple options that work in apartments, rental kitchens, older homes, and compact houses.
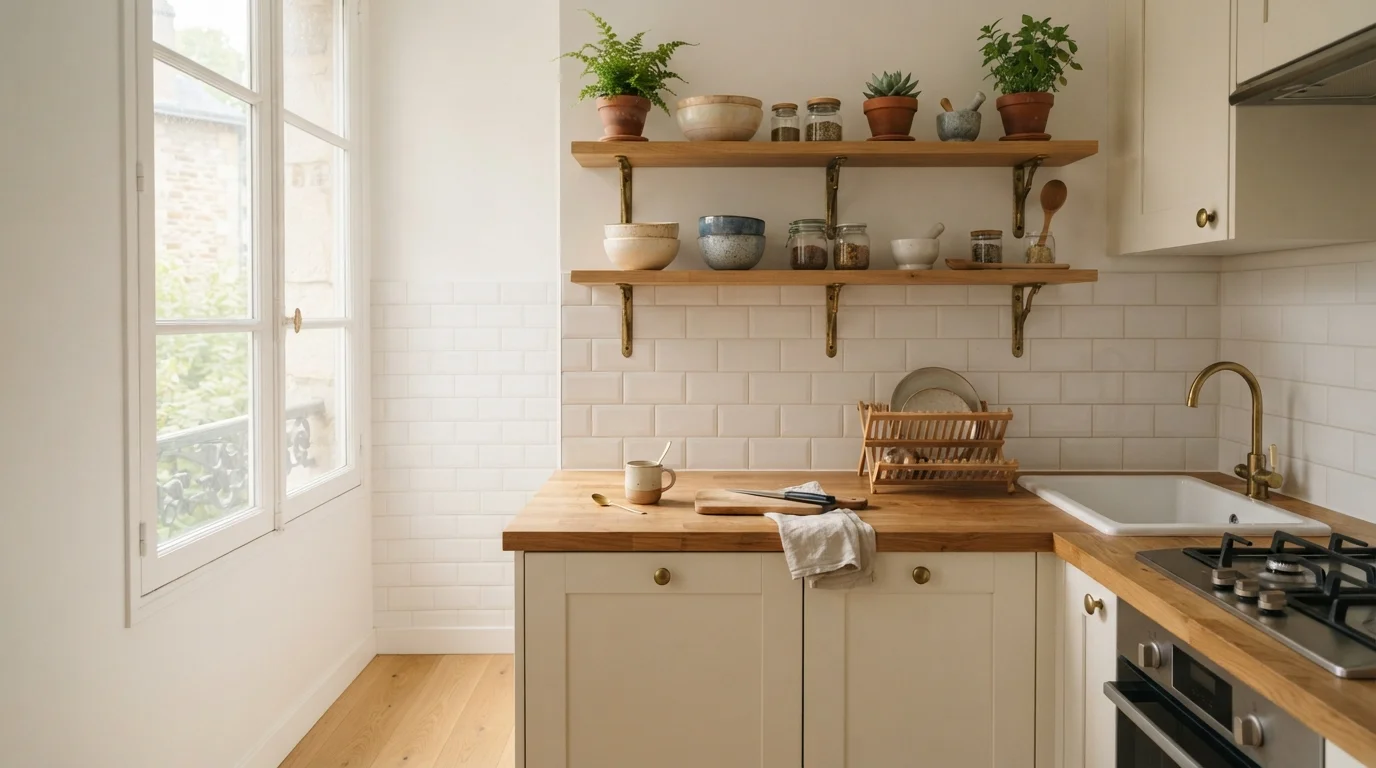
1. Add Two Slim Wood Shelves Above the Counter

Two floating wood shelves can turn an empty backsplash into practical storage without making the kitchen feel boxed in. Choose shelves around 6 to 8 inches deep so plates and jars sit securely without sticking too far into the work area. A pair of 24- to 30-inch shelves usually gives enough room for everyday mugs, bowls, salt, pepper, and a small plant.
You can find basic pine shelves at Home Depot or Walmart for around $15 to $30 each, while finished walnut or oak versions often run $30 to $60. Keep the heavier dishes on the lower shelf and lighter decorative pieces above. Wipe the shelves weekly with a slightly damp microfiber cloth, especially if they’re close to the stove where cooking grease settles.
2. Turn a Narrow Wall Into a Spice Shelf
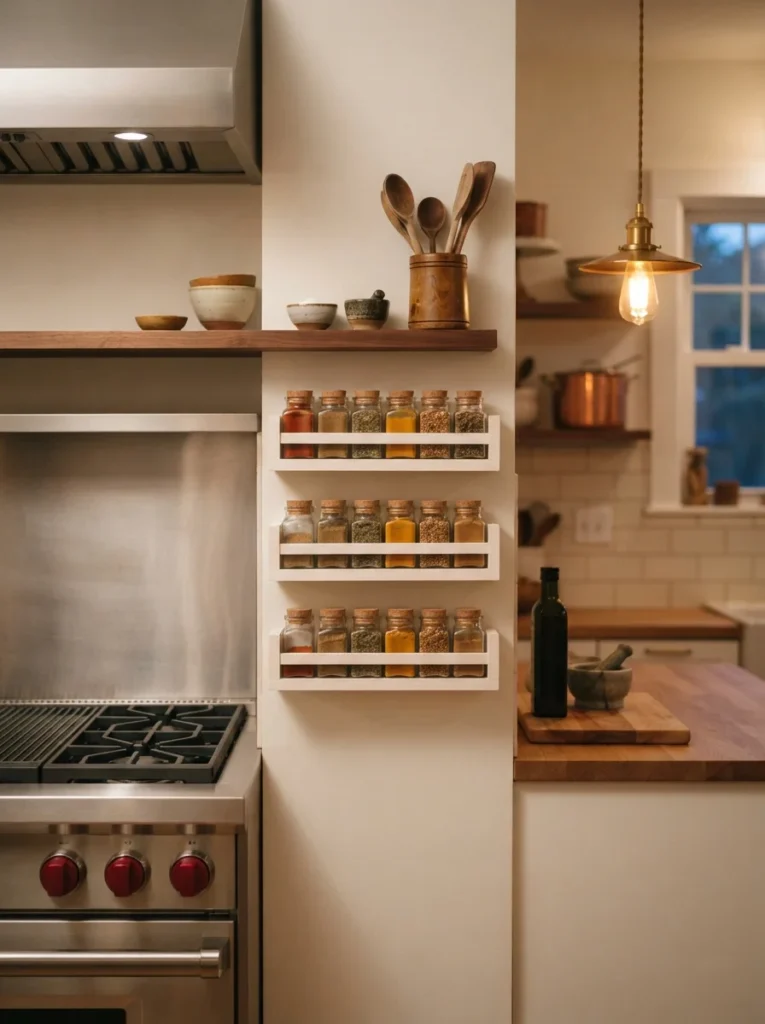
Spices don’t deserve an entire cabinet when a narrow wall can handle them. Install three shallow ledges, each about 3 to 4 inches deep, beside the range or on an empty section of backsplash. Small jars line up neatly, and you’ll see every label without digging through a drawer.
A three-pack of narrow spice ledges costs roughly $18 to $35 on Amazon, depending on the material. Look for a raised front edge so jars don’t slide off when someone bumps the wall. Glass containers give the arrangement a tidy look, but you can also reuse small jars from pantry items. Keep the shelves several inches away from direct heat so the spices stay in better condition.
3. Use a Shelf Above the Refrigerator

That empty space above the refrigerator is one of the easiest spots to reclaim. Install a sturdy shelf across the wall above it, or use a freestanding over-fridge unit if drilling isn’t allowed. A shelf about 12 inches deep gives you enough room for baking dishes, extra mugs, serving trays, and small baskets.
Expect to spend about $25 to $70 for a basic shelf or ready-made storage unit. Keep heavier cookware lower and use baskets for items you don’t grab every day. This is also a good place for seasonal dishes. Just leave several inches of clearance above the refrigerator according to the appliance manufacturer’s instructions so air can circulate properly.
4. Create a Tiny Coffee Station With One Shelf

A single shelf can give a tiny coffee corner its own little home. Mount a 30-inch-long shelf about 16 to 18 inches above the counter, then add two or three hooks underneath for mugs. Keep coffee beans, sugar, filters, and two favorite cups on top while the machine stays below.
A reclaimed wood board from a thrift store can cost $10 to $20, plus around $8 to $15 for brackets and screws. For a rental, use an appropriate removable mounting system only within its rated weight limit. Wipe coffee grounds away quickly because they can leave dark marks on unfinished wood. For more small-space styling ideas, see [INTERNAL LINK: small kitchen coffee station ideas].
5. Install a Corner Shelf Where Cabinets Can’t Reach

Awkward corners often collect random stuff because nothing fits there properly. A set of triangular shelves solves that problem with surprisingly little material. Choose 8- to 10-inch triangular shelves and stack two or three vertically, leaving enough space between them for the objects you plan to store.
DIY versions can cost around $20 to $40 using a pine board, while finished corner shelving from IKEA or Amazon can run $30 to $70. Use the lowest shelf for heavier bowls and the upper levels for lightweight jars or décor. If the corner sits near the sink, choose sealed wood or painted MDF so occasional water splashes won’t cause swelling.
6. Hang a Shelf Over the Sink

The wall above a sink is often wide open, especially in older kitchens. Add one shallow shelf around 6 inches deep for dish soap, hand towels, small bowls, or a few frequently used glasses. Keep the shelf high enough that tall faucet splashes won’t constantly hit the underside.
A basic wooden shelf and brackets usually cost $20 to $45. Choose polyurethane-sealed wood or a moisture-resistant finish if the shelf is close to the faucet. Leave at least 18 inches between the counter and shelf when possible, then test the placement by holding your tallest item underneath before drilling. It saves a frustrating second round of holes.
7. Make a Built-In Look With Matching Floating Shelves

If you want open storage to look intentional, repeat the same shelf material throughout the kitchen. Three 24-inch white shelves placed vertically beside a cabinet can look almost built-in, especially when the shelf color matches the cabinetry.
Budget around $50 to $100 for three shelves depending on the material and mounting hardware. Keep each shelf visually simple rather than filling every inch. Stack two or three plates, add one jar, then leave some open space. This makes the shelves easier to dust and keeps the wall from feeling crowded.
8. Use a Narrow Shelf Beside the Stove

A narrow strip of wall beside the stove can hold the ingredients you reach for constantly. Install a 4- to 6-inch-deep shelf for olive oil, salt, pepper, and a small utensil crock. Keep it far enough from burners and heat sources to prevent heat damage and grease buildup.
A simple metal-and-wood shelf costs about $20 to $40 at Walmart or Amazon. Choose a finish that’s easy to wipe down because cooking splatter will land there. Don’t store plastic containers, paper packaging, or anything highly heat-sensitive next to the range. The shelf should serve your cooking routine, not create another cleanup headache.
9. Add a Picture Ledge for Small Kitchen Items

Picture ledges aren’t only for artwork. A 3.5- to 5-inch-deep ledge works beautifully for slim cookbooks, small spice jars, measuring cups, or a tiny collection of ceramics. Because the front lip keeps objects from sliding, you don’t need bulky side rails.
IKEA and Target often have picture ledges in the $10 to $30 range. Use one above a prep counter or dining nook, then keep the display limited to five or six pieces. If you place cookbooks there, choose thinner books that don’t push the ledge’s weight limit. Dust the ledge with a dry microfiber cloth every week.
10. Build a Shelf Around a Kitchen Window
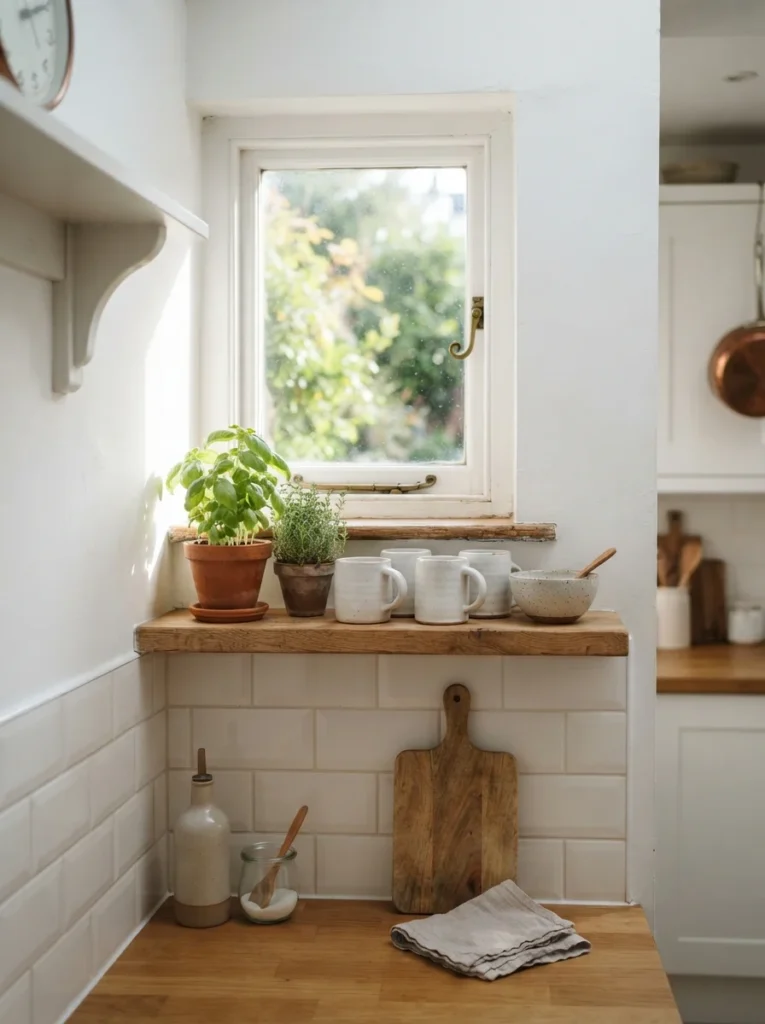
A shallow shelf beneath a window can become a charming storage strip without blocking the glass. Use a board around 5 to 7 inches deep, depending on the window trim, and leave enough room for the window to open.
A DIY pine board, brackets, and paint can cost $20 to $35. Herbs such as basil, thyme, and rosemary work well if the window gets enough light. Put saucers under the pots to catch water and protect the shelf. If sunlight is strong, sealed wood will hold up better than unfinished lumber.
11. Install a Rail Shelf for Mugs and Utensils

A rail shelf combines two storage jobs in one narrow footprint. Look for a model with a 5- to 7-inch shelf depth and an integrated lower rail. Mugs can hang underneath while tea bags, sugar jars, measuring spoons, or small bowls sit above.
Expect to pay around $25 to $50 for a ready-made rail shelf. Matte black works nicely with white tile and stainless appliances, while brass suits warmer kitchens. Before mounting, check the wall material and use anchors rated for the loaded weight. Keep the rail away from the sink if you’re hanging wooden utensils that shouldn’t stay damp.
12. Put Open Shelves Inside a Cabinet Door

The inside of a cabinet door is an overlooked storage surface. Add two or three slim shelves around 2 to 3 inches deep for spices, packets, measuring spoons, or small bottles. This works especially well inside a pantry cabinet where vertical space is already available.
An adhesive or screw-mounted organizer usually costs $12 to $30. Check the door thickness and hinge clearance before buying. A common mistake is installing shelves that are too deep, then discovering the door won’t close. Keep heavier jars low and test the door several times before loading everything.
13. Use a Long Shelf Above a Dining Nook
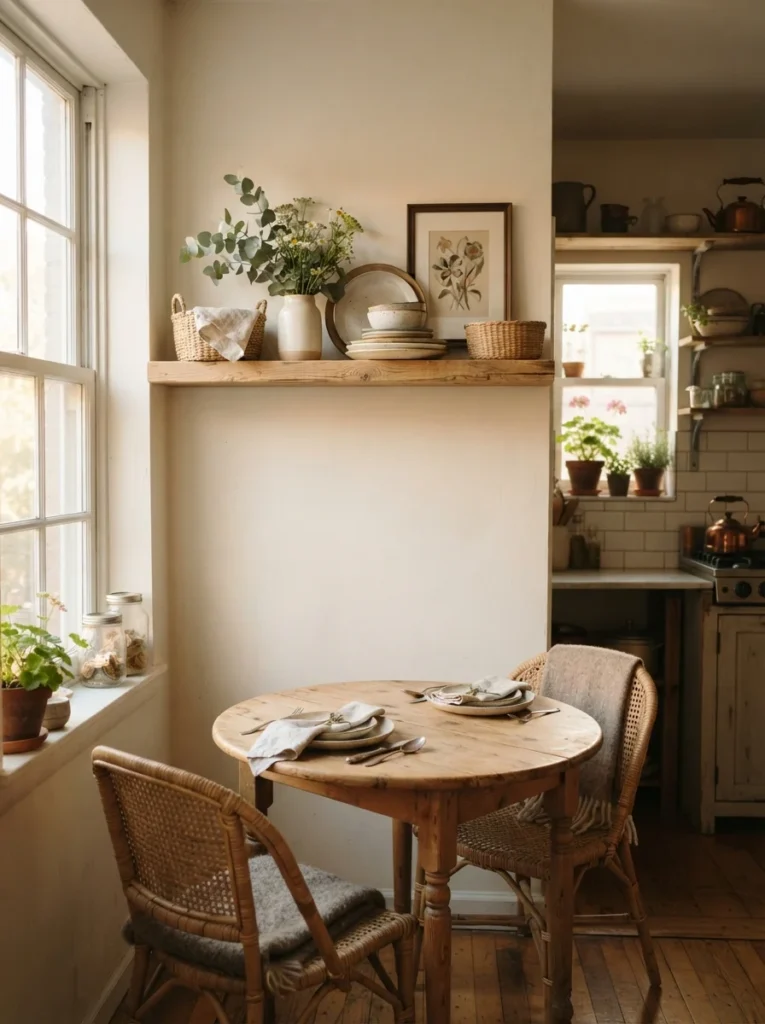
A dining nook doesn’t have to be separated from kitchen storage. Mount one long shelf, around 36 to 48 inches wide, above the table for serving pieces, cookbooks, baskets, and a few decorative objects. It uses vertical wall space while keeping the tabletop clear.
A pine board from Home Depot can cost around $15 to $30, with brackets adding another $10 to $20. If you’re renting, a freestanding narrow bookcase beside the table gives a similar effect without drilling. Keep anything breakable toward the back and avoid placing heavy objects directly above a chair where they could fall onto someone.
14. Try a Ladder-Style Shelf in an Empty Corner

A ladder shelf is handy if you can’t drill into the walls. Choose one about 12 to 16 inches wide so it doesn’t steal much floor space. Use the lower levels for baskets and pantry overflow, then keep lighter pieces toward the top.
Basic ladder shelves cost around $35 to $80 at Target, Walmart, or IKEA. Anchor a tall unit to the wall if the manufacturer recommends it, especially in a home with children or pets. Leave enough clearance around the shelves for cabinet doors and refrigerator doors to open fully. A measuring tape saves a lot of trouble here.
15. Add a Slim Shelf Above the Range Hood
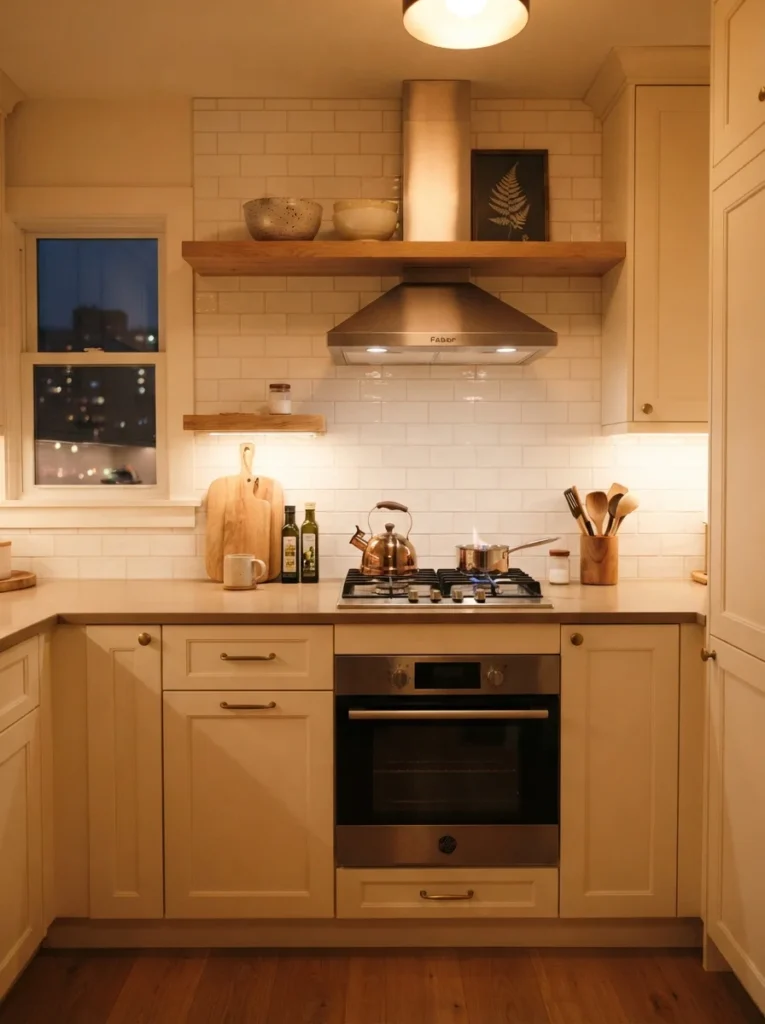
The wall above a range hood can sometimes hold a shallow decorative shelf, but placement matters. Keep it outside the heat and clearance zone specified by your range and hood manufacturer. A 4- to 6-inch-deep shelf is enough for lightweight ceramics or a small framed print.
A simple pine or MDF shelf costs around $15 to $35. Avoid storing oils, spices, paper goods, or plastic items there if the area gets hot or greasy. Choose washable finishes and wipe the surface regularly. If your hood reaches close to the ceiling, skip this idea and use the wall beside the hood instead.
16. Turn a Cabinet Side Into Storage

The exposed side of a cabinet can provide several extra storage levels without taking up another section of floor. Install 4-inch-deep shelves along the side of a pantry or upper cabinet for cookbooks, spices, or small jars.
A DIY setup can cost around $20 to $45 for lumber, brackets, and paint. Paint the shelves the same color as the cabinet for a built-in appearance, or use natural oak for contrast. Check that the shelves don’t interfere with nearby drawers or doors. This is one of my favorite fixes for kitchens with one tall cabinet sitting awkwardly at the end of a cabinet run.
17. Hang a Shelf With Brass Brackets for Warmth
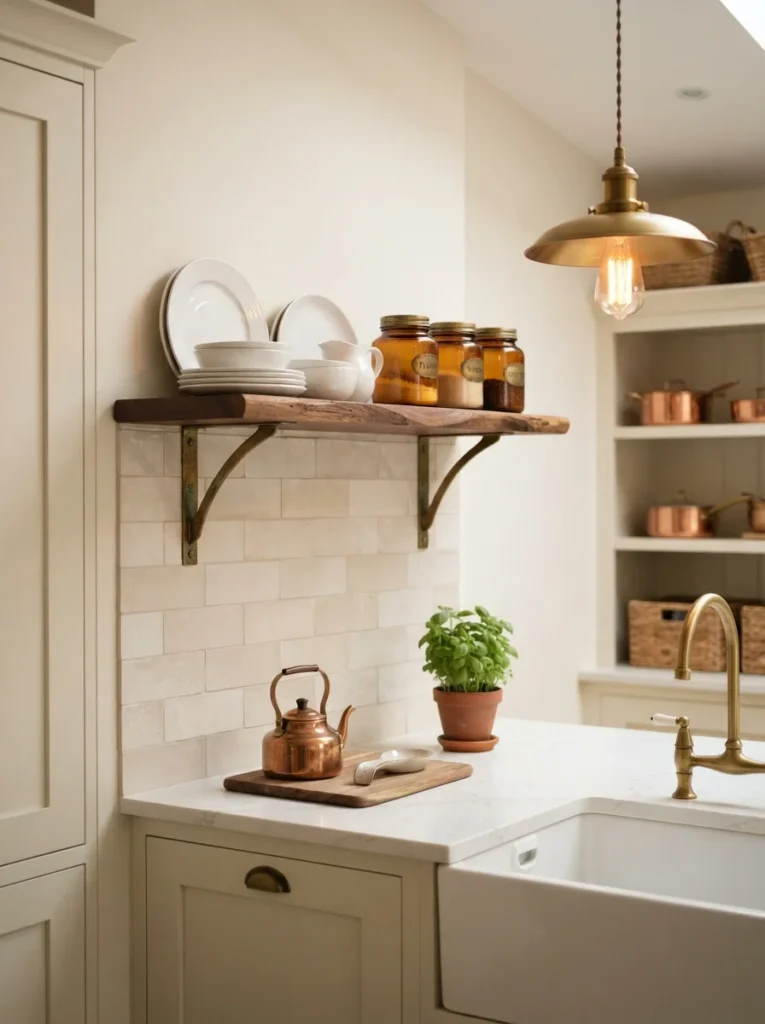
If your kitchen feels cold because of white cabinets and stainless appliances, warm wood and brass can change the mood without a full makeover. Mount one 30-inch walnut shelf with two brass brackets, then keep the display practical with plates, a wooden cutting board, and amber jars.
A walnut board can cost around $30 to $60, while brass brackets usually add $15 to $25. Seal the wood with a food-safe finish if it will hold items that touch food directly. Use a damp cloth for everyday cleaning and avoid soaking the wood.
18. Stack Three Shelves Above a Prep Area
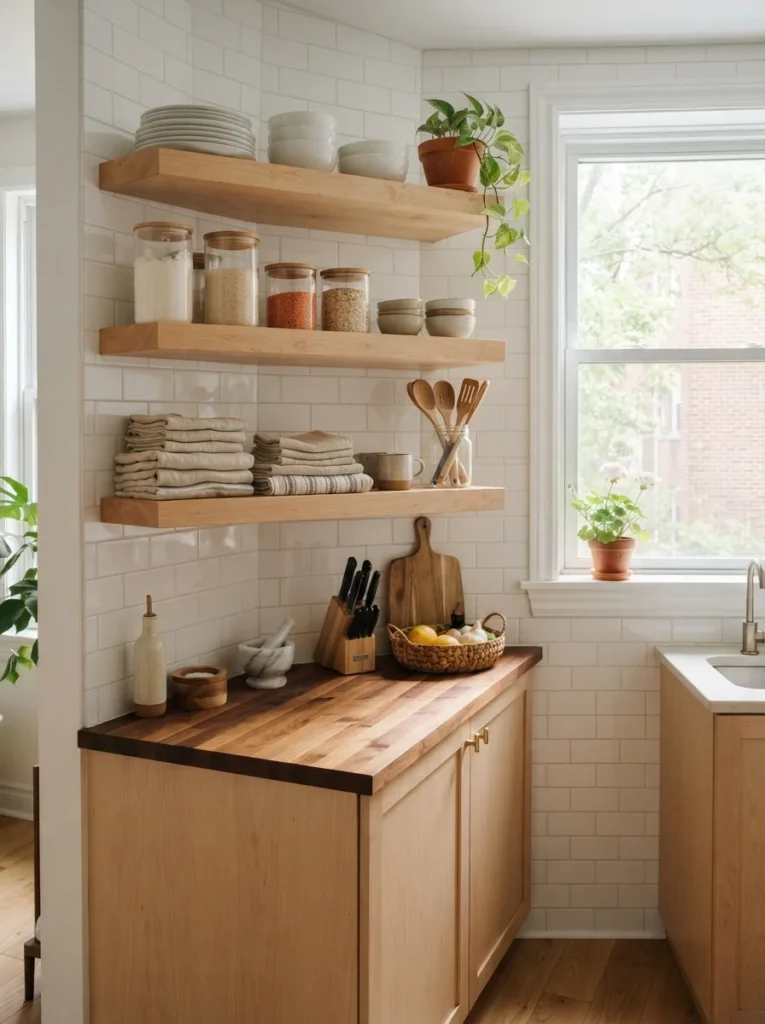
Three shelves work well when one wall has plenty of height but very little width. Use 18- to 24-inch shelves and space them about 12 inches apart, adjusting the gap based on what you’ll store. Put everyday dishes in the middle, pantry jars below, and lighter items on top.
A set of three basic shelves can cost around $45 to $90. Keep the lower shelf within easy reach and avoid placing heavy cookware overhead. If you have a small kitchen with limited counter area, this arrangement gives you several storage levels without adding a bulky cabinet.
19. Use Wire Shelving for a Pantry Corner

Wire shelving is practical when airflow matters and you want to see everything at a glance. A 12-inch-deep wire shelf system works well in a pantry corner or narrow closet, especially for canned foods, baskets, and small appliances.
A basic wire shelf kit costs around $30 to $70 at Home Depot or Walmart. Measure the wall width before buying because pantry corners rarely have perfectly square walls. Line wire shelves with clear shelf liners if small jars wobble between the gaps. Wipe spills promptly so sticky sauces don’t collect around the metal joints.
20. Add a Small Shelf Above the Microwave
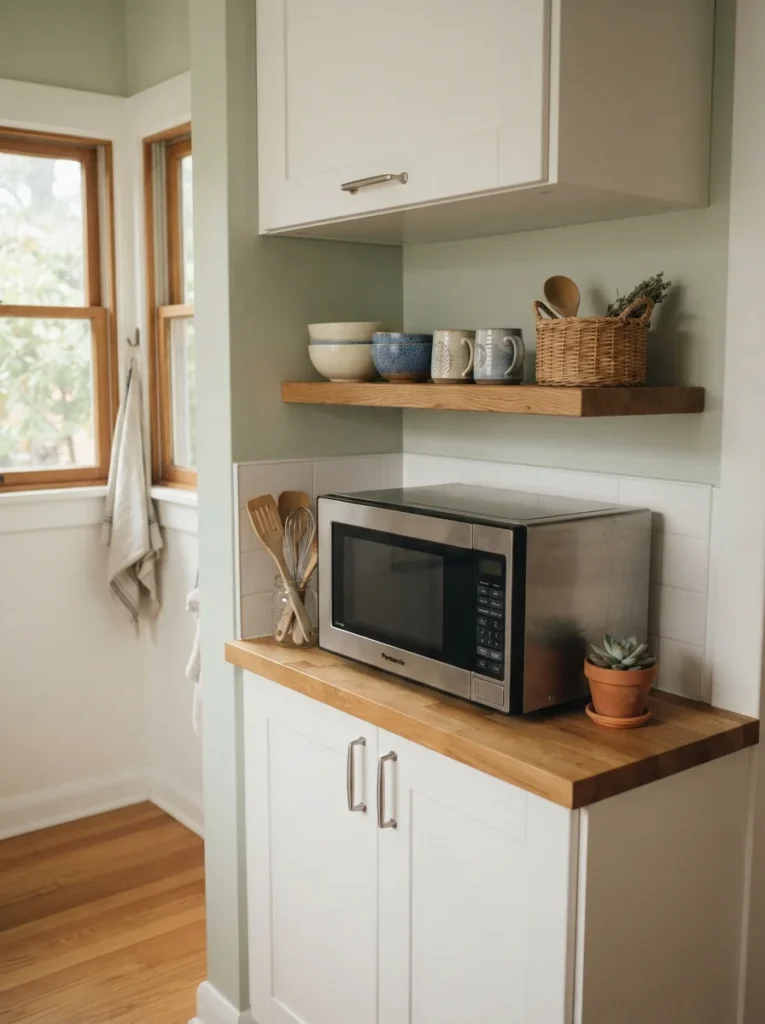
The space above a countertop microwave can be useful, provided there is enough ventilation and the microwave manufacturer allows clearance around the appliance. A shallow 6-inch shelf can hold microwave-safe bowls, napkins, or a small basket.
A basic shelf costs around $15 to $35. Measure the microwave height and required ventilation clearance before installing anything overhead. Don’t crowd the shelf with heavy dishes that are awkward to lift down. The goal is quick access, not a second cabinet stuffed to the ceiling.
21. Make a Rental-Friendly Shelf With Removable Hooks

Renters can still add useful open storage without putting a dozen holes in the wall. Use a lightweight 18- to 24-inch shelf with a mounting system specifically rated for the shelf’s total loaded weight. Keep the contents light, such as mugs, tea tins, napkins, and small bowls.
Expect to spend around $20 to $45 for a shelf and removable mounting hardware. Follow the weight rating exactly, and don’t assume every adhesive hook works on painted drywall. Clean the wall first and let the adhesive cure for the time listed on the package. For another renter-friendly project, see [INTERNAL LINK: renter-friendly small kitchen decorating ideas].
22. Build a Shelf Above the Kitchen Door

The wall above a kitchen doorway is perfect for items you don’t use every Tuesday night. Install a 10- to 12-inch-deep shelf across the doorway for holiday serving platters, extra pitchers, or specialty baking tools.
A DIY shelf can cost around $25 to $50, depending on the wood and brackets. Because this storage sits high, use lightweight baskets so you’re not lifting a heavy stack over your head. A small folding step stool makes access safer. Dust the baskets every few months, especially if the kitchen has an open doorway to the living room.
23. Use Clear Acrylic Shelves for a Light Look
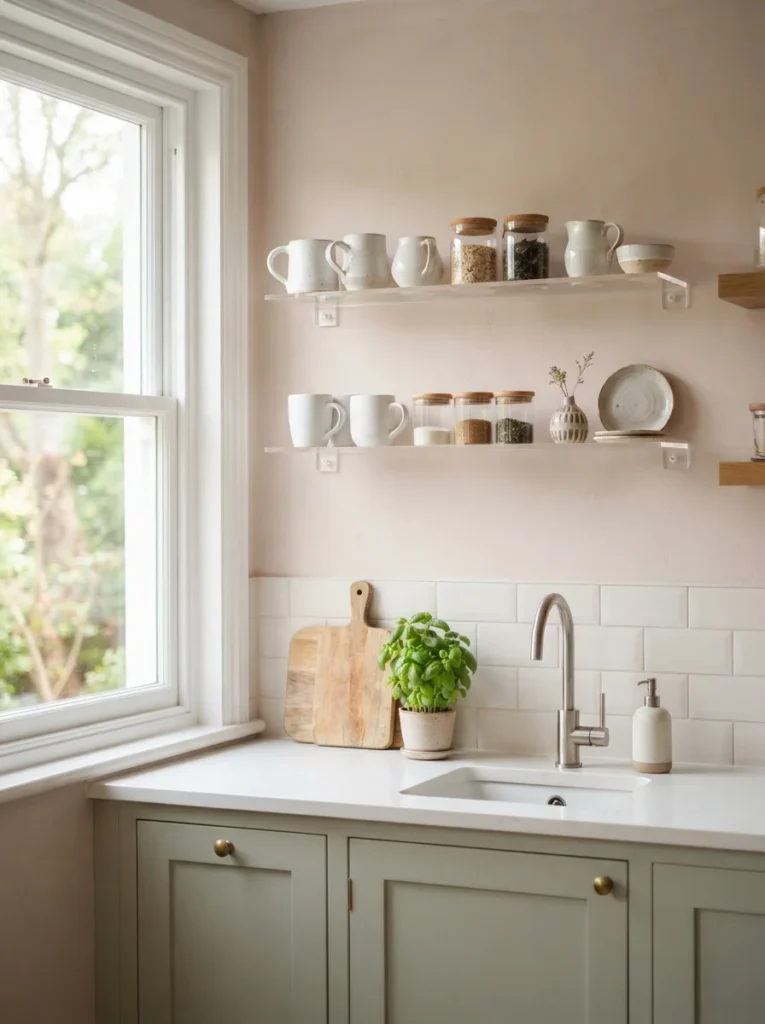
Clear acrylic shelves are useful when you want storage without adding visual weight to the wall. Choose 4- to 6-inch-deep shelves for lightweight mugs, spice jars, tea tins, or small decorative pieces.
A pair of acrylic shelves generally costs around $20 to $45 online. Use a soft microfiber cloth and mild soap for cleaning, because rough sponges can scratch the surface. Avoid putting heavy cast-iron cookware on acrylic. The transparent material works especially well in kitchens with pale walls where solid shelves would make a narrow area feel busier.
24. Add a Thrifted Shelf for Personality

A thrift store shelf can bring more personality than a brand-new matching unit. Look for a sturdy 24- to 30-inch wooden shelf with solid brackets, then sand and repaint it if the finish is dated. A soft sage green, warm white, or muted blue works nicely in a small kitchen.
You can often find one for $10 to $25 at a thrift store or Facebook Marketplace. Check the wood for cracks, loose joints, and signs of moisture before buying. Wash the surface, sand lightly, and seal it before bringing it into the kitchen. Keep the styling useful with mugs, bowls, or cookbooks rather than filling it entirely with decorations.
25. Create a Full Wall of Shallow Shelving

If one wall is mostly unused, don’t automatically fill it with deep cabinets. A series of shallow shelves, around 6 to 8 inches deep, can provide substantial storage while keeping the floor area open. Use four or five shelves across the wall and group similar items together so the arrangement stays easy to use.
A DIY wall like this can cost around $100 to $250, depending on shelf length, wood type, brackets, and finish. Use wall studs or properly rated anchors, especially for plates and glass jars. Keep the heaviest pieces on the lower shelves and reserve the upper levels for lighter baskets and less-used items. This setup works particularly well in kitchens where cabinet storage is limited but wall space is generous.
Mistakes That Ruin the Look
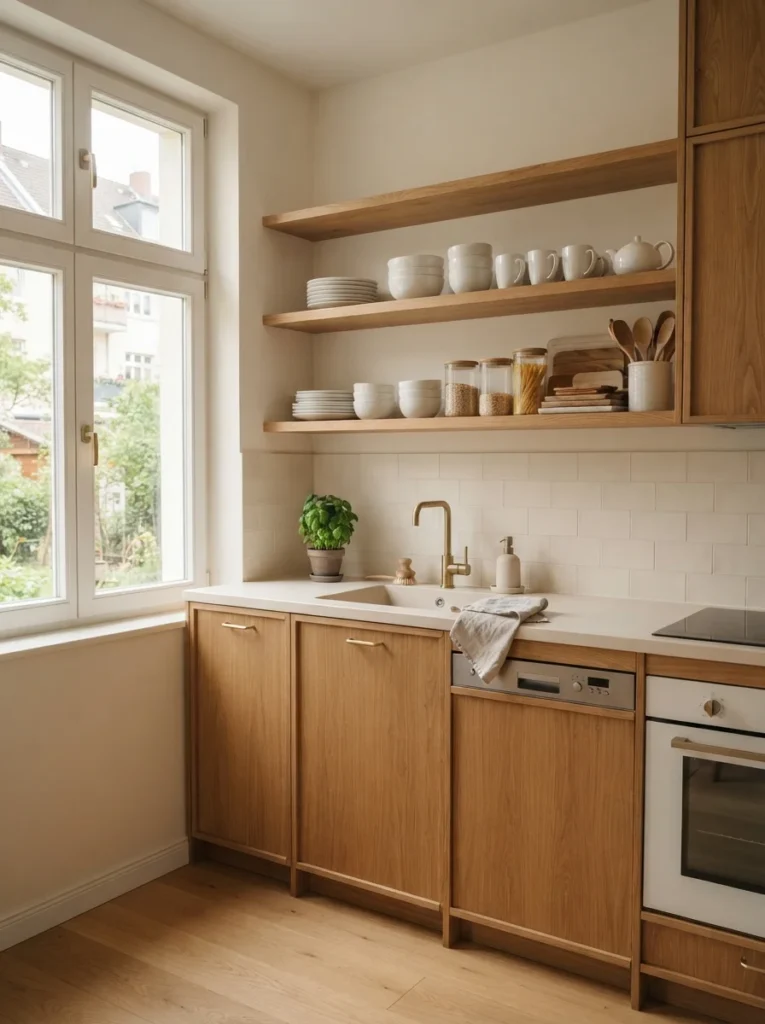
- Using shelves that are too deep: A shelf doesn’t automatically become more useful as it gets wider. In a narrow kitchen, 6 to 8 inches is often enough for dishes and jars.
- Ignoring wall weight limits: Plates, glass jars, and cookware get heavy quickly. Use studs when possible, or anchors rated for the actual load.
- Filling every inch: Open shelving looks better and stays easier to clean when some wall space remains visible. Leave a little breathing room around stacks and containers.
- Putting delicate items near heat: Keep wood, plastic, paper goods, and decorative pieces away from direct stove heat. Check appliance clearance instructions before mounting shelves nearby.
Frequently Asked Questions
[Image Prompt: A photorealistic photo of a small bright kitchen with simple floating shelves, neatly arranged dishes, jars, mugs, and one small plant, viewed straight on with clean white cabinetry and soft daylight. No people, no text or words anywhere in the image.]
[Alt Text: Simple floating shelves showing practical tiny kitchen shelving ideas]
Q: What are the best tiny kitchen shelving ideas for a very small kitchen?
A: Start with shallow floating shelves, corner shelves, cabinet-side ledges, or a narrow shelf above the refrigerator. Shelves around 4 to 8 inches deep usually give useful storage without taking much visual or physical space.
Q: How deep should kitchen shelves be?
A: For most open kitchen shelving, 6 to 10 inches is practical. Go deeper for larger plates or appliances, but check that the shelf won’t interfere with counters, doors, or walking space.
Q: How much does simple kitchen shelving cost?
A: A basic DIY shelf can cost around $15 to $40, while a set of finished floating shelves can run $50 to $100 or more. Thrift stores and Facebook Marketplace can bring the price down considerably.
Q: Are open shelves a good idea in a tiny kitchen?
A: Yes, when they’re shallow and kept organized. Open shelves make everyday dishes easy to grab, but they require regular dusting and work best when you avoid overcrowding them.
Q: What should I put on small kitchen shelves?
A: Store items you use often, such as mugs, bowls, spices, oils, plates, tea supplies, and small jars. Keep rarely used serving pieces on higher shelves so everyday storage stays easy to reach.
A Small Shelf Can Change the Whole Kitchen
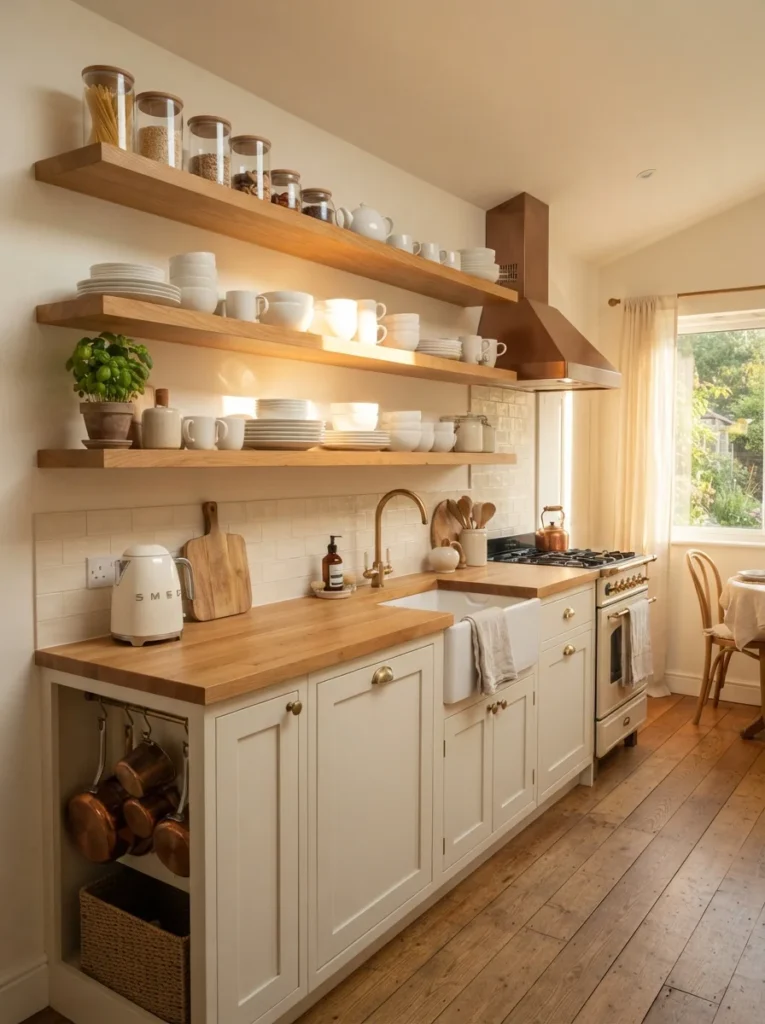
You don’t have to remodel a tiny kitchen to get more storage. Start with one unused wall, a narrow corner, or the space above the refrigerator, then choose a shelf that fits the measurements instead of forcing a bulky unit into the room. For a quick weekend project, I’d start with two 24- to 30-inch floating shelves above an open counter. They’re affordable, easy to style, and give you an immediate place for the mugs, bowls, jars, and little everyday items that usually crowd the counter.